
A tray is the hardest-working small decor piece in the house — it carries morning coffee, gathers remotes into order, turns a plain ottoman into a table, and makes any surface it lands on look styled instead of scattered. Serving boards do the same quiet magic in the kitchen, leaning against the backsplash like art when they are not busy holding bread and cheese. The best part is that both are wonderfully easy to make and remake yourself: a thrifted tray, a scrap of wood, leftover tile, or an old picture frame plus an hour of simple steps is all it takes. These ten ideas cover painted, tiled, decoupaged, and natural-wood finishes, and almost every one costs less than a shop-bought tray. Save your favorites, raid the thrift store and the scrap pile, and give your coffee table and counters a handmade layer.
In This Article
- 1. Paint and Stencil a Thrifted Wooden Tray
- 2. Decoupage a Tray with Botanical Paper Napkins
- 3. Make a Serving Board from a Reclaimed Wood Plank
- 4. Add Leather or Rope Handles to a Plain Tray
- 5. Line a Tray with Leftover Tile for a Mosaic Look
- 6. Wood-Burn a Simple Pattern onto a Plain Board
- 7. Paint a Soft Checkerboard Pattern on a Tray
- 8. Turn an Old Picture Frame into a Serving Tray
- 9. Marble a Tray with Paint and a Feather
- 10. Stain and Oil a Board for a Rich Farmhouse Finish
1. Paint and Stencil a Thrifted Wooden Tray
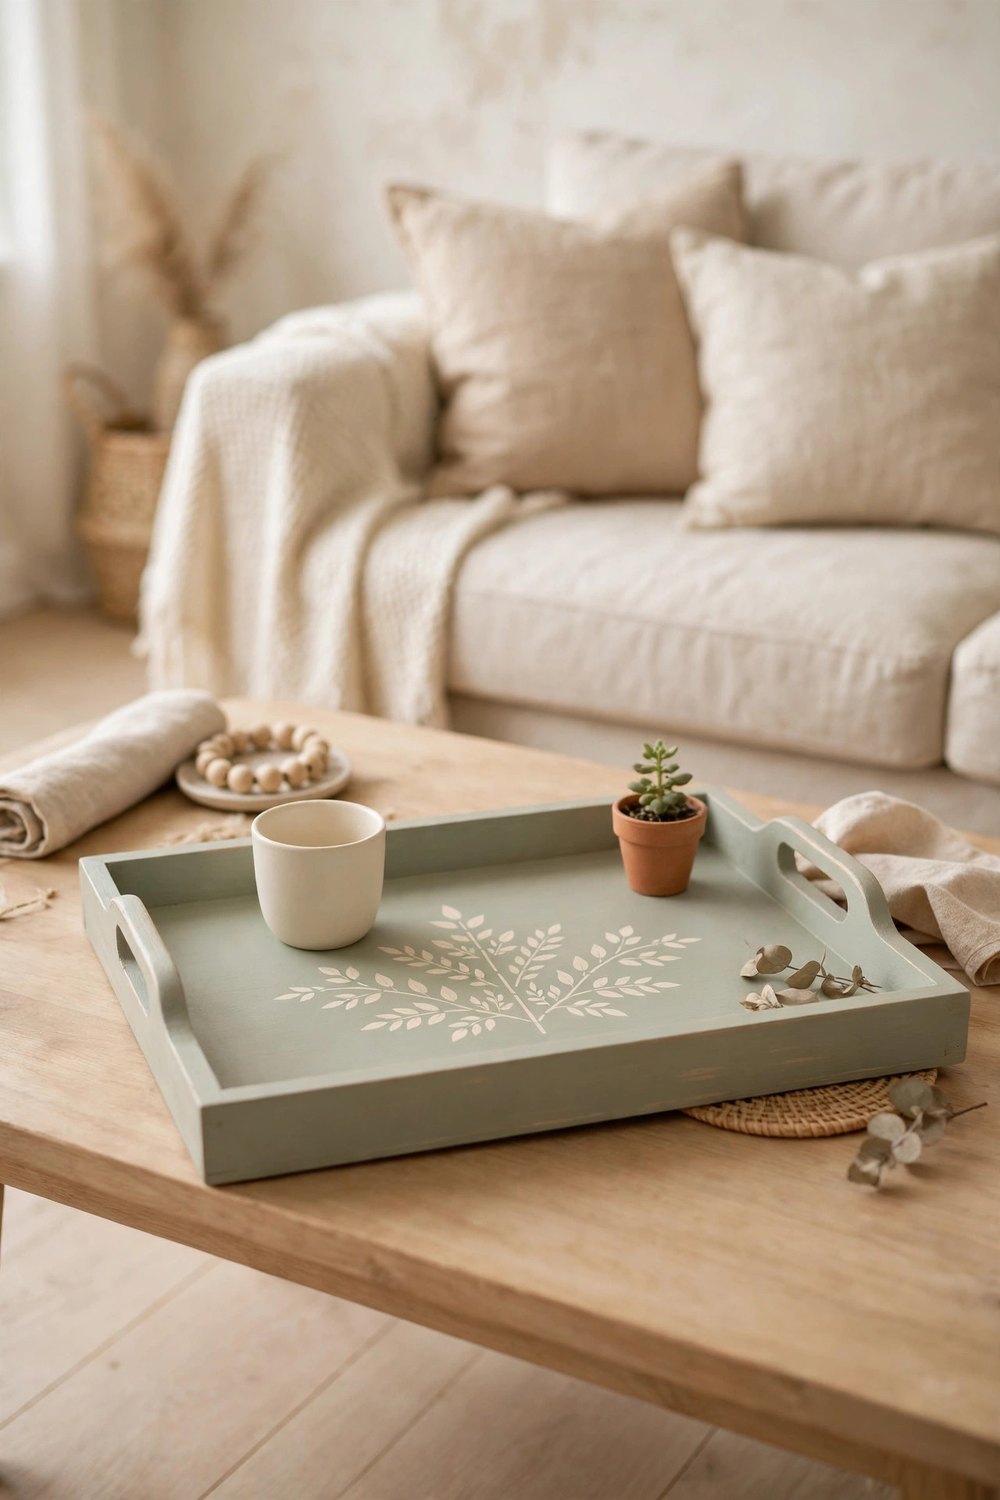
Thrift stores are full of sturdy wooden trays with tired finishes, and paint fixes everything about them. Sand lightly, wipe clean, and roll on two coats of a calm color — warm white, sage, or soft clay — then stencil one simple motif in the center, like a leaf sprig or a small geometric border, in a slightly deeper tone. A stencil and a nearly dry brush keep the edges crisp, and a coat of clear matte sealer protects the finish from coffee rings. The whole makeover usually costs just the tray and a sample pot of paint, yet it looks like something from a boutique home store.
2. Decoupage a Tray with Botanical Paper Napkins
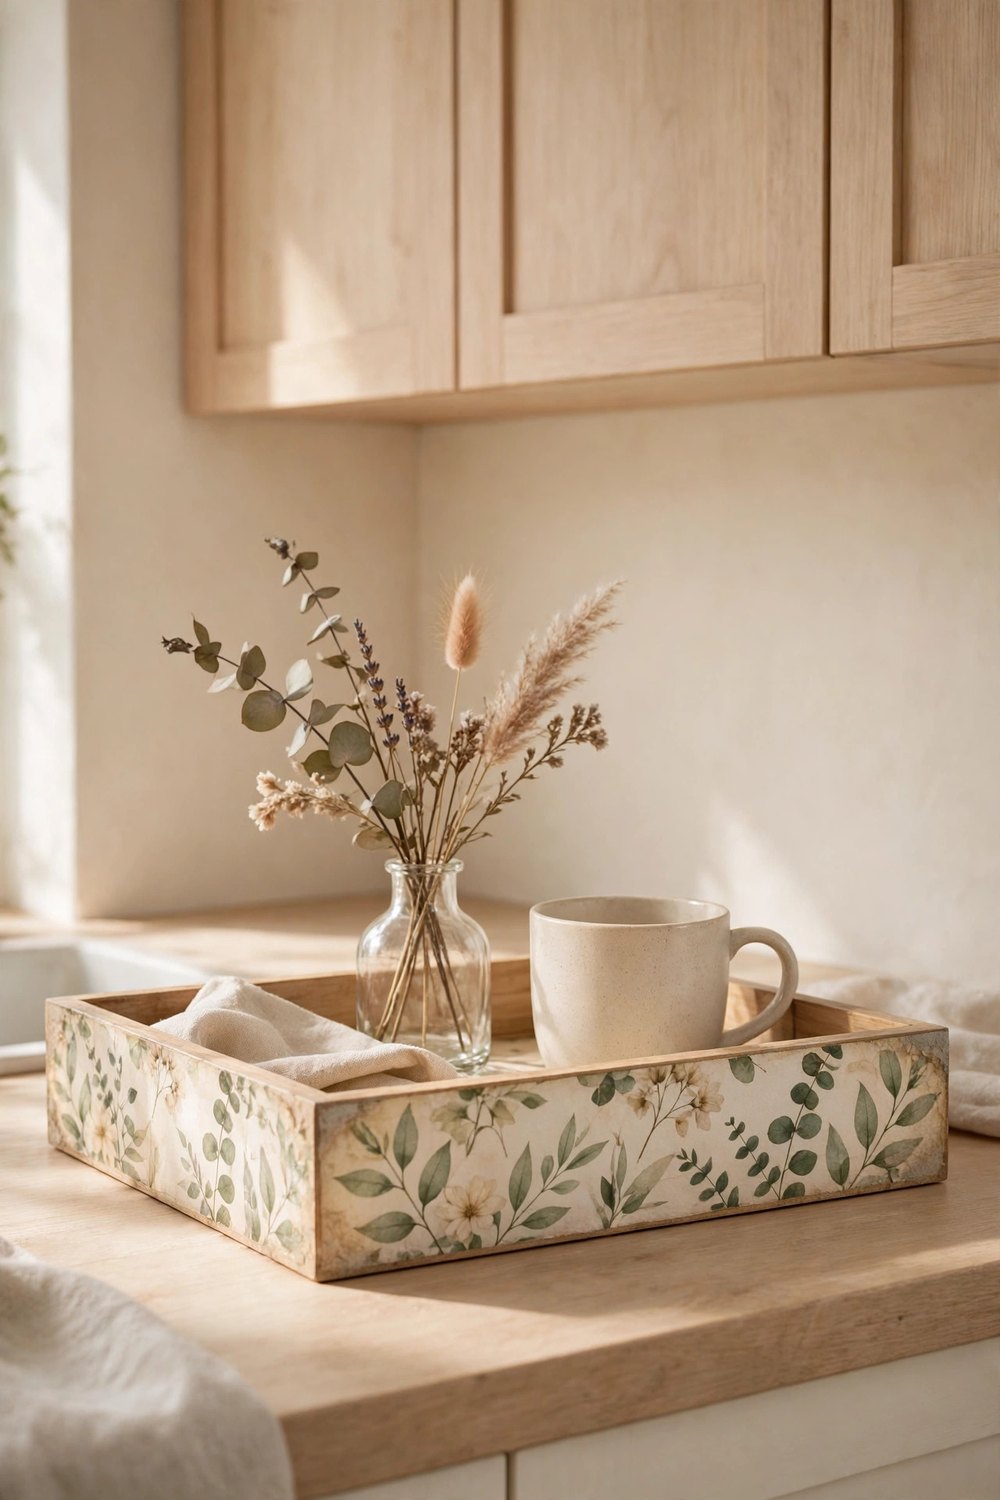
Pretty paper napkins are the cheapest decoupage paper you will ever find, and a plain tray is the perfect canvas for them. Paint the tray a soft cream first, let it dry, then separate the napkin’s top printed layer and smooth it onto a thin coat of decoupage medium, working from the center out so no wrinkles form. Once dry, seal with two more thin coats for a finish that wipes clean. Botanical prints, soft florals, and vintage-style fruit designs all suit a calm kitchen, and a pack of napkins costs a couple of dollars — enough for the tray and mistakes to spare.
3. Make a Serving Board from a Reclaimed Wood Plank
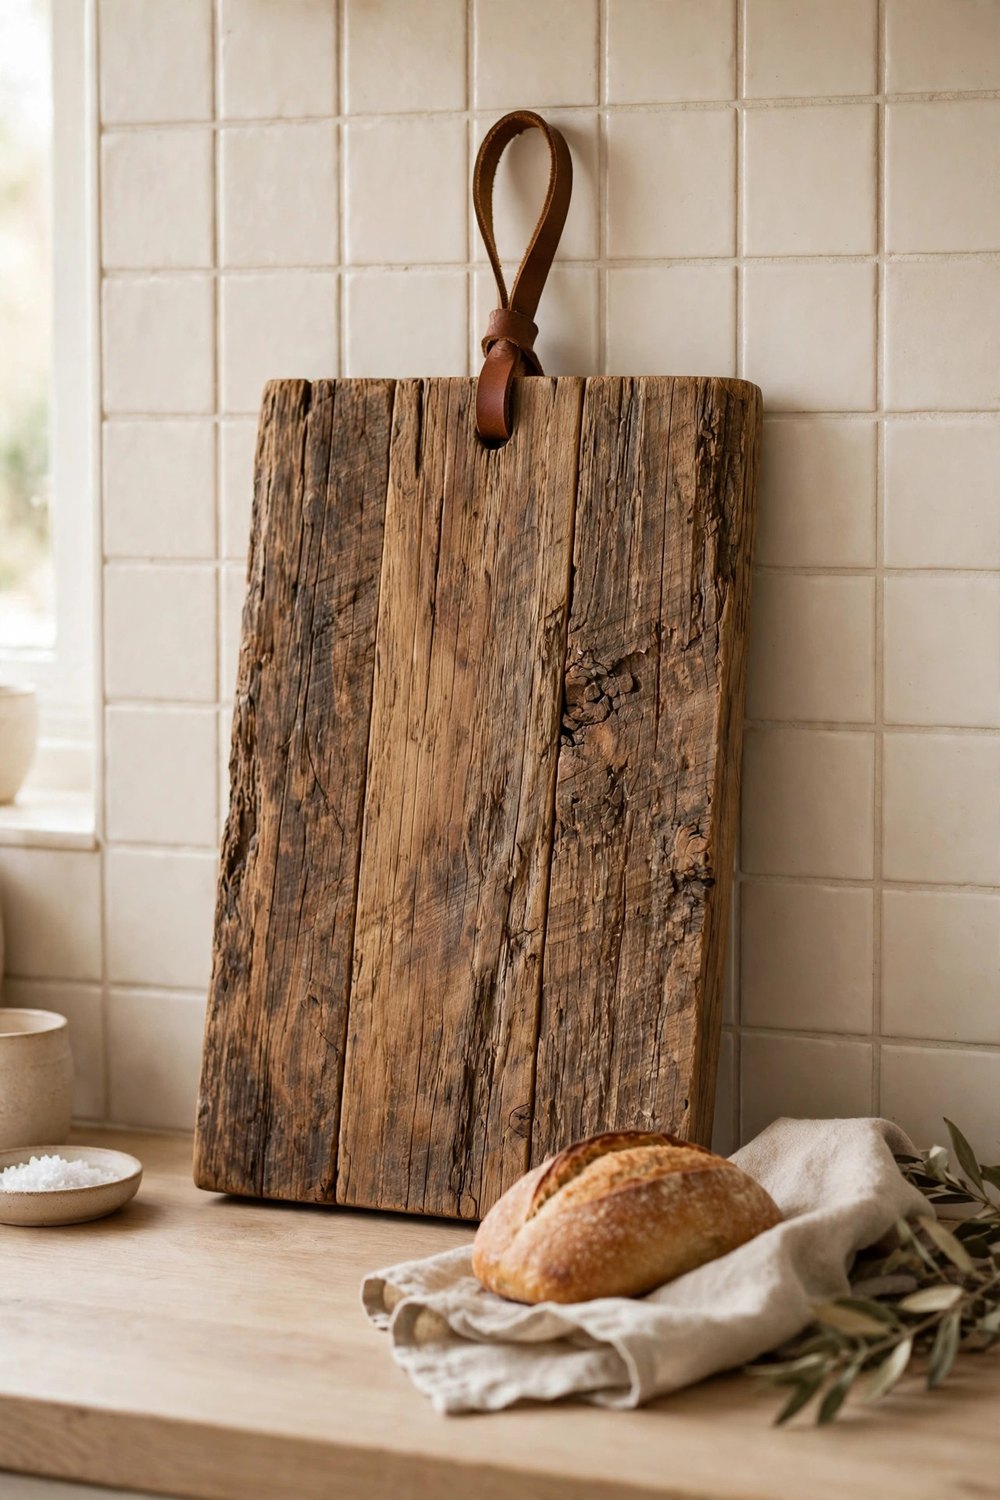
A single beautiful plank is a serving board waiting to happen. Choose a sound piece of reclaimed or leftover hardwood, cut or keep a generous rectangle or paddle shape, and sand every surface and edge until it is silky, working from coarse to fine grit. Wash it, let it dry fully, then rub in food-safe mineral oil or board butter in two or three coats until the grain glows. Add a hole at the handle end and a loop of leather cord for hanging, and your board leans against the backsplash like a piece of art between uses — for the price of sandpaper and oil.
4. Add Leather or Rope Handles to a Plain Tray
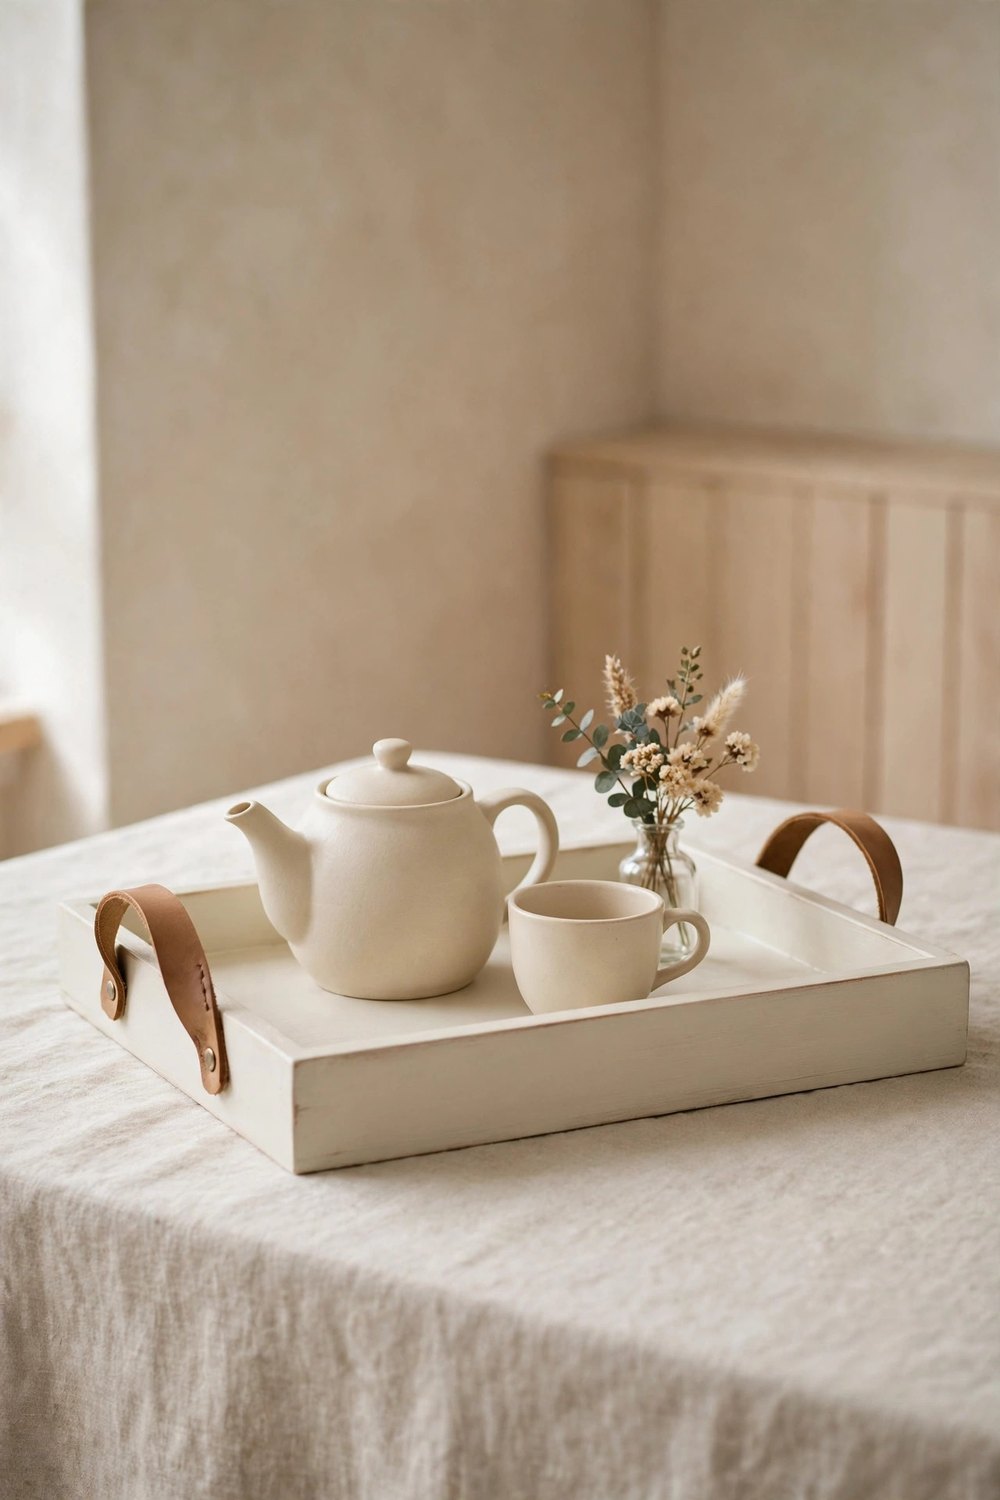
Sometimes a tray is fine and only boring, and new handles are the whole makeover. Remove the old handles from a plain wooden or metal tray, fill the holes if they will show, and attach two short loops of leather strap or thick cotton rope with screws and washers, or through drilled holes tied off in chunky knots. The natural texture against a painted or stained tray instantly reads handmade and a little bit coastal. Leather offcuts and rope cost almost nothing at craft stores, and the job takes fifteen minutes with a screwdriver — the fastest upgrade on this list.
5. Line a Tray with Leftover Tile for a Mosaic Look
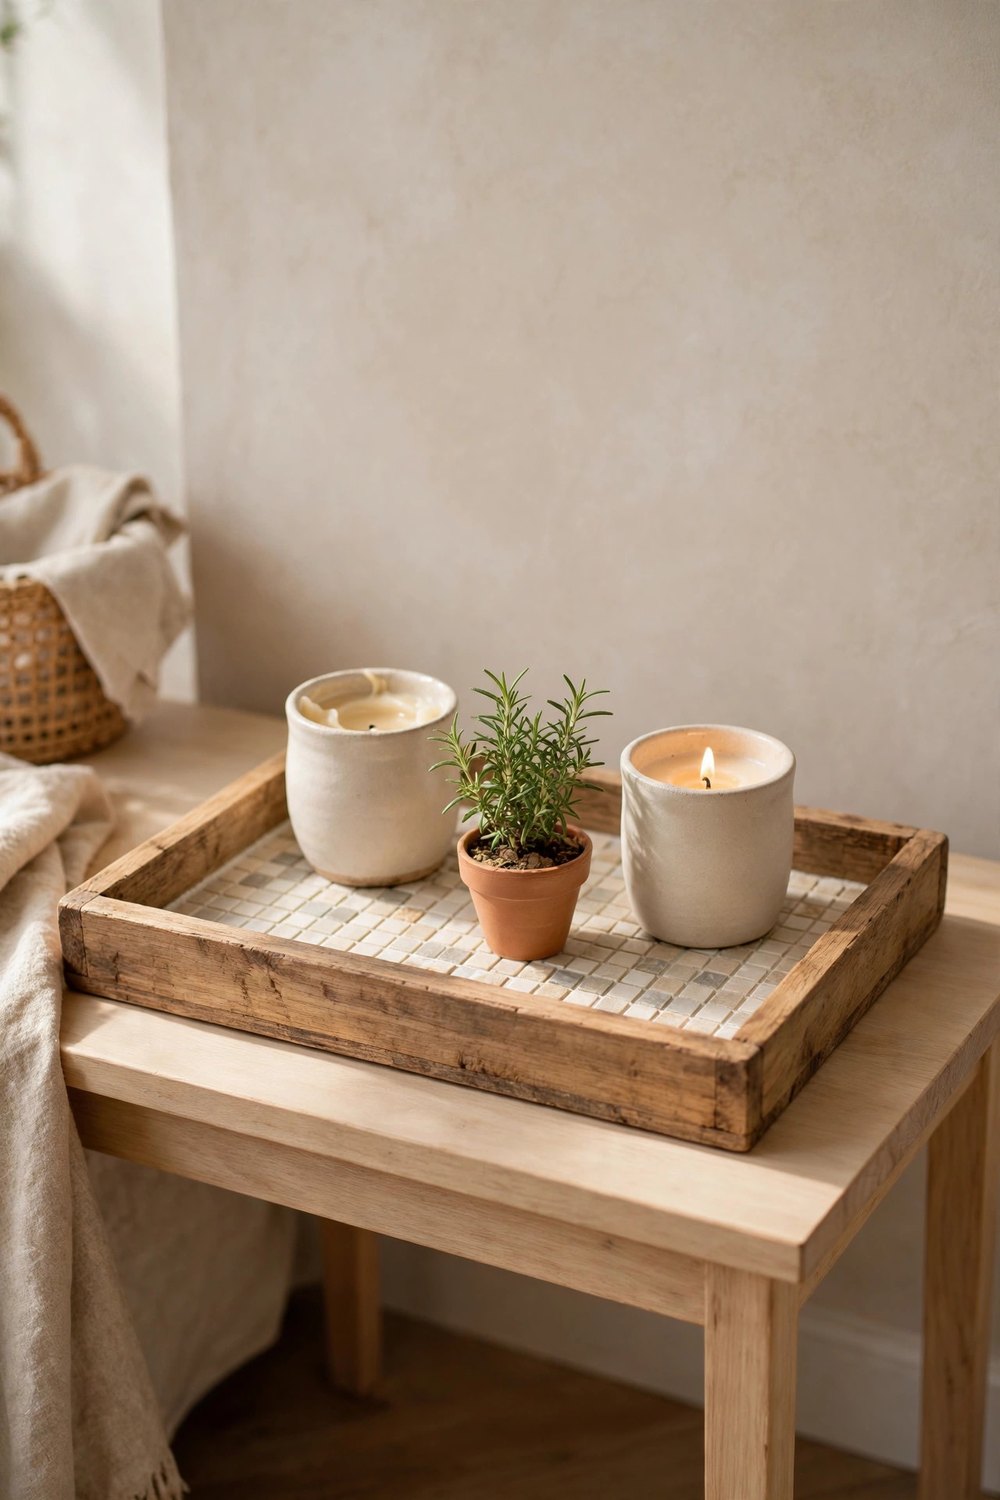
A handful of leftover tiles — or a few sample tiles from the hardware store — turns a plain tray base into a small mosaic floor. Arrange whole small tiles in a grid, or break tiles inside a folded towel with a hammer for a rustic broken-tile mosaic, then fix them to the tray base with tile adhesive, grout the gaps, and wipe the surface clean as it sets. Keep the palette quiet — cream, stone, soft sage — so it reads elegant rather than busy, and seal the grout once cured. The finished tray is heavy, heatproof, and looks far more expensive than its few dollars of materials.
6. Wood-Burn a Simple Pattern onto a Plain Board
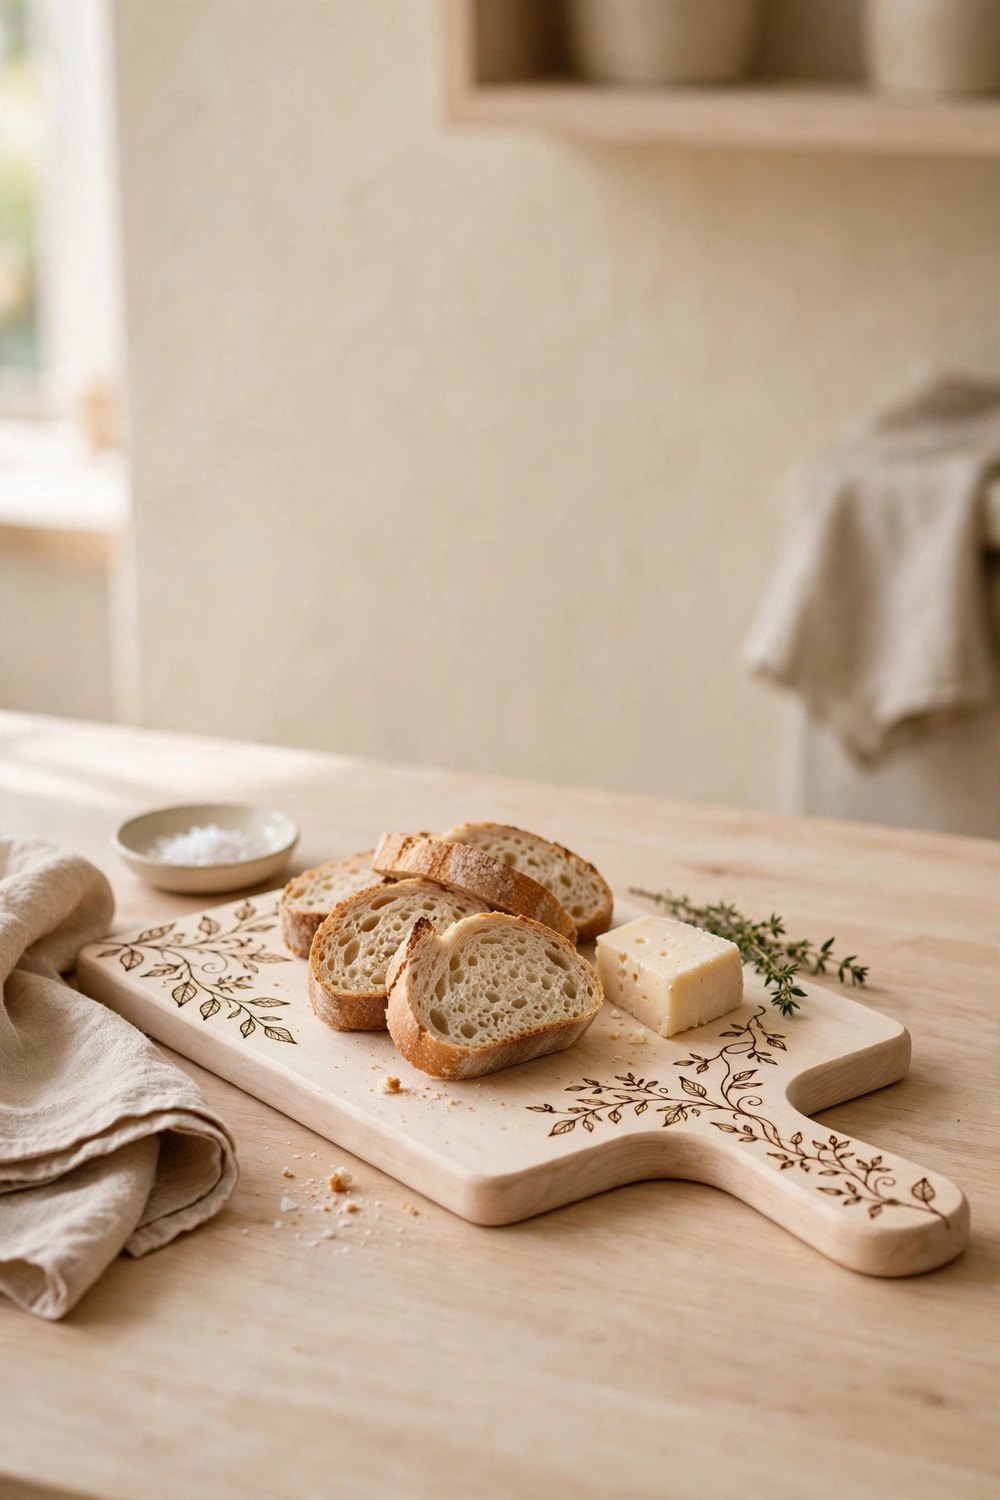
A basic wood-burning pen costs little and turns a plain pale board into a keepsake. Practice first on scrap wood, then sketch a simple design in pencil — a row of leaves along the handle, dots and lines around the rim, a fern frond in one corner — and trace it slowly with the pen’s fine tip, letting the tool’s heat do the work. Simple, slightly imperfect lines are the charm; this is folk art, not engraving. Finish the board with food-safe oil, and keep your burned board for serving dry things like bread and cheese so the design stays crisp for years.
7. Paint a Soft Checkerboard Pattern on a Tray
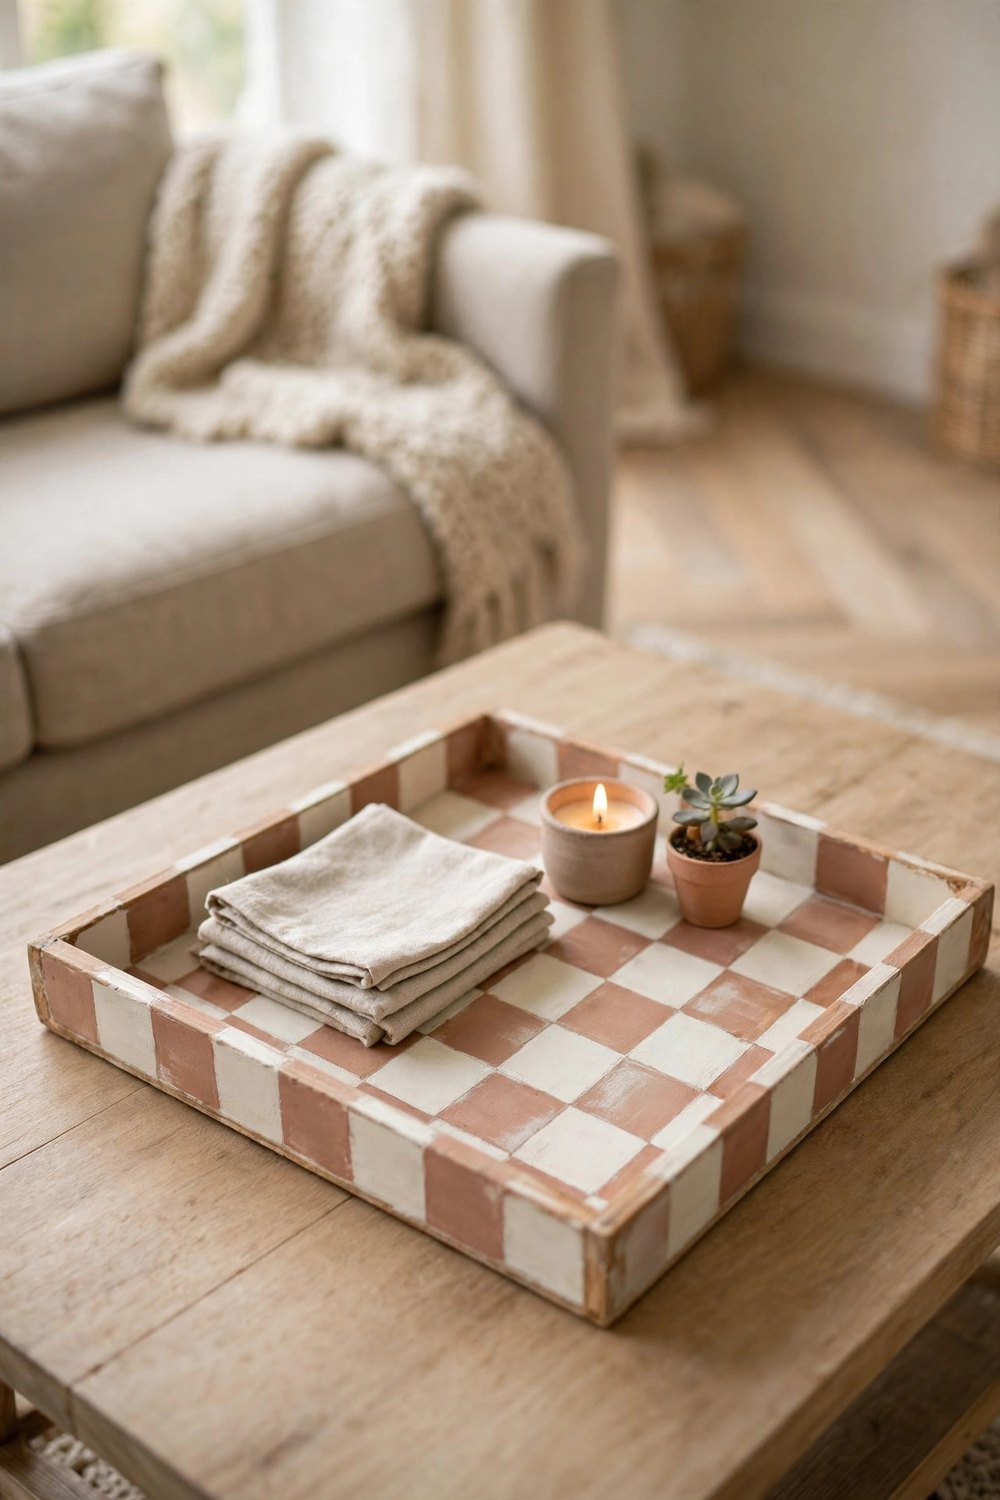
A checkerboard in two close, muted tones is classic without shouting. Paint the whole tray your lighter color — creamy white works beautifully — then tape or pencil a grid and fill alternate squares with a soft clay, stone, or faded sage, using a small brush and a patient hand. Slightly wobbly edges are fine; a whisper of sanding after drying gives it that worn, vintage softness. Seal with matte varnish and the tray becomes the pattern layer your coffee table or breakfast tray setup was missing, for the cost of two sample pots.
8. Turn an Old Picture Frame into a Serving Tray
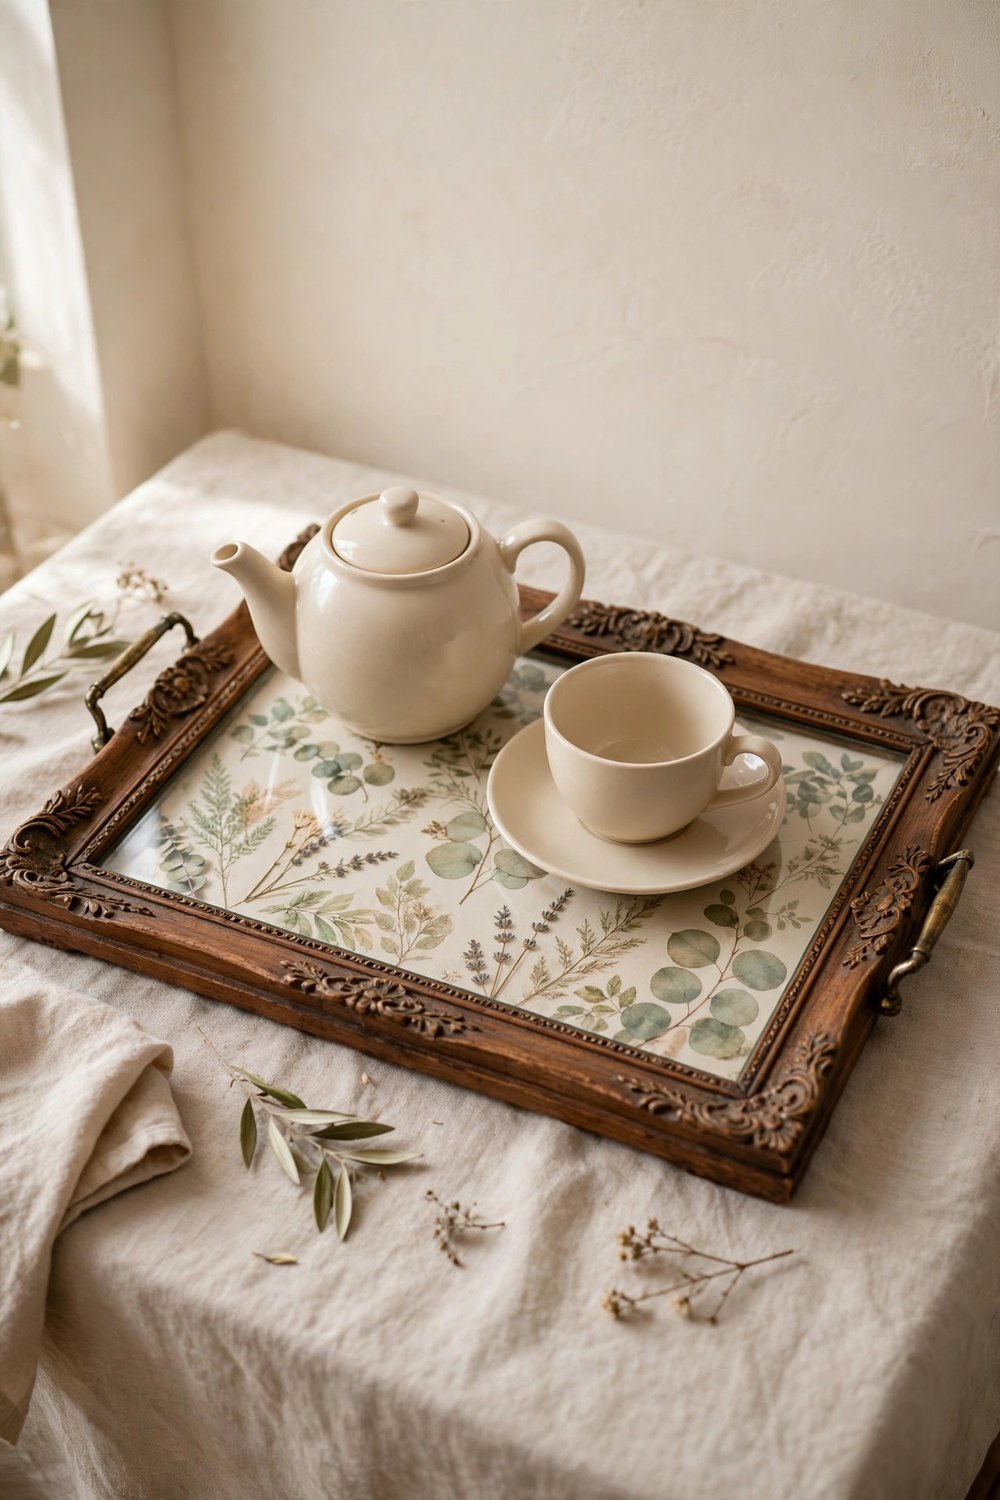
A large old picture frame already has the shape of a tray — it just needs a base and handles. Remove the artwork, cut a thin piece of plywood or hardboard to fit inside the frame in place of the backing, and cover it with pretty paper, fabric, or a coat of paint before fixing it firmly in place. Keep the frame’s glass on top if you want a wipe-clean, display-style surface, and screw two cabinet handles onto the short ends. Thrifted frames with interesting molding make the most beautiful trays, and the whole project usually comes together for under ten dollars.
9. Marble a Tray with Paint and a Feather
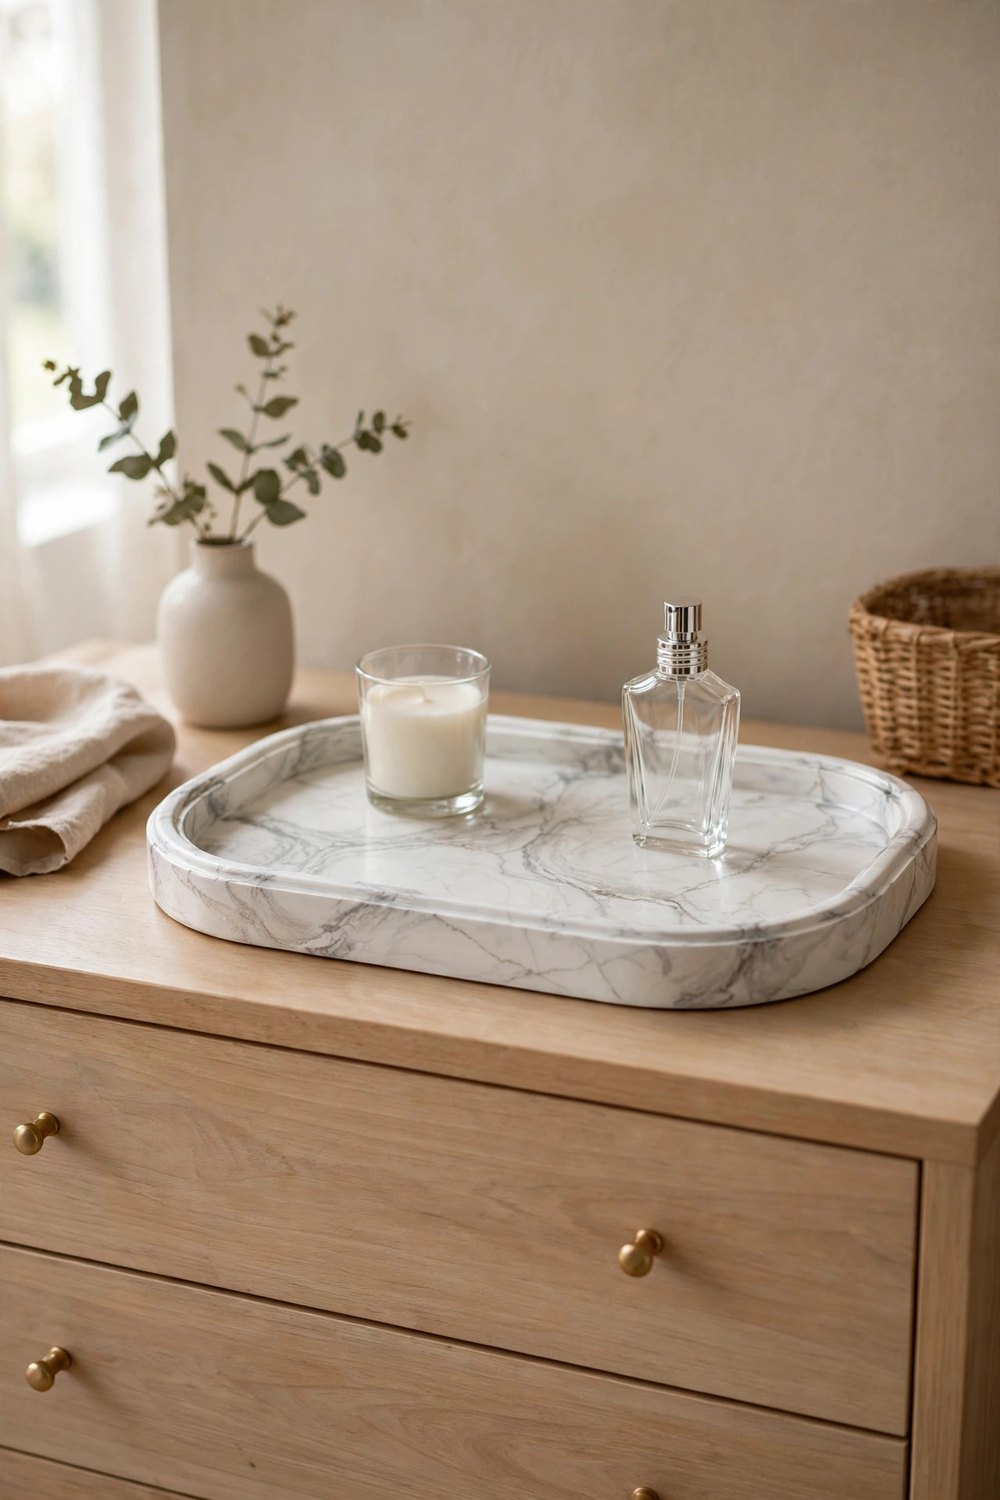
Faux marble is far easier than it looks and makes a plain tray feel quietly luxurious. Paint the tray a warm white and let it dry, then dip the edge of a feather or a thin brush in watered-down grey paint and trail soft, wandering veins across the surface, blurring each one gently with a dry brush while it is still wet. Add one or two fainter veins in a paler tone for depth, then seal with a glossy or satin clear coat — the shine is what sells the stone illusion. A tray is the perfect practice size, and the supplies are just paint you likely already own.
10. Stain and Oil a Board for a Rich Farmhouse Finish
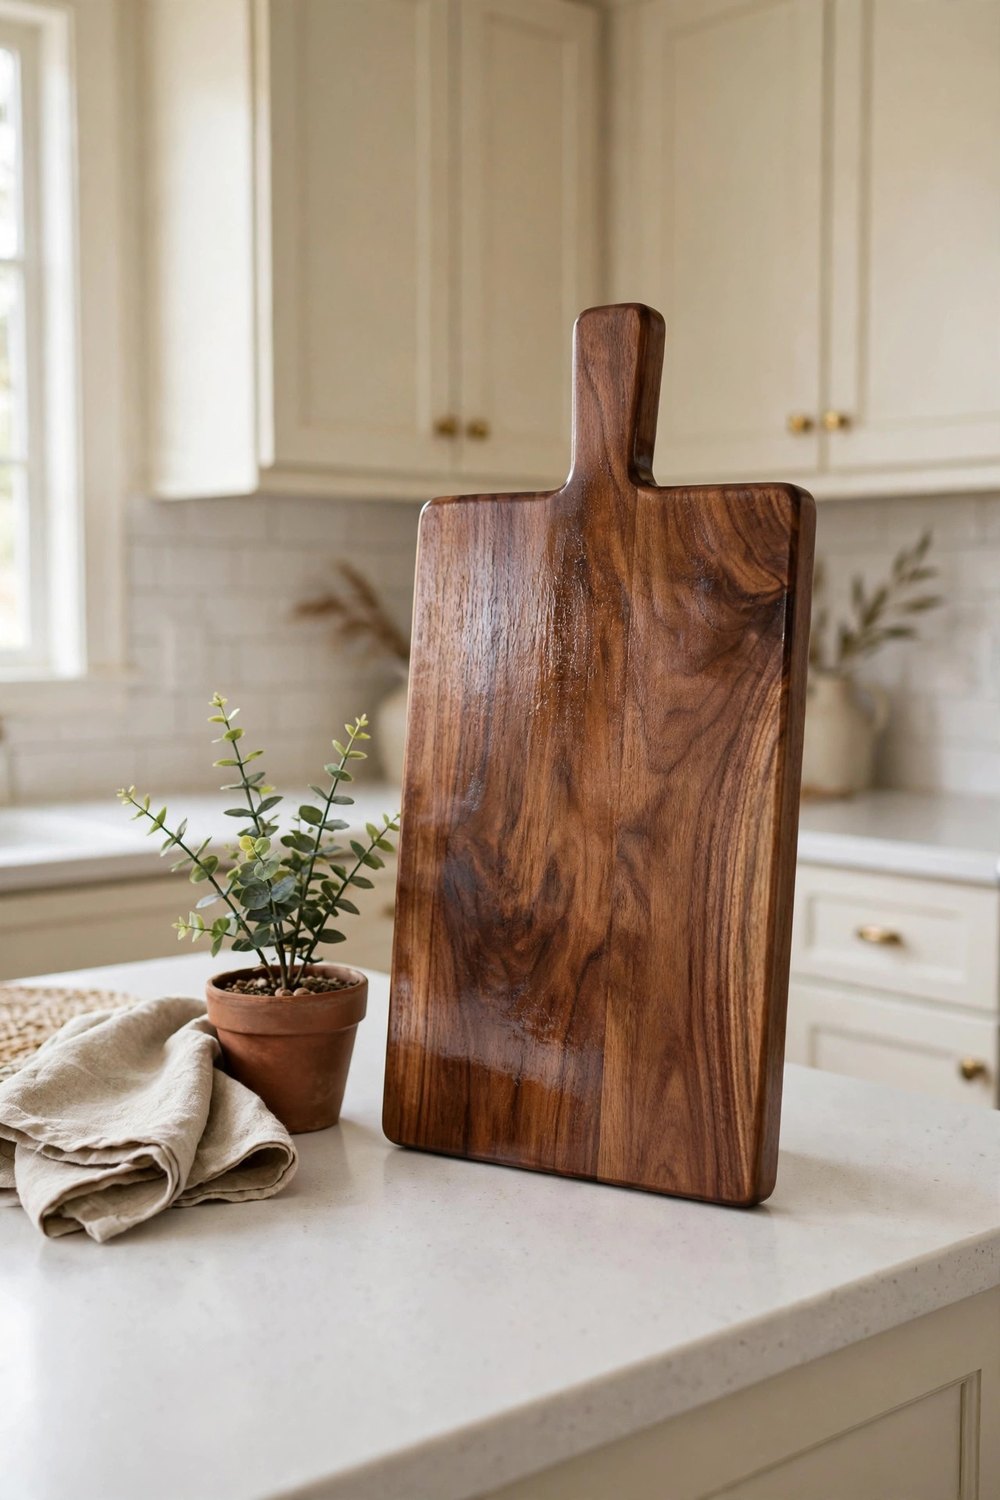
Sometimes the best makeover is simply letting plain wood look its best. Take a pale, unfinished board, sand it smooth, and wipe on a warm walnut or honey stain with a cloth, working with the grain and wiping back the excess so the wood — not the stain — does the talking. When the stain is fully dry, finish with food-safe oil rubbed in thin coats until the surface has a soft, low sheen. Standing on the counter with a small plant and a stack of linen napkins, a rich-toned board adds the warmth a white kitchen always needs, and the materials stretch across many boards to come.
Trays and boards are the perfect DIY scale — small enough to finish in an afternoon, useful enough to earn their place every single day, and forgiving enough that a first attempt still looks good on the coffee table. Start with whatever you already have: the thrifted tray, the scrap plank, the old frame in the garage. One painted or oiled finish later, you will start seeing tray potential in everything. Save this list to your Pinterest board so it is handy before your next project weekend — and follow DecorNesti for a new cozy project list every week.






Leave a Reply