
Bare walls are the coldest part of any room, and yarn is the warmest, softest way to fix them. A woven or knotted wall hanging adds texture, color, and a handmade softness that no framed print can match — and most of these projects need nothing more than a few skeins of yarn, a stick or a simple loom, and one relaxed evening. Whether you want a big boho statement above the sofa, a soft rainbow for a nursery corner, or a tiny woven pocket for dried flowers, there is a project here at exactly your skill level. Save your favorites, raid the yarn basket, and give your walls something cozy to wear.
In This Article
- 1. Knot a Macramé Hanging on a Driftwood Branch
- 2. Weave a Beginner Tapestry on a Simple Frame Loom
- 3. Layer a Tassel Yarn Hanging in Soft Neutrals
- 4. Weave in a Circle on an Embroidery Hoop
- 5. Dip-Dye a Yarn Hanging for an Ombre Effect
- 6. Thread Wooden Beads into a Boho Yarn Hanging
- 7. Make a Chunky Rainbow Hanging for a Sweet Corner
- 8. Group Three Mini Hangings as a Gallery Set
- 9. Cut Long Fringe Layers for a Waterfall Effect
- 10. Weave a Wall Pocket for Dried Flowers
- 11. Add Feathers to a Soft Scandinavian-Style Hanging
- 12. Go Oversized with a Statement Weaving Above the Sofa
1. Knot a Macramé Hanging on a Driftwood Branch
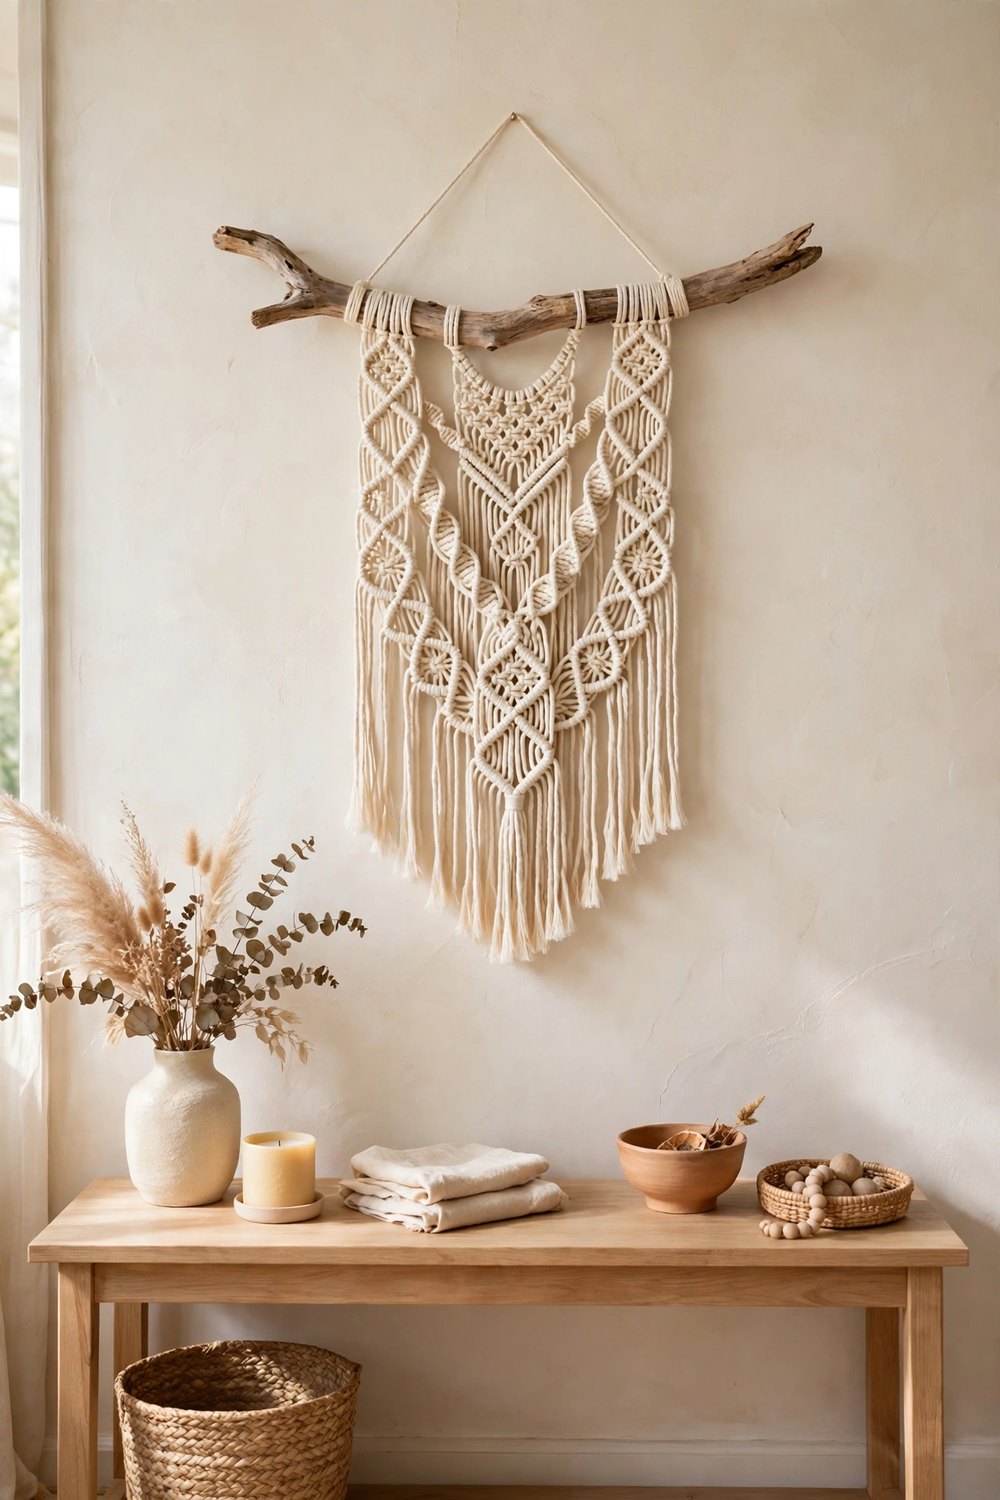
Macramé looks intricate, but the classic wall hanging is mostly two knots — the lark’s head that attaches the cords and the square knot you repeat until a rhythm takes over. Anchor your cords to a smooth driftwood branch or a fallen stick with real character, and the hanger itself becomes part of the art. Cream cotton cord in 4–5mm gives the softest, most forgiving result for beginners, and a simple pattern of alternating square knots and open fringe sections keeps it light and airy. Hang it above a console or bed where the branch’s natural curve can echo the room’s lines.
2. Weave a Beginner Tapestry on a Simple Frame Loom
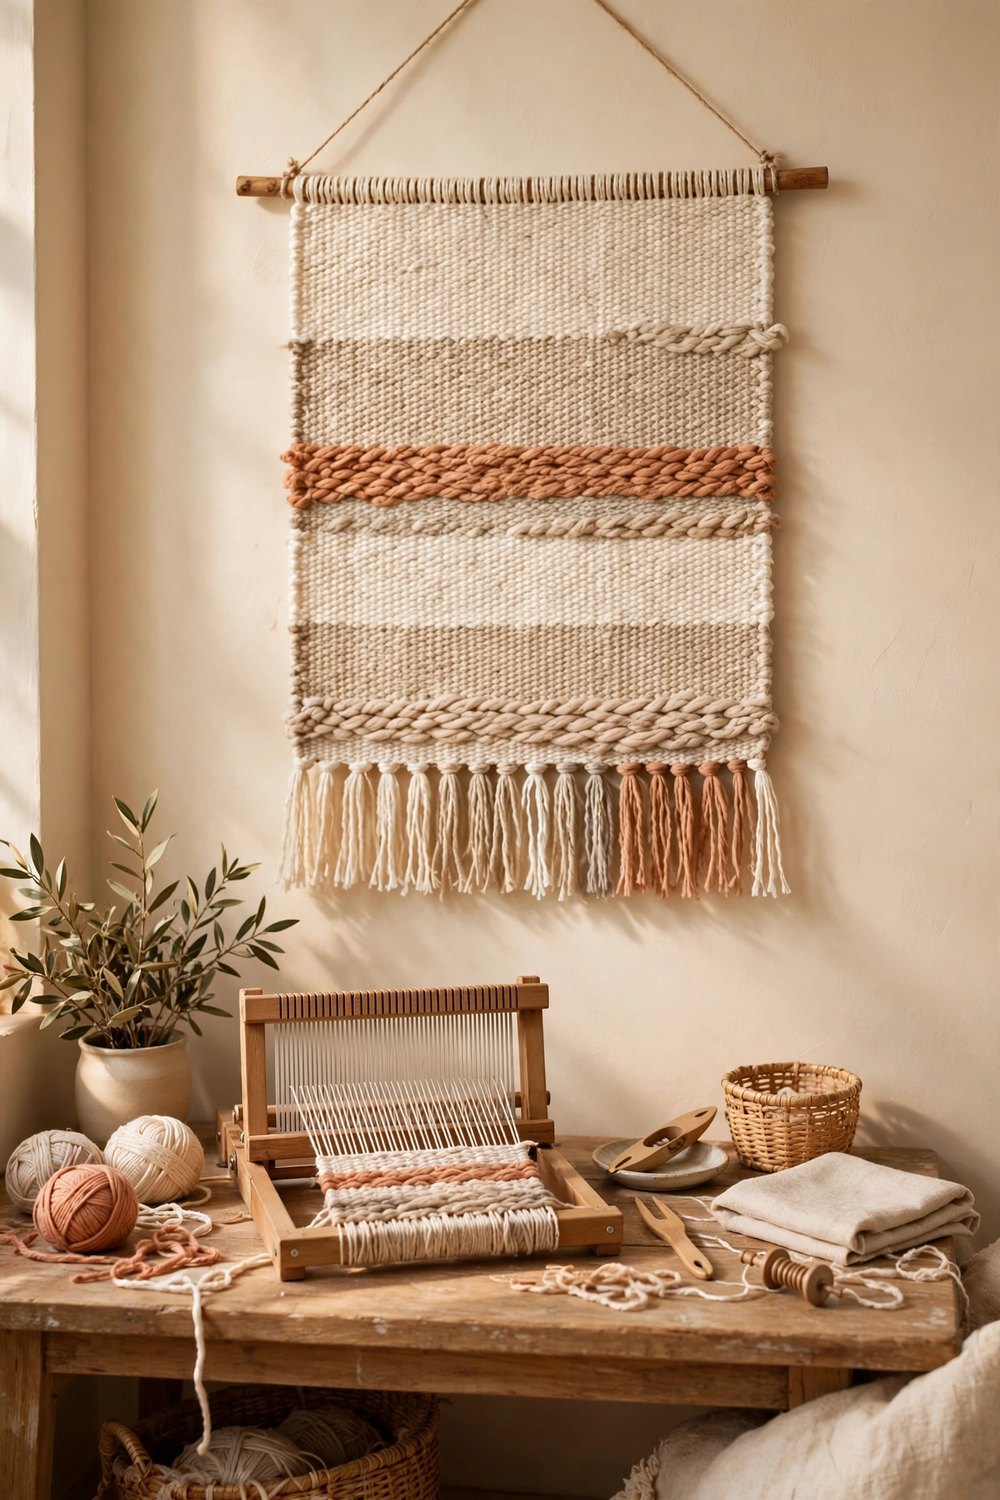
Weaving is easier than it looks: on a basic frame loom — even a sturdy picture frame with the glass removed — you simply pass yarn over and under the warp threads, row after row, using a large needle or your fingers. Start with chunky yarn in three or four calm colors and let simple horizontal bands and one triangle shape do the designing for you. Beat each row down gently with a fork or comb so the weave stays snug, and leave a fringe of the warp threads at the bottom. Hem the top onto a wooden dowel and you have a proper tapestry for the price of a few skeins.
3. Layer a Tassel Yarn Hanging in Soft Neutrals
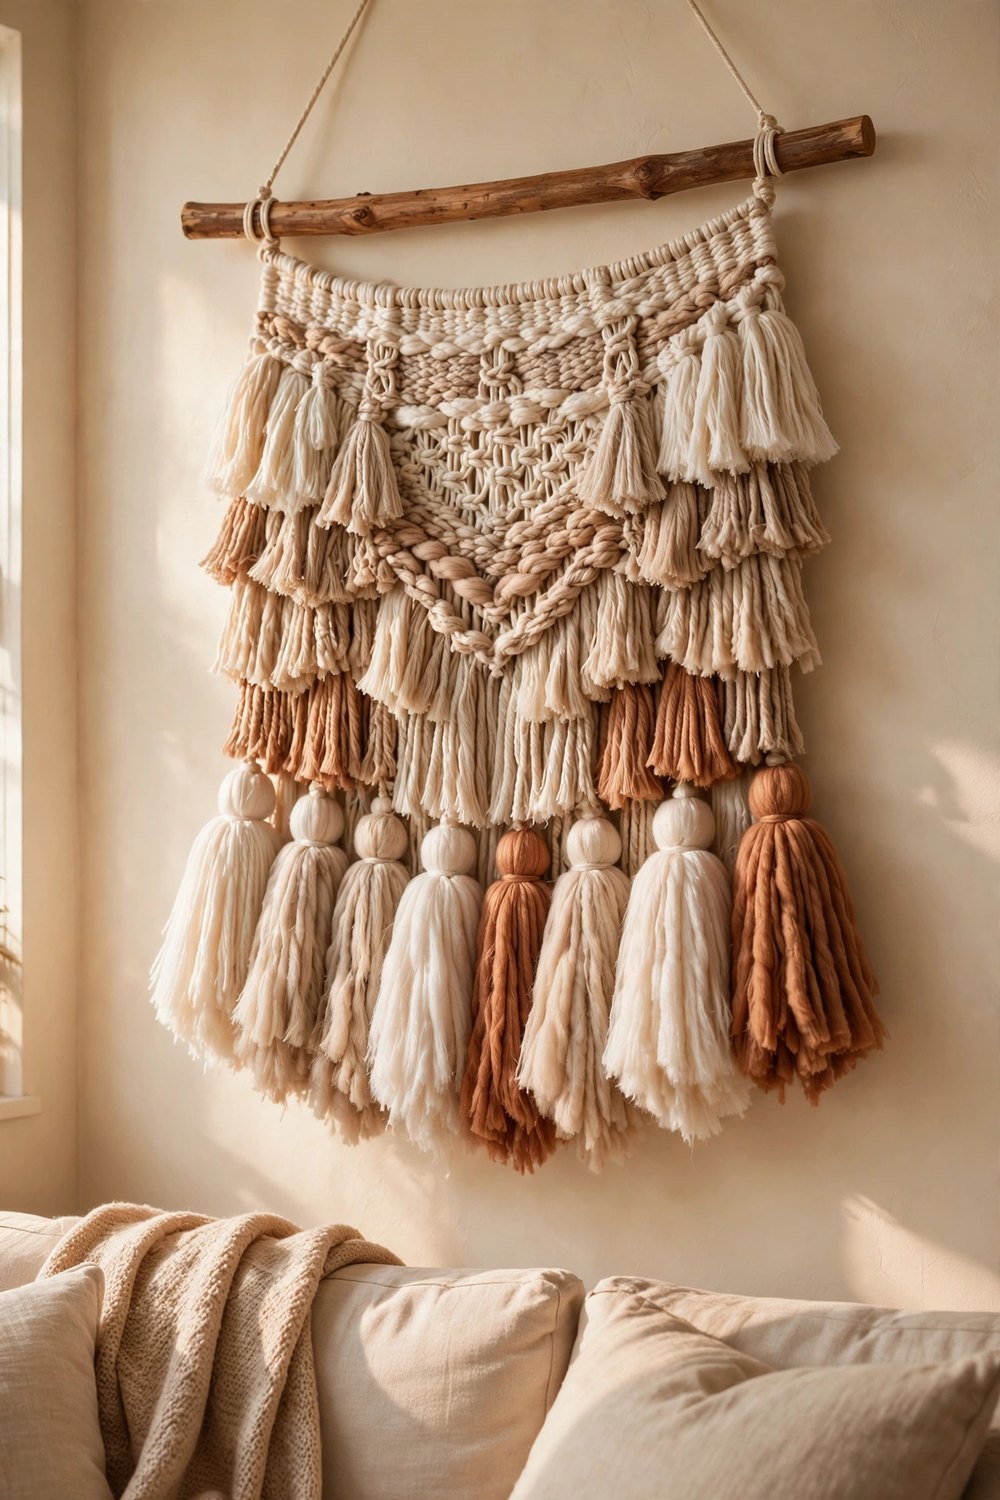
The simplest hanging of all is just beautifully arranged yarn. Cut long strands of yarn in cream, beige, and soft clay, fold them over a dowel or branch in layered rows, and trim the ends into a gentle V or a soft curve. Add a few oversized tassels along the bottom edge — wrap yarn around a book, tie it off, cut the loops, and steam or comb them smooth. The charm is in the layering: work in odd-numbered rows and vary the lengths slightly so it feels gathered rather than machined. It is a one-hour project with genuine boutique looks.
4. Weave in a Circle on an Embroidery Hoop
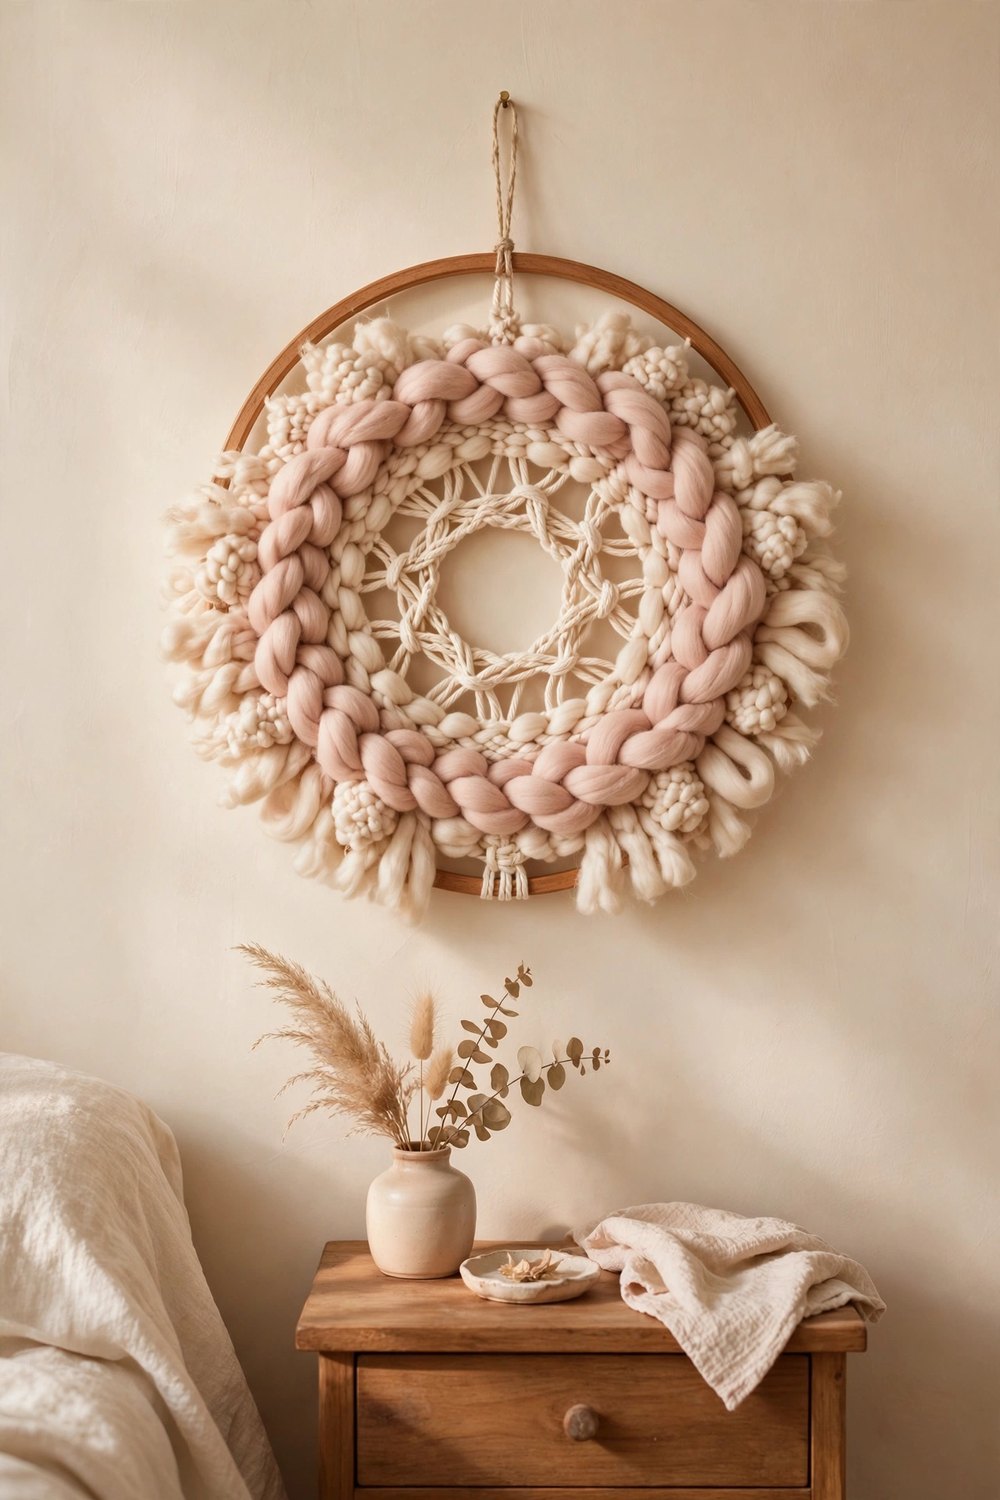
A round weaving breaks up all the rectangles on a wall in the most pleasing way. Stretch warp threads across a wooden embroidery hoop like spokes of a wheel, then weave yarn and roving in and out around the center, building soft rings of color and texture as you spiral outward. Chunky roving makes lush, cloud-like sections, while a few rows of plain weave keep it from looking puffy. Leave the hoop as the frame and hang it exactly as it is — the warm wood ring against soft yarn is half the beauty.
5. Dip-Dye a Yarn Hanging for an Ombre Effect
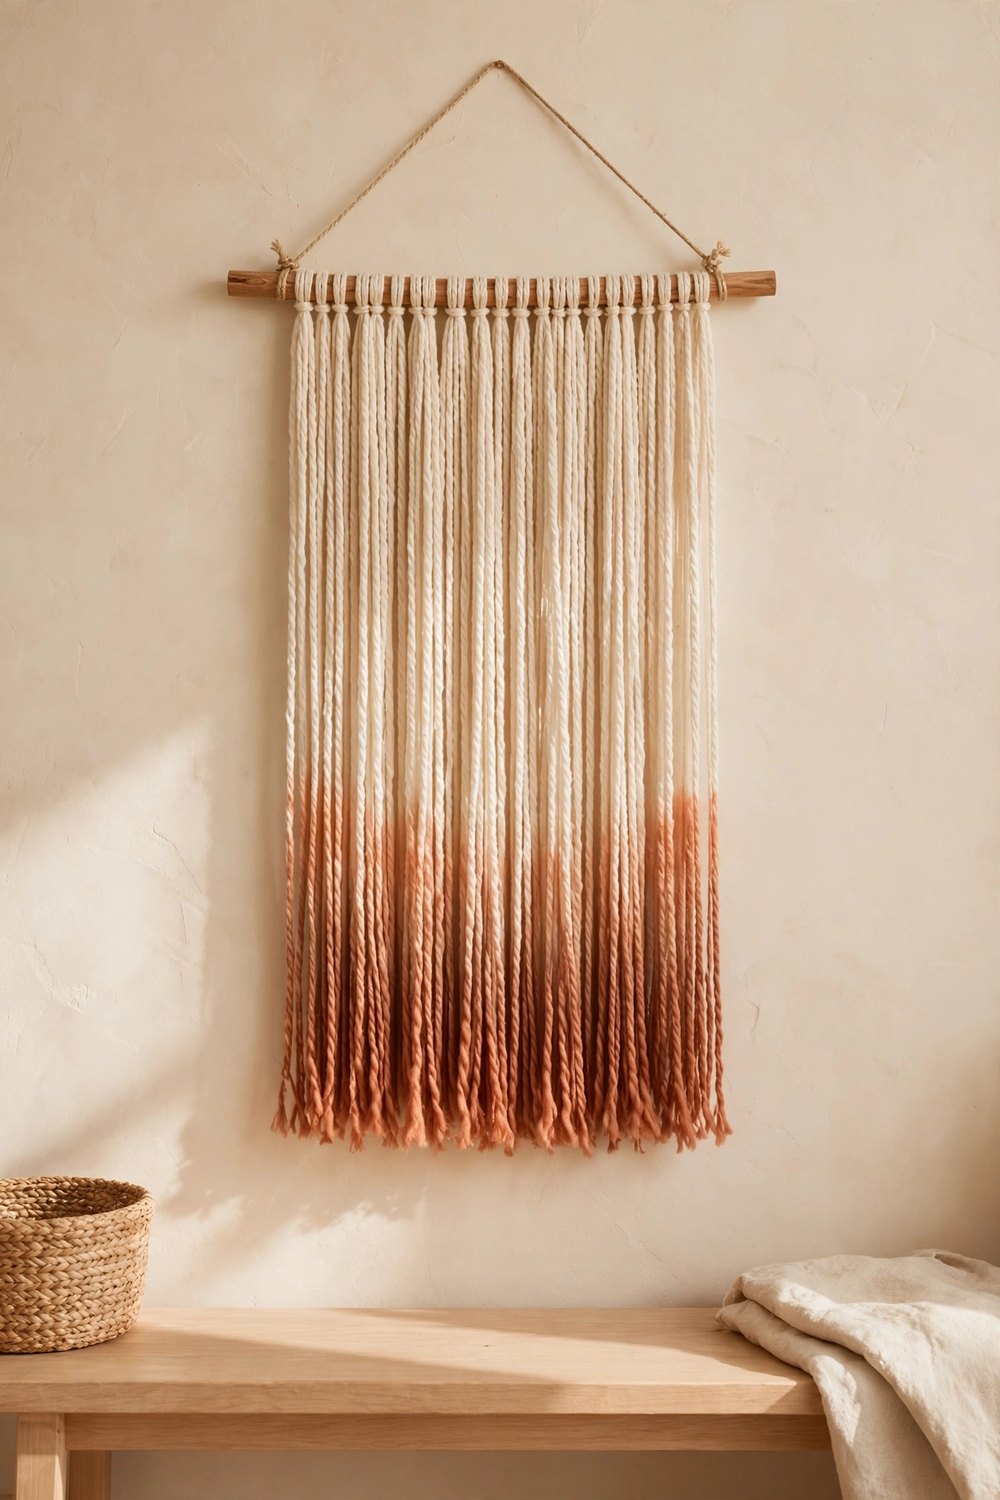
A plain cream yarn hanging becomes quietly dramatic with a dip of dye. Build your hanging first — strands folded over a dowel, ends trimmed straight — then lower just the bottom third into a bowl of diluted fabric dye in terracotta, sage, or dusty rose, and let the color wick upward into a soft ombre fade. Prop it to dry somewhere the drips cannot hurt, and rinse only if the dye instructions ask for it. The gradient does all the decorative work, so keep the yarn itself plain and let the color melt be the whole design.
6. Thread Wooden Beads into a Boho Yarn Hanging
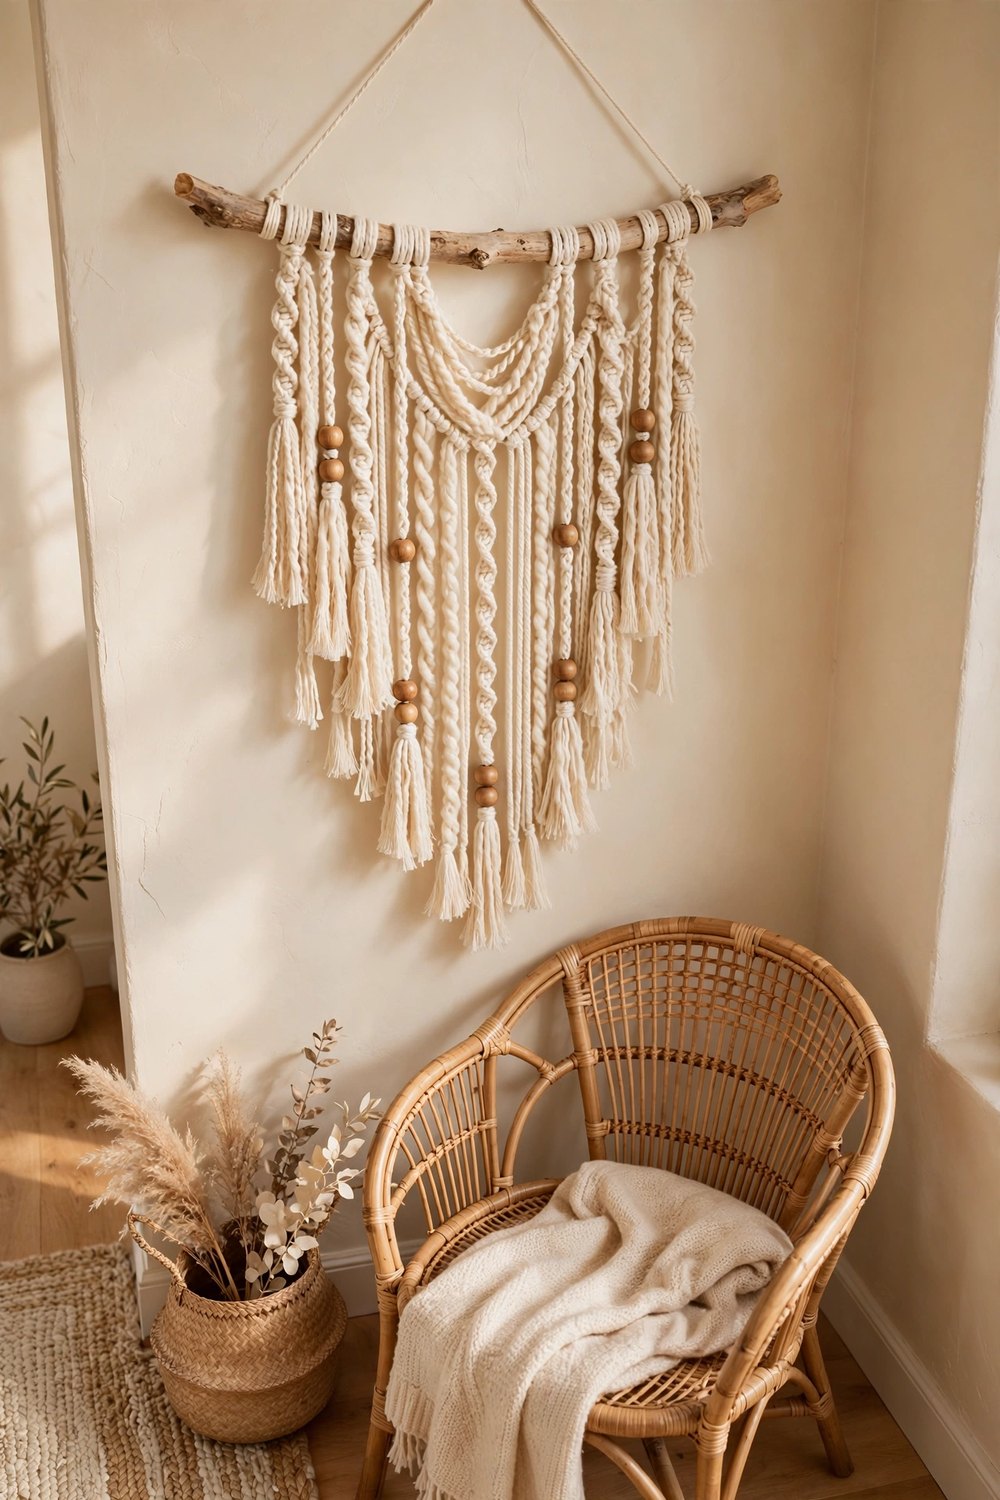
Beads give a soft yarn hanging its rhythm and weight. String natural wooden beads onto a few of the strands before you hang them — clustered near the top, scattered through the middle, or gathered just above the fringe — and tie small knots beneath each bead to hold it in place. The beads catch the light, make the strands hang straighter, and add the gentle clicking texture that makes boho pieces feel collected rather than plain. Unfinished pale wood suits a calm palette best; a few darker walnut beads make a lovely punctuation.
7. Make a Chunky Rainbow Hanging for a Sweet Corner
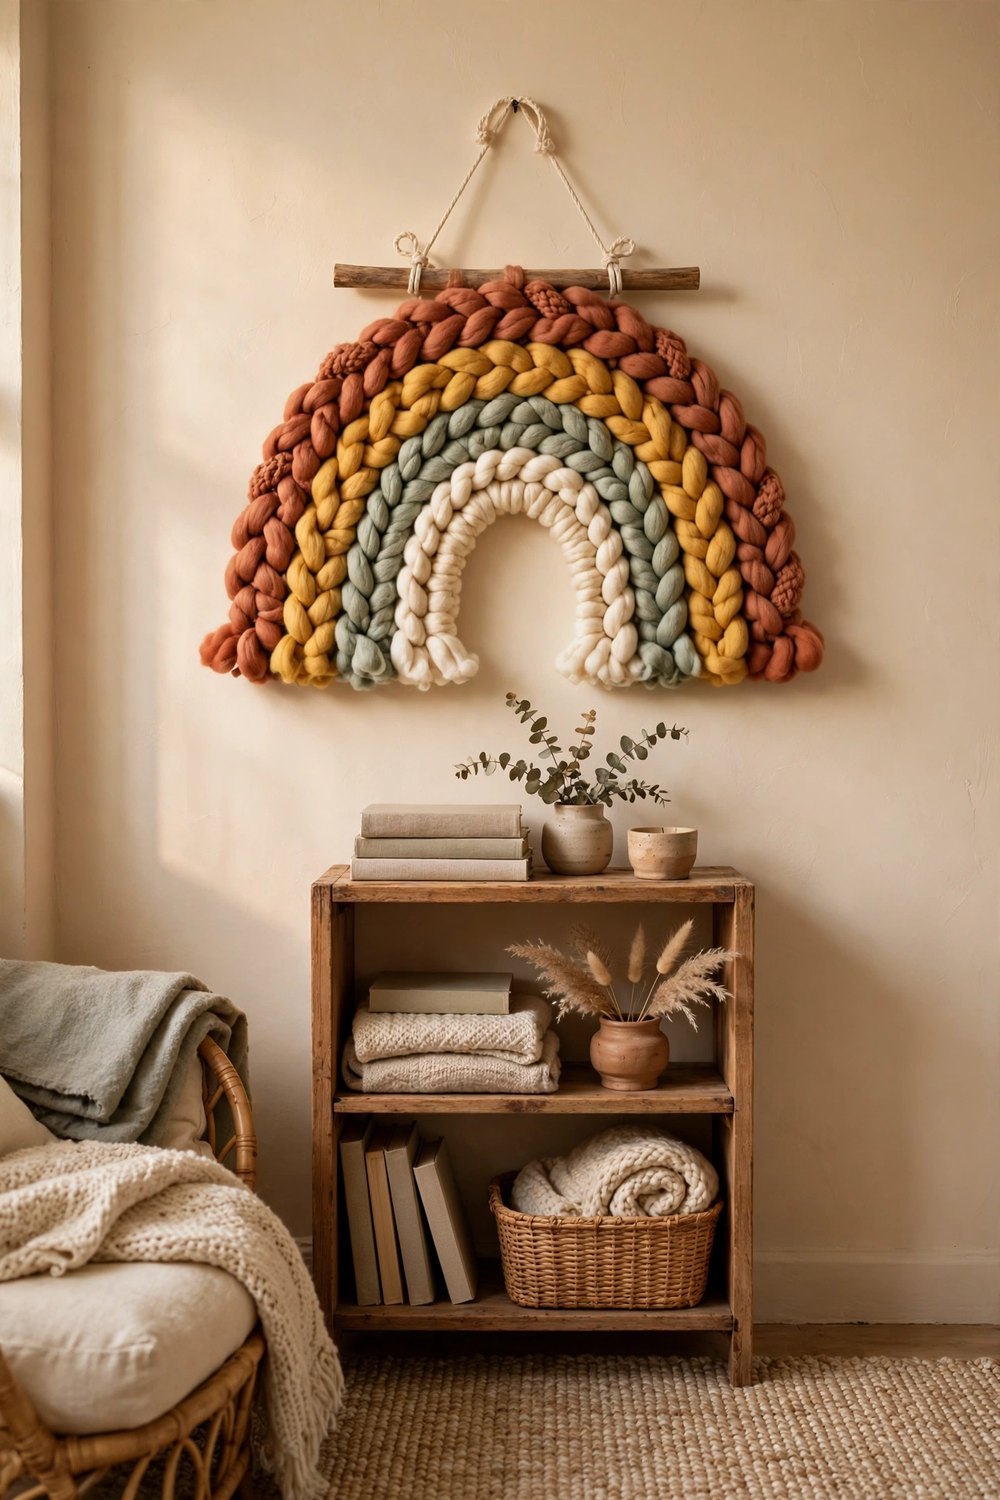
The yarn rainbow has become a nursery classic because it is pure softness: thick cotton rope or chunky yarn wrapped in colored yarn, bent into arches, and stitched together at the back. Muted, earthy rainbow tones — rust, mustard, sage, and cream — keep it calm enough for a living room shelf or reading nook, not just the baby’s room. Add a cloud of unspun roving or a small tassel at the ends if you like. It takes an evening of wrapping while something good plays in the background, and it hangs from a single small nail.
8. Group Three Mini Hangings as a Gallery Set
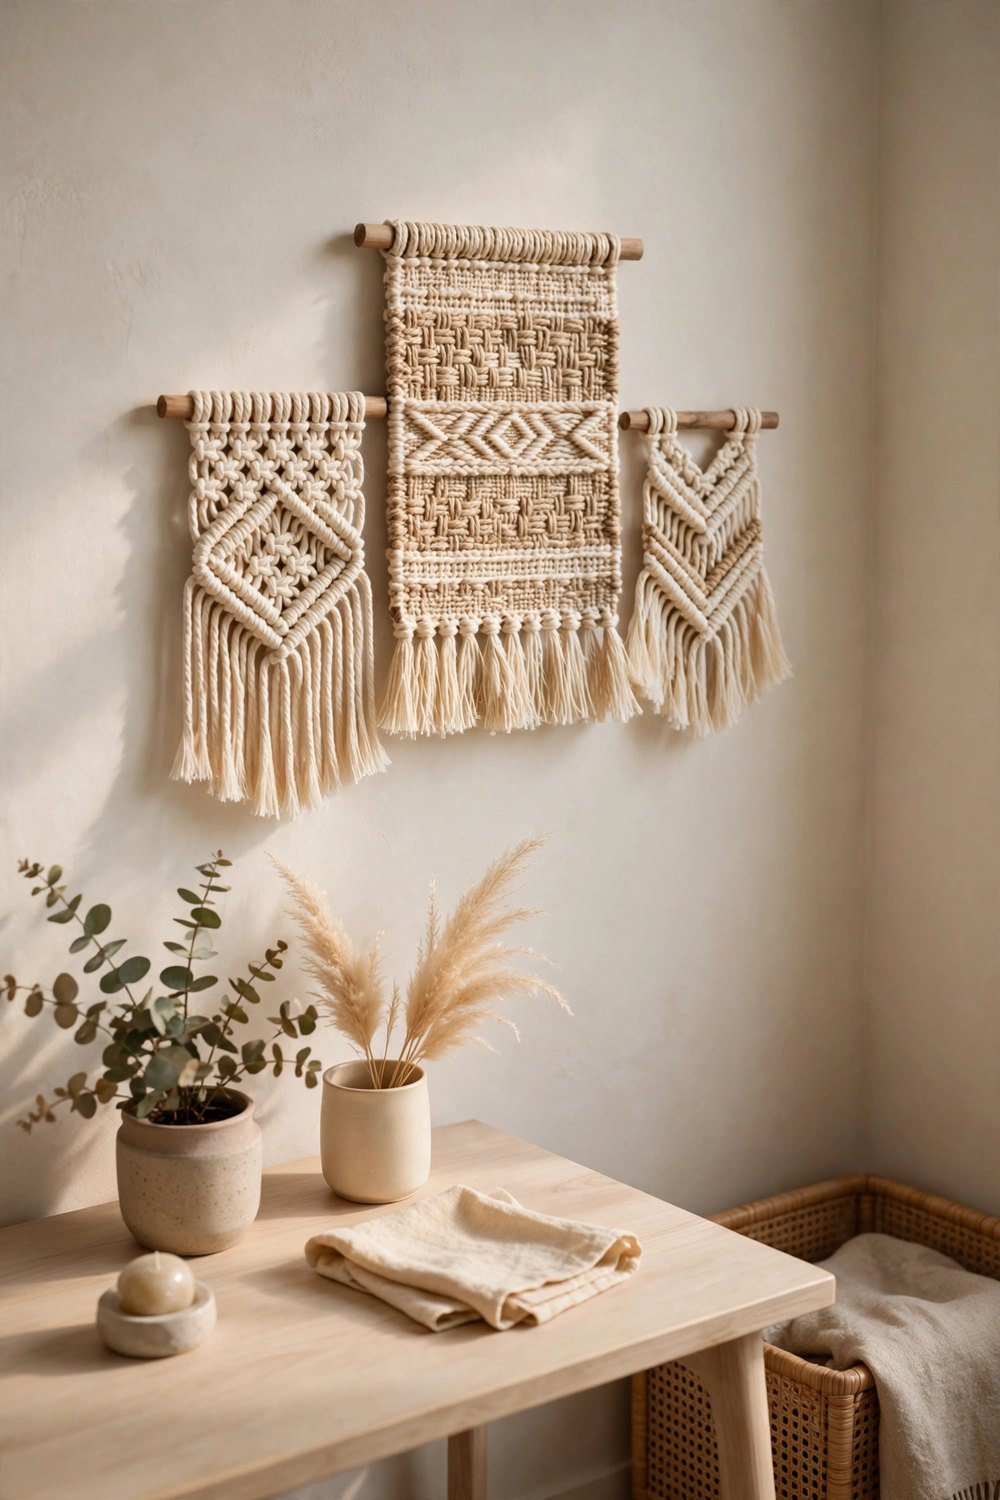
Small hangings are quick to make and even quicker to love in a group. Weave or knot three mini pieces — each no bigger than a book page — on short dowels, and hang them in a loose triangle or a slightly uneven row above a desk, dresser, or entryway bench. Keep the palette shared, in creams and one accent color, but let each piece have its own texture: one macramé, one woven, one simple fringe. The set reads as a collected gallery, uses up every yarn scrap you own, and can grow one piece at a time.
9. Cut Long Fringe Layers for a Waterfall Effect
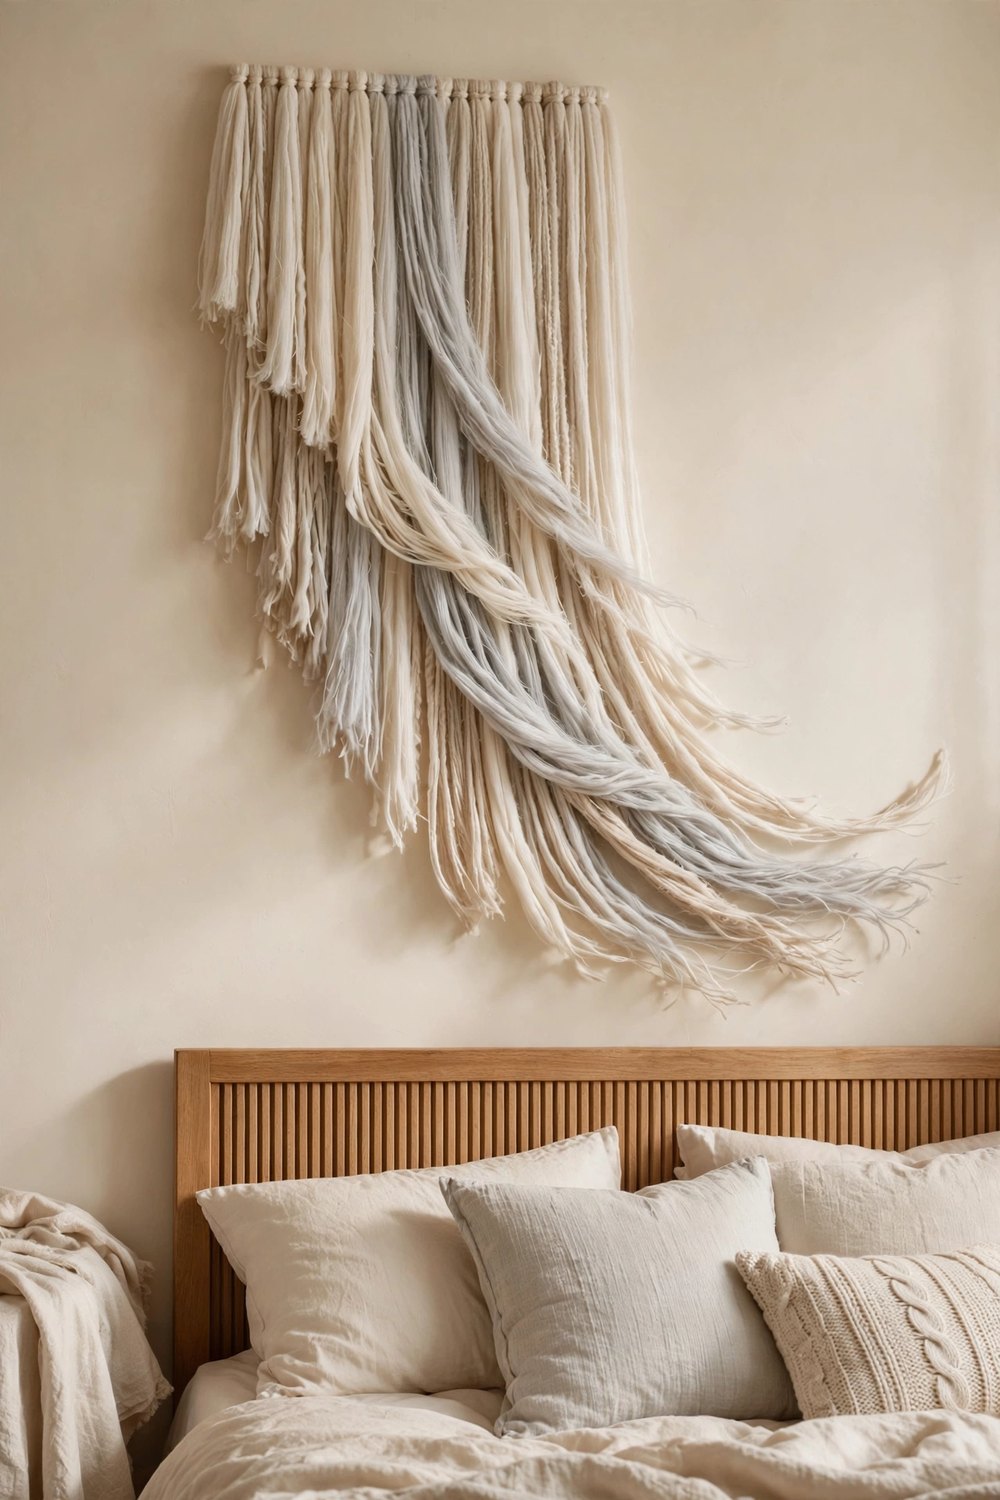
Sometimes the yarn itself is the whole artwork. Fold very long strands over a branch or copper pipe in dense, overlapping layers, then trim the hanging ends into a deep cascading point or a soft waterfall curve that falls almost to the furniture below. Comb the strands out with a wide brush so they lie silky and full, mixing two or three close tones — ivory, oatmeal, pale grey — for depth. Against a plain wall the movement of the fringe is the decoration, and it softens a TV wall or a headboard zone beautifully.
10. Weave a Wall Pocket for Dried Flowers
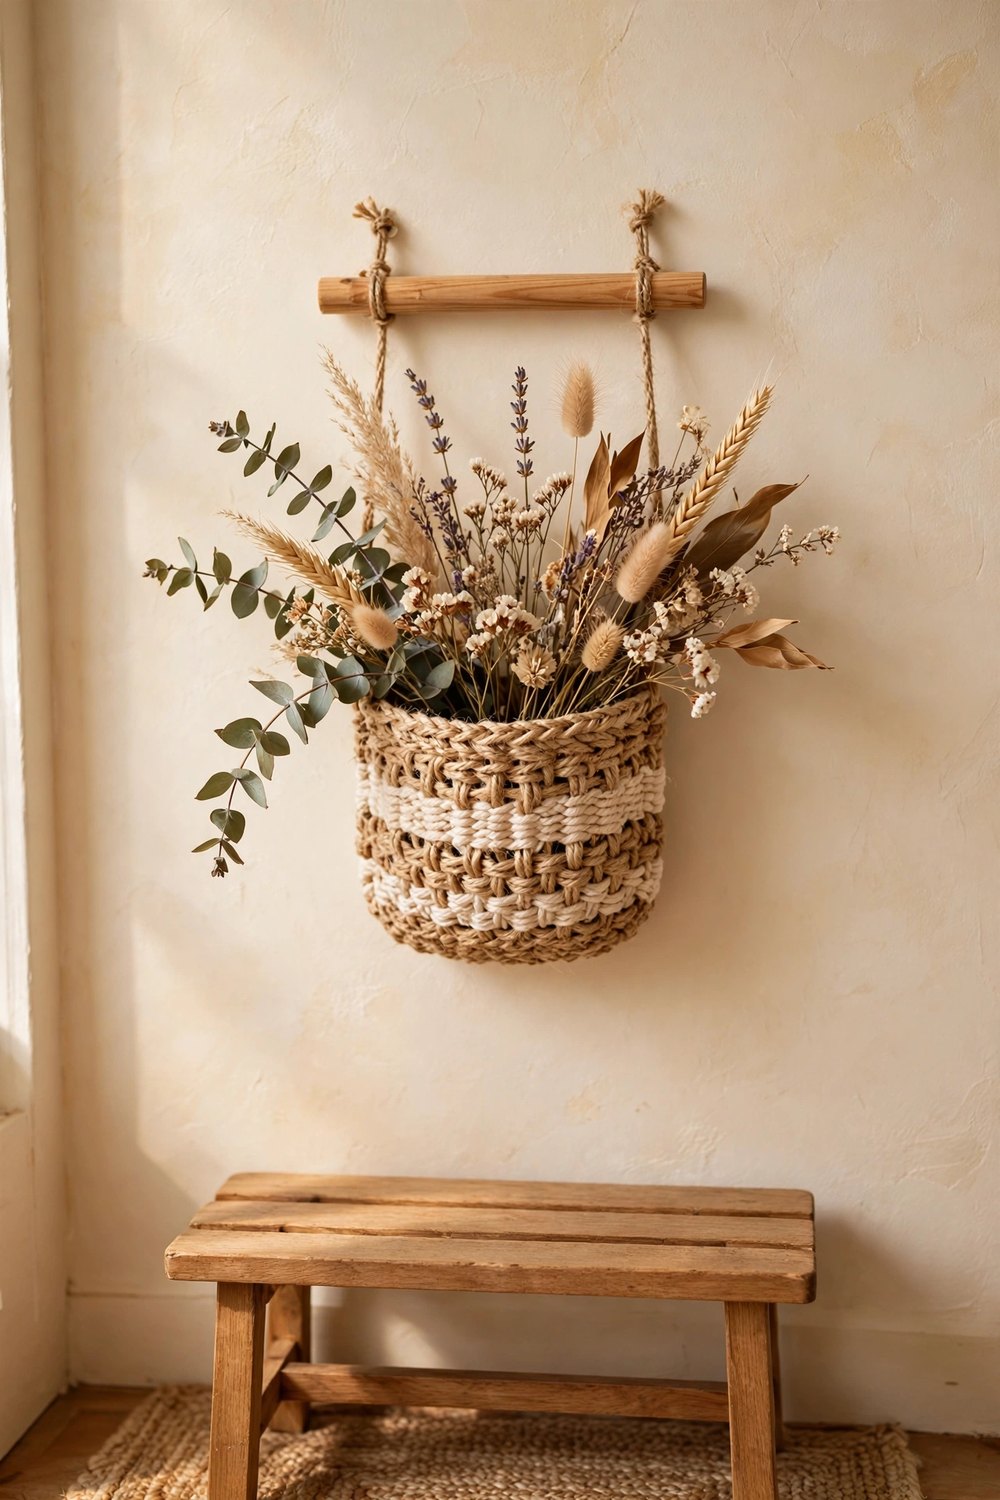
A woven pocket turns a wall hanging into a tiny vase. Weave a small rectangle on a frame loom, fold the bottom third up, and stitch the sides closed to form a pouch; hem it onto a short dowel and hang. Tuck in dried flowers, a sprig of eucalyptus, or a few wheat stems and the piece comes alive with the seasons — swap the stems in autumn and spring and the hanging refreshes itself. Keep the weave fairly tight so the pocket holds its shape, and choose a natural jute warp for sturdiness.
11. Add Feathers to a Soft Scandinavian-Style Hanging
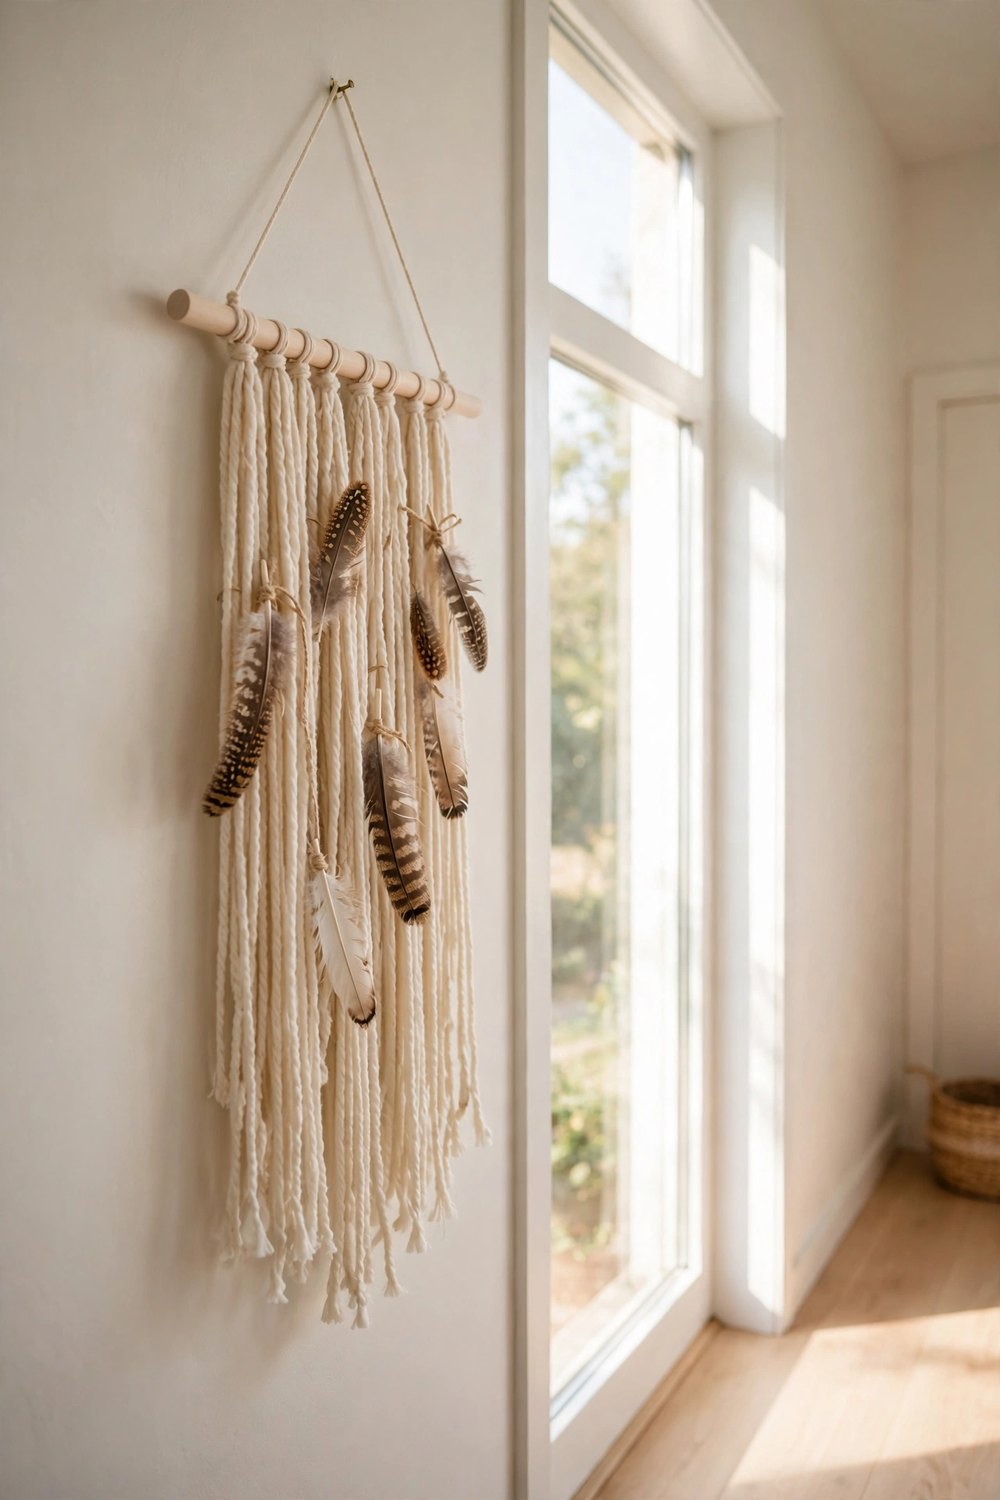
Feathers bring a lightness to yarn that nothing else matches. Start with a calm, minimal hanging — straight cream strands on a pale wooden dowel, trimmed neatly — then tie a few natural feathers onto fine cord and hang them at different heights among the strands, or cluster three at one side like a quiet accent. Undyed, softly barred feathers suit the Scandinavian mood best; the look should whisper, not costume. The feathers stir with the slightest air movement, which makes this a lovely piece for a hallway or beside a window.
12. Go Oversized with a Statement Weaving Above the Sofa
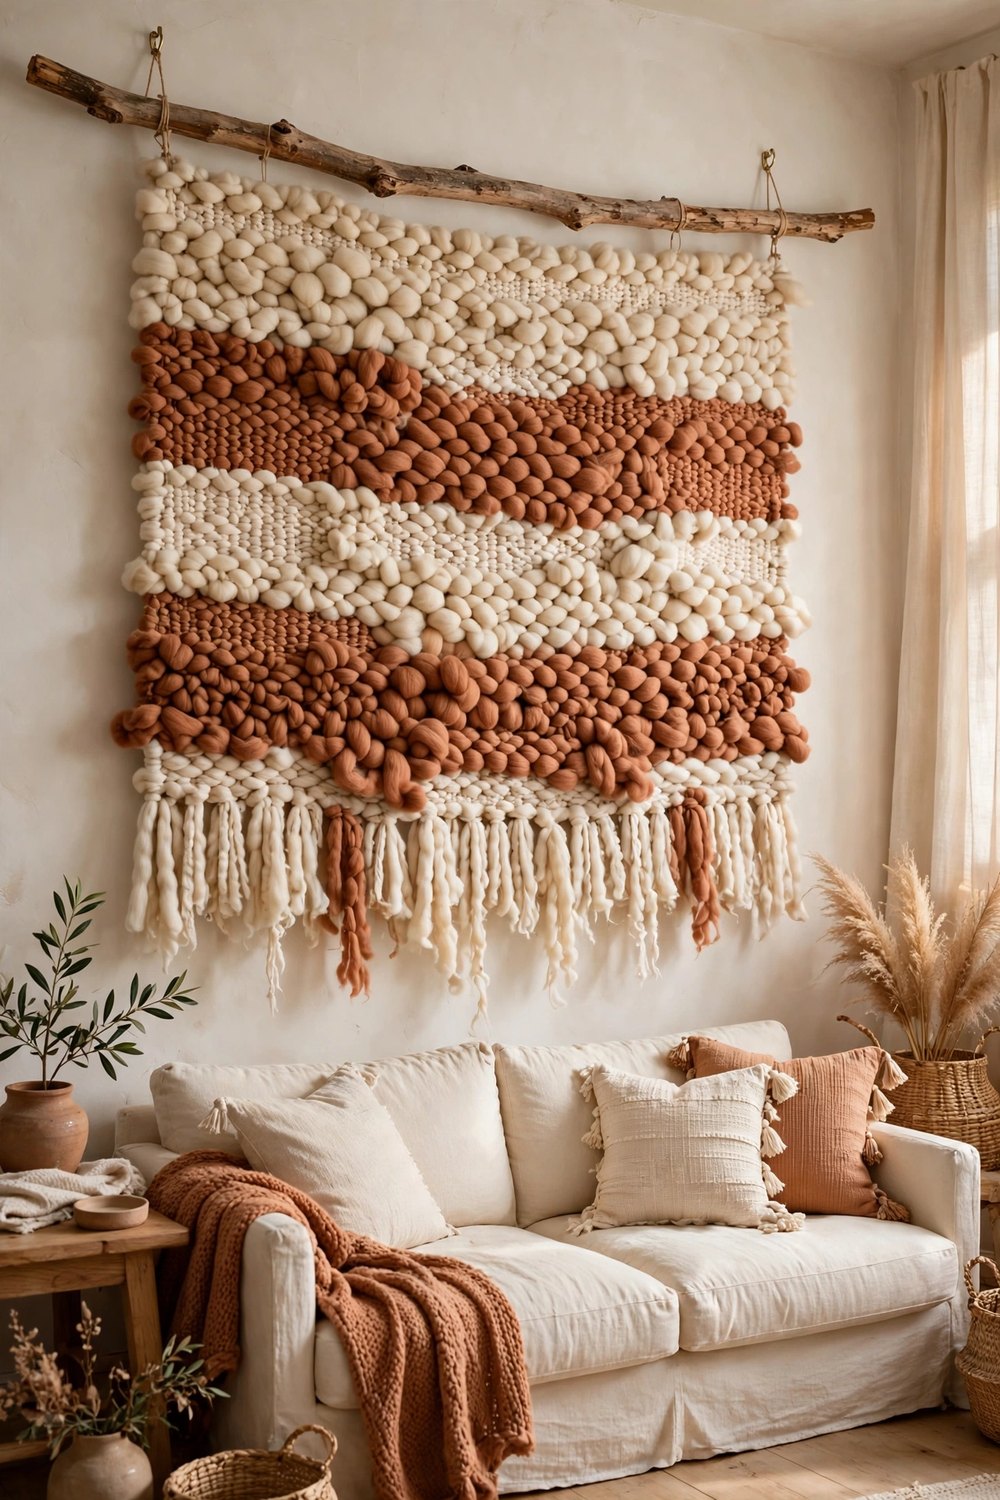
When one wall needs real presence, scale up. A wide weaving — a meter or more across — on a long branch above the sofa or bed can hold a whole room’s palette in one piece: broad bands of cream and clay, a section of chunky roving clouds, macramé knots at the center, and a long uneven fringe. Build it in sections on the largest loom you can find or knot it directly on the branch, and do not be afraid of asymmetry; the handmade irregularity is the luxury here. It costs a fraction of large framed art and warms the room like a textile should.
A wall hanging is the friendliest kind of DIY — forgiving of uneven knots, happy to be unpicked and redone, and soft in a way nothing else on the wall can be. Start small with a tassel hanging or a hoop weave, let one finished piece talk you into a bigger one, and keep your yarn scraps; mini hangings are waiting in every leftover skein. Save this list to your Pinterest board so it is there before your next craft evening — and follow DecorNesti for a new cozy project list every week.


Leave a Reply