
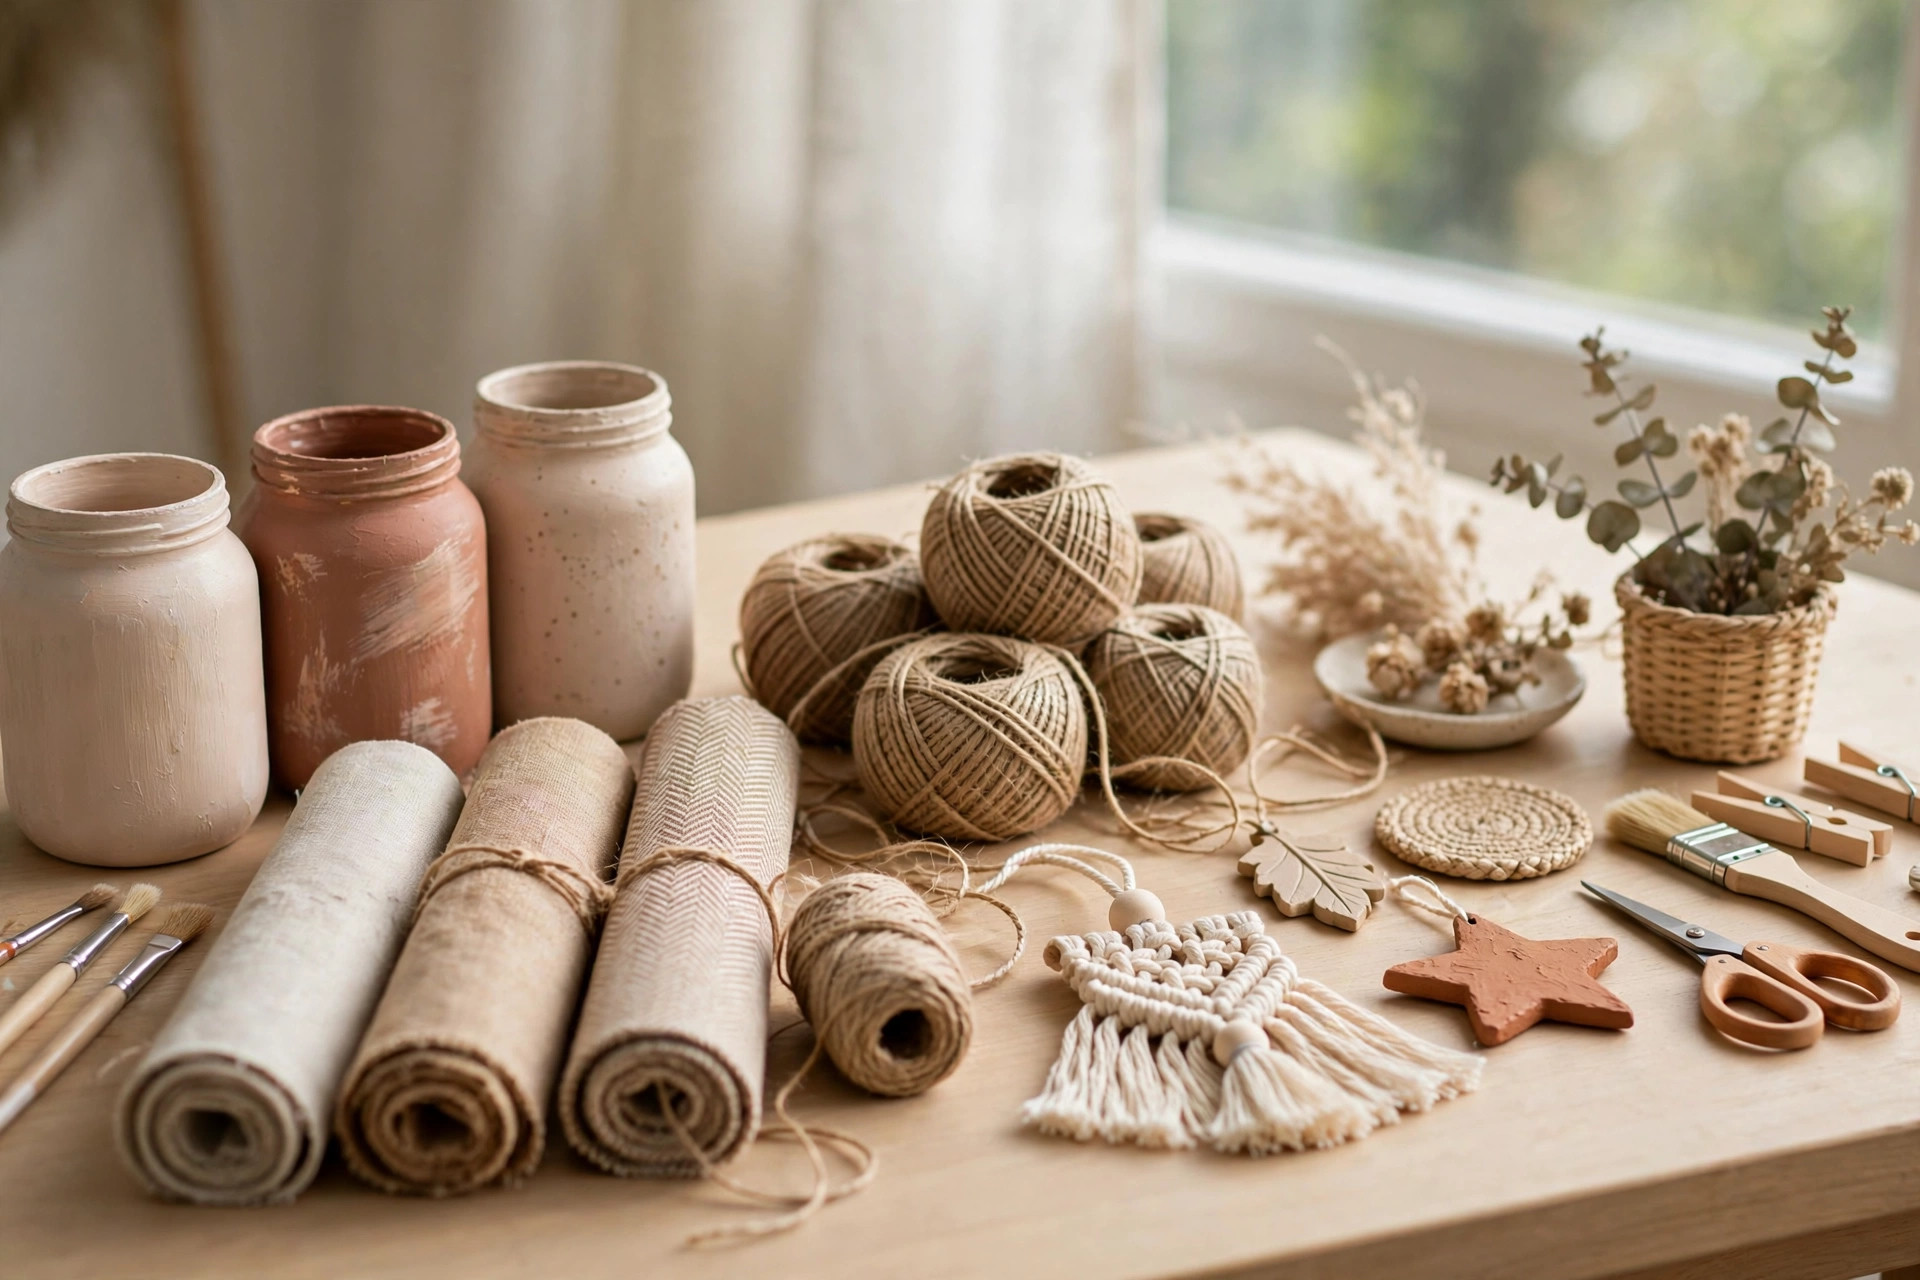
We have all got one. A shelf, a tote bag or a quiet corner of the closet where good intentions go to sit half finished. The supplies are bought, the tutorial is saved, and somehow the project just never quite makes it over the line.
The trick is not more motivation, it is smaller projects. When a make needs only a handful of supplies and an hour or two of your time, you usually finish it in one happy sitting, and that finished feeling is what carries you into the next one.
So here are 18 DIY decor projects picked especially for beginners. Some need no tools at all, some are simple weekend paint jobs, and the last few make sweet little gifts. Pick one, set a small timer if it helps, and enjoy actually being done.
No Power Tool Projects
Nothing here needs a drill, a saw or a trip to the hardware store. If you can peel, press, wrap or glue, you can finish every single one of these today.
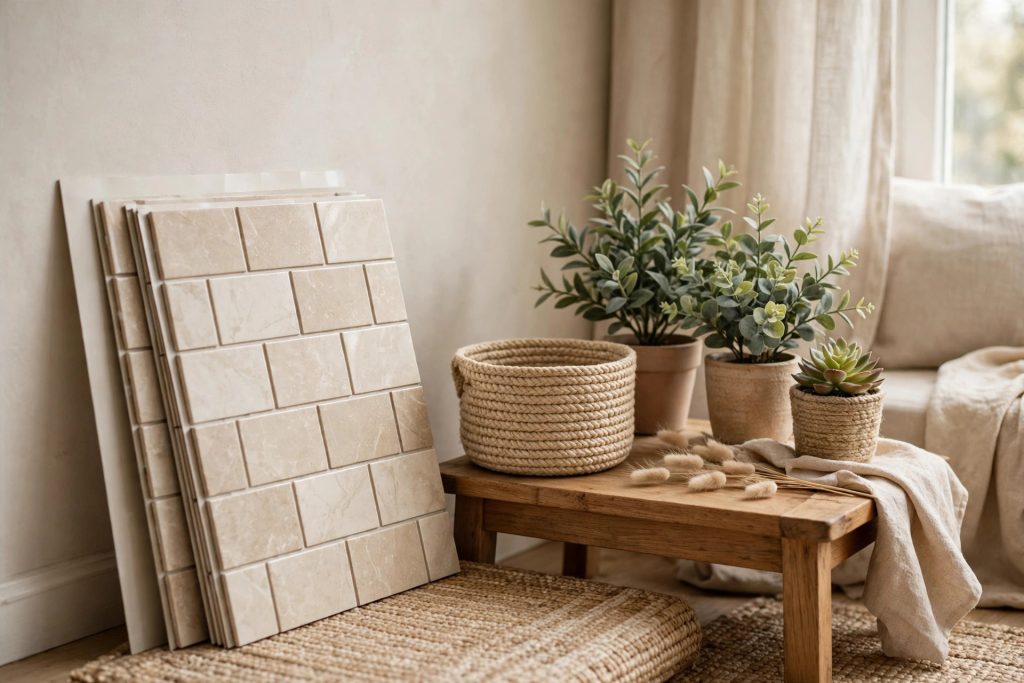
Press on a peel and stick tile panel. Peel and stick tiles have come a long way, and a small stretch behind a sink or along an entryway wall is a forgiving place to start. Wipe the wall clean, peel the backing, press from the center outward and smooth out bubbles with an old bank card. Most panels can be trimmed with regular scissors, so mistakes are cheap and easy to fix.
Wrap a plain basket in rope. A tired plastic bin or plain basket turns into a warm textured storage piece with a coil of rope and a glue gun. Start at the bottom, add a thin line of glue, press the rope down and keep winding upward in a tight spiral. It typically takes about half an hour, and the result stores throws, toys or spare cushions beautifully.
Style faux plants the easy way. Grouping two or three potted faux plants is decor you cannot kill, which beginners usually appreciate. Drop each pot into a basket or a slightly bigger ceramic pot, then add a little moss or crumpled paper around the top to hide the fake soil line. Cluster them at different heights on a side table and the corner instantly looks planned.
Make no-sew cushion covers. If sewing is the thing that stops you, fusible fabric tape is your new best friend. Wrap your fabric around the cushion like an envelope, fold the raw edges under, and press the tape along the seams with a warm iron. The cover slips off for washing, and nobody will ever guess there is not a single stitch in it.
Create a washi tape wall design. Removable tape lets you draw straight onto the wall with zero commitment. Tape a simple geometric shape, a mountain outline or a frame around a favorite print, smoothing each strip as you go. It peels off cleanly later, which makes it perfect for renters and for anyone who changes their mind often.
Build a styled tray vignette. A flat tray pulls loose bits and pieces into one calm display. Start with the tray, add a small stack of books, then layer in a candle, a tiny plant and one object you love. This usually takes ten minutes, and it makes a coffee table or dresser look finished rather than cluttered.
Weekend Paint Projects
Paint is the beginner’s superpower because it forgives almost everything. A light sand, a wipe down and two thin coats will carry you through all six of these.
Furniture touch ups
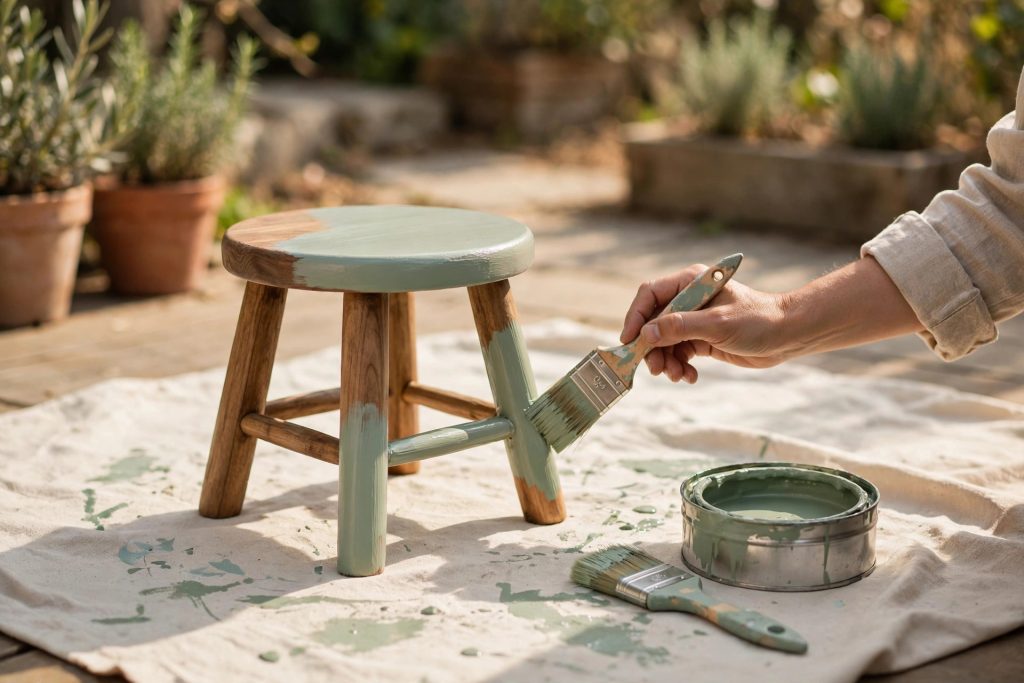
Paint a small stool or side table. Small pieces are the safest first paint job because they are fast and easy to move. Sand lightly until the shine is gone, wipe away the dust, then brush on two thin coats of a soft color like sage green, letting each coat dry fully. A stool in a fresh color works beside a sofa, in a bathroom or as a plant stand.
Try a two-tone dresser refresh. Painting only part of a piece keeps the project small and the look interesting. Tape off the drawer fronts and paint the frame, or paint the drawers and leave the frame in its warm wood tone. Two-tone pieces usually look far more expensive than they were, and you only sand and paint half the surface.
Paint a set of terracotta pots. Plain terracotta is cheap, cheerful and very paintable. Brush on two coats in cream, clay or a soft sage, and do not worry about perfect coverage, because a slightly rustic finish suits the material. Group three painted pots together with herbs or faux greenery and a windowsill becomes a little moment.
Walls and doors
Paint a simple arch accent. An arch painted behind a shelf, a desk or a bed adds instant architecture to a flat wall. Sketch the shape in pencil using a pin and string as a guide for the curve, tape the straight edges, then fill it in with a small roller. Pick a tone a few shades deeper than your wall color and it will look soft rather than shouty.
Color block a half wall. Painting just the lower half of a wall gives you color without the commitment of a whole room. Run a level line of painter’s tape at chair rail height, press the edge down firmly with a fingernail so paint cannot sneak under, then roll on your color. It is typically a one afternoon job, drying time included.
Paint the inside of a door. The inside face of a door is a small, forgotten surface that can carry a lovely color. Choose a soft clay, a muted green or a warm greige, tape around the handle, and use a small foam roller for a smooth finish. Every time you close that door, the room gets a quiet little lift.
First Makes to Gift or Keep
These small makes are the ones that build your confidence fastest, because they turn into real objects you can hold, use or wrap up for someone. Make the first one for yourself and the second one to give away.
Pour or place candles in painted jars. Save a few glass jars, paint the outside in matte cream or terracotta, and let them dry overnight. Pop in a small candle or a battery tea light and cluster two or three together. Tied with a scrap of twine, a painted jar candle makes a genuinely pretty gift that usually costs you almost nothing.
Frame a piece of fabric or a simple print. A leftover fabric scrap with a lovely pattern frames up just like art. Trim it to size, smooth it over the backing board of an inexpensive frame and close it up. If you are printing instead, simple line drawings and leaf prints usually look the most elegant, and a set of two small frames beats one big one.
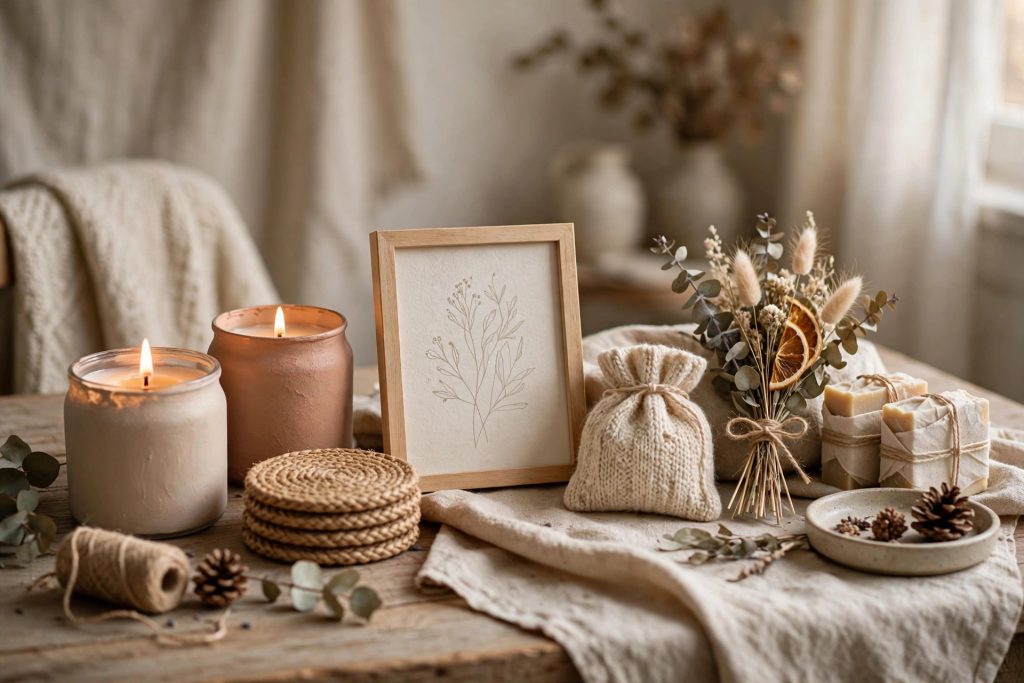
Coil a set of rope coasters. This is the basket wrap idea in miniature. Coil cotton rope into a flat spiral, gluing as you go, until each coaster is wide enough for a mug. Make four, stack them and tie the set with twine and you have a handmade gift that people actually use every day.
String a painted bead garland. Wooden craft beads are inexpensive and very forgiving to paint. Roll them in small batches inside a zip bag with a squeeze of paint for an easy even coat, let them dry on a skewer, then thread them onto twine with a simple tassel at the end. Draped over a stack of books or a vase, a bead garland adds that soft finished touch.
Stencil a tote bag or tea towel. Plain cotton takes fabric paint beautifully, and tape makes the design foolproof. Lay down strips of painter’s tape as stripes, paint between them, then peel the tape away while the paint is still slightly wet for crisp lines. A stenciled tote is a lovely beginner gift because it folds flat, posts easily and gets used straight away.
Hang a photo clip string. Stretch a length of twine between two small hooks or picture nails and clip on photos, postcards or little prints with mini clothespins. It fills a bare wall in about fifteen minutes and you can swap the pictures whenever you like. Start with five or six clips, because an uncluttered string usually looks calmer than a crowded one.
That is the whole secret, really. Small supplies, small surfaces and projects that end before your enthusiasm does. Finish one of these this week, put it somewhere you will see it every day, and let that little win talk you into the next one.



Leave a Reply