
20 Pinecone Ornament Ideas You Can Craft This Weekend
If you’ve got a basket of pinecones from a walk or a craft store bag sitting in a closet, you’ve honestly got most of an ornament collection already. Pinecones are sturdy, they take paint beautifully, and they look just as good left completely natural, which means you can finish a whole set in one relaxed weekend afternoon.
You don’t need fancy tools for most of these, either. A little paint, some twine, a hot glue gun, and a few ribbons will usually carry you through, and because every cone is slightly different, no two ornaments ever look exactly alike. That’s part of the charm, really.
In This Article
- Start with classic white snow-dusted cones for an instant winter look
- Add gold-leaf tips when you want a little glow without full glitter
- Try silver glitter cones if your tree leans cool and frosty
- Paint a deep red ombre set for a rich, old-fashioned tree
- Go pastel with blush and sage cones for a softer Christmas palette
- Bleach your cones for that pale, Scandinavian look
- Make cinnamon-scented cones that make the whole room smell like Christmas
- Keep it simple with natural cones and burlap ribbon hangers
- Pair cones with dried orange slices for old-fashioned woodland color
- Deepen the color with a walnut stain for a richer natural finish
- Turn single large cones into mini Christmas trees
- Build a rustic pinecone wreath you can bring out every year
- String a pinecone garland swag across the mantel
- Cluster cones into an easy evergreen table centerpiece
- Make a hanging pinecone kissing ball for a doorway
- Display your best cones under glass cloches like little treasures
- Hang cones in the window on ribbons of different lengths
- Use small cones as gift toppers instead of store-bought bows
- Fill a bowl with cones and fairy lights for the coffee table
- Take oversized cones outdoors in a porch basket with lanterns
Painted, Gilded and Glittered Cones
A coat of color is usually the fastest way to turn a plain cone into something that feels made for your tree. These painted and gilded ideas range from soft and snowy to rich and glowing, so you can mix a few finishes together.
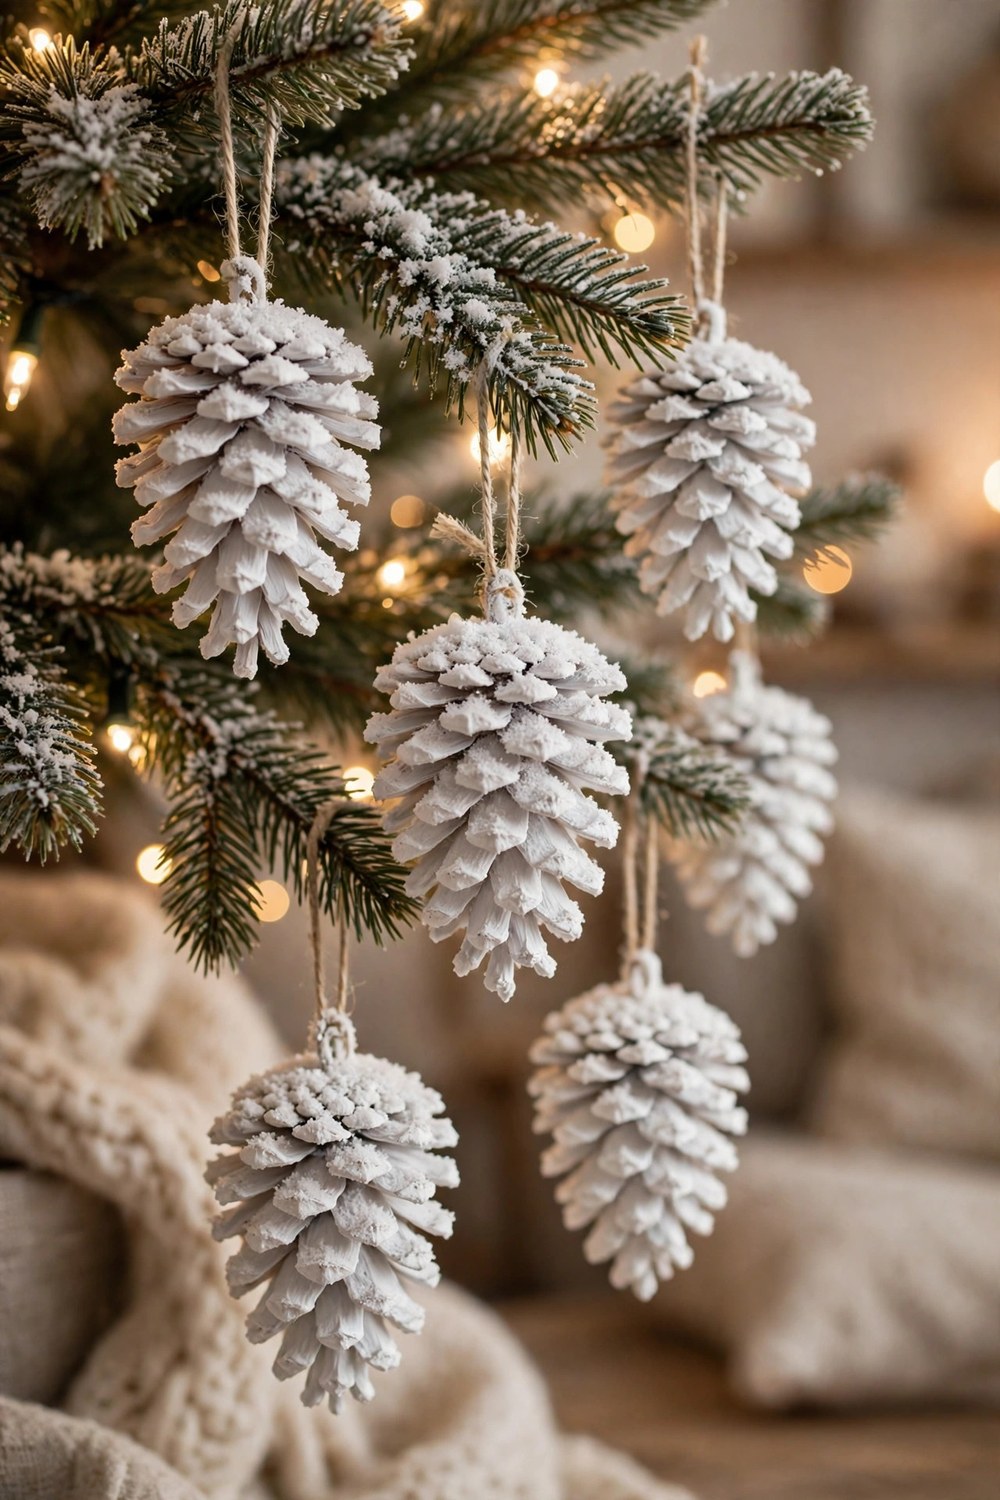
1. Start with classic white snow-dusted cones for an instant winter look
Brush white acrylic paint lightly over the outer scales, leaving the darker cone showing in the crevices so it still looks natural. Work in thin layers, because heavy paint typically fills the texture you want to keep. Once dry, tie on a simple twine loop and hang them in clusters. They pair especially well with warm white lights and read beautifully against deep green branches.

2. Add gold-leaf tips when you want a little glow without full glitter
Paint a thin line of craft adhesive along just the edges of each scale, then press on small pieces of imitation gold leaf with a soft brush. Let some spots stay imperfect, since that worn look usually feels richer than solid coverage. Seal with a clear spray if you like, add a thin gold cord, and hang them where the tree lights can catch them.
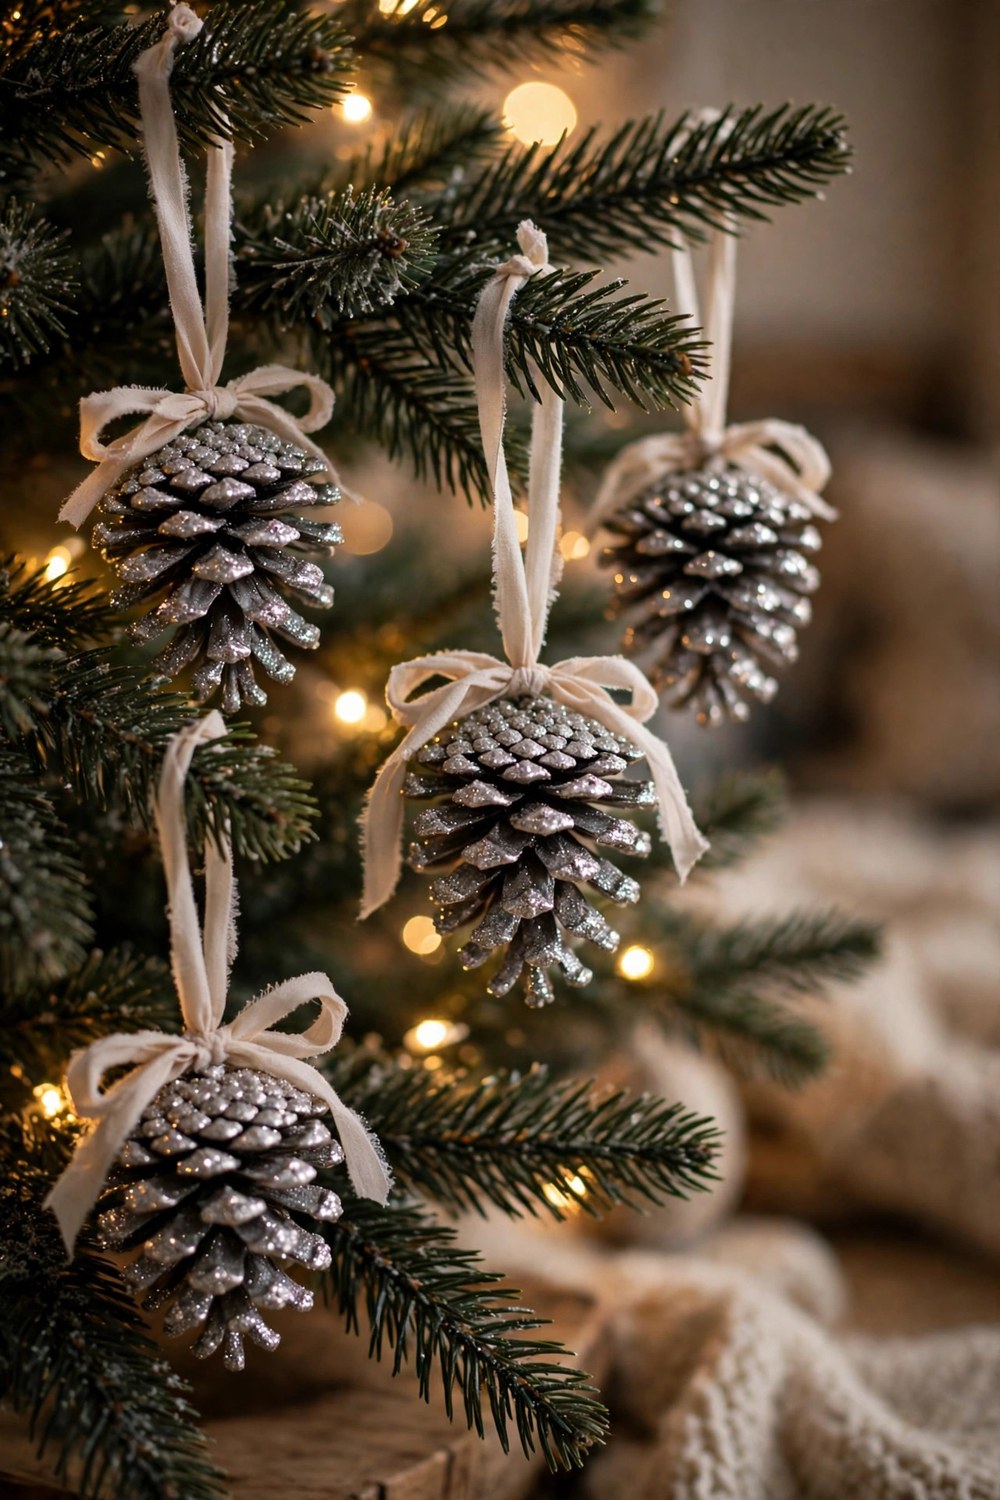
3. Try silver glitter cones if your tree leans cool and frosty
Coat the tips of the scales with glue, sprinkle on fine silver glitter over a tray, and tap off the excess before it dries. A light mist of clear sealant typically keeps the sparkle from shedding all season. Hang them with pale grey or icy blue ribbon, and mix in a few plain white cones nearby so the glitter feels balanced rather than busy.
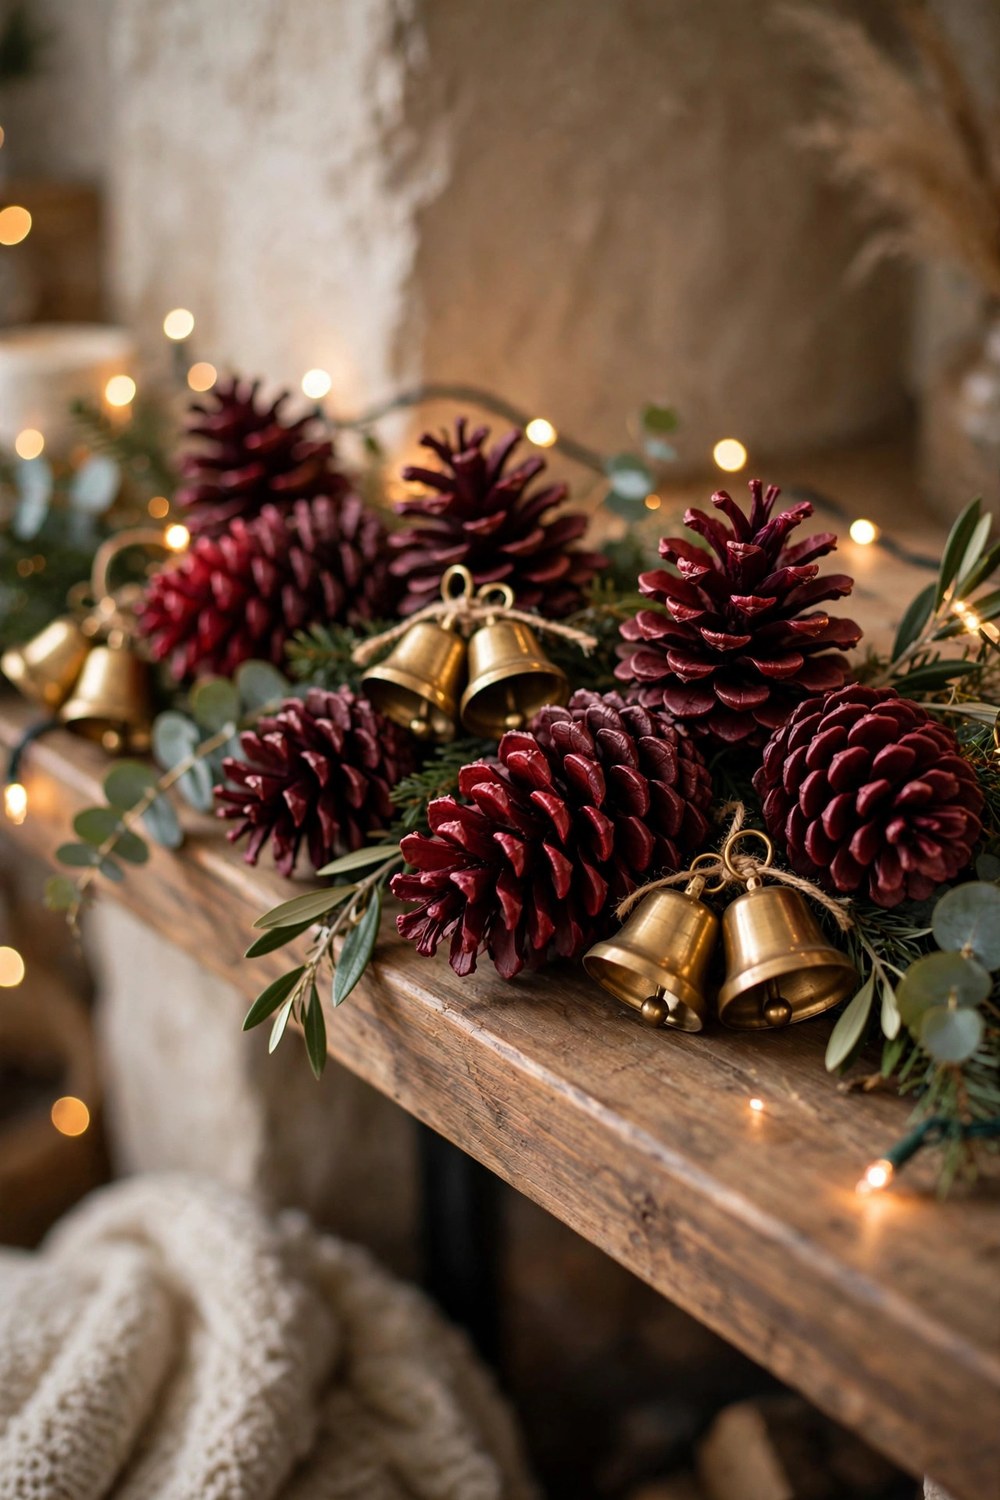
4. Paint a deep red ombre set for a rich, old-fashioned tree
Start with burgundy at the wide end of the cone and blend it upward into a softer cranberry, leaving the very top almost natural. Sponging the paint on usually blends the colors more smoothly than a brush. These look lovely with brass bells and plaid ribbon, and because the color is darker at the base, small drips or uneven spots hardly show at all.
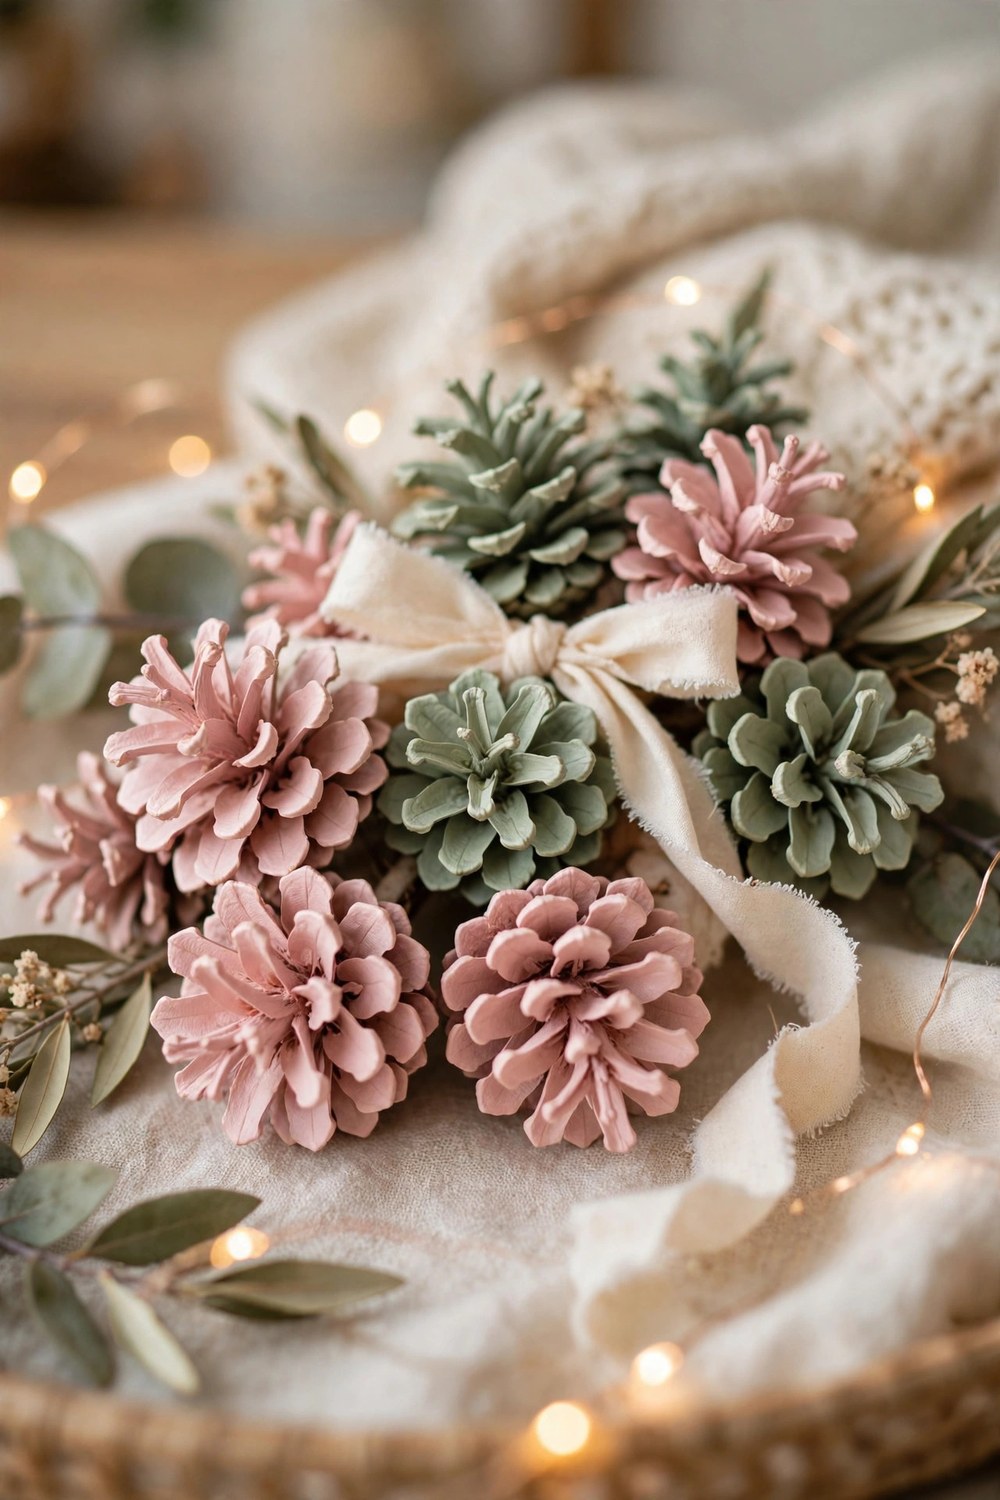
5. Go pastel with blush and sage cones for a softer Christmas palette
Chalk paint works especially well here, since it dries matte and covers the dark cone in one or two coats. Paint half the set blush pink and half pale sage, then hang them alternately for a gentle rhythm on the tree. Cream ribbon loops keep the look airy, and a few pearl beads tucked near the top add a sweet finishing detail without much effort.
Natural and Rustic Finishes
Sometimes the prettiest option is barely changing the cone at all. These natural finishes keep the woodland texture front and center, and they typically suit farmhouse, cabin, and Scandinavian-inspired rooms best.
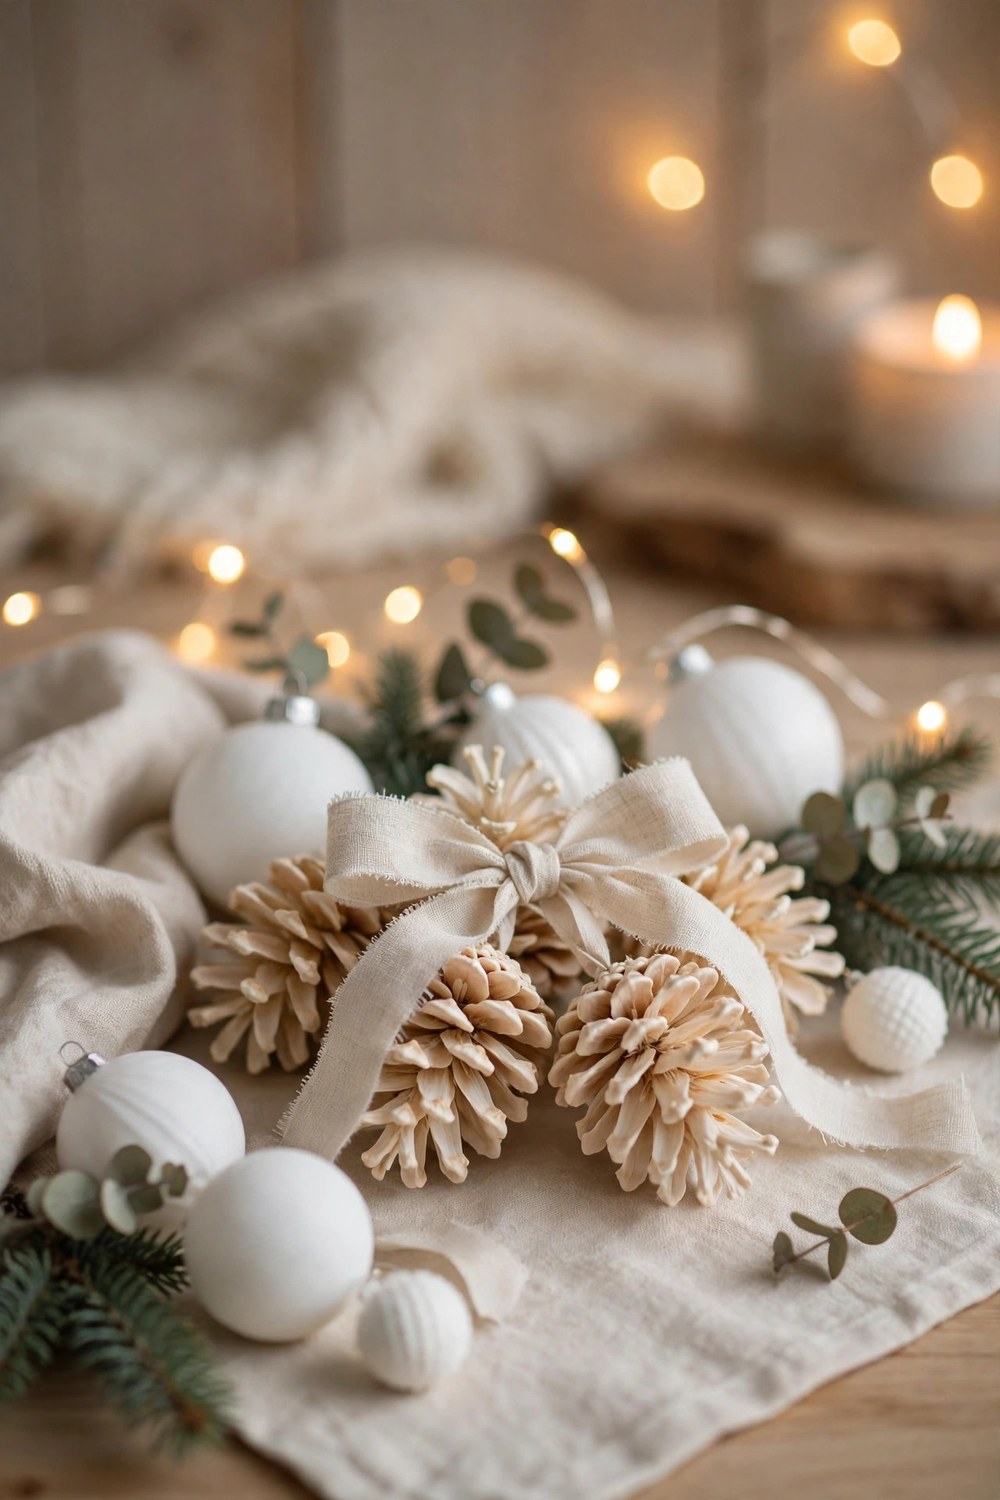
6. Bleach your cones for that pale, Scandinavian look
Soak clean cones in a diluted bleach solution in a well-ventilated spot, weighing them down so they stay submerged, then rinse and let them dry fully for several days as they open back up. The result is a soft, weathered blonde tone that usually pairs beautifully with white ornaments and linen ribbon. Always handle the solution carefully, keep it away from kids and pets, and never rush the drying.
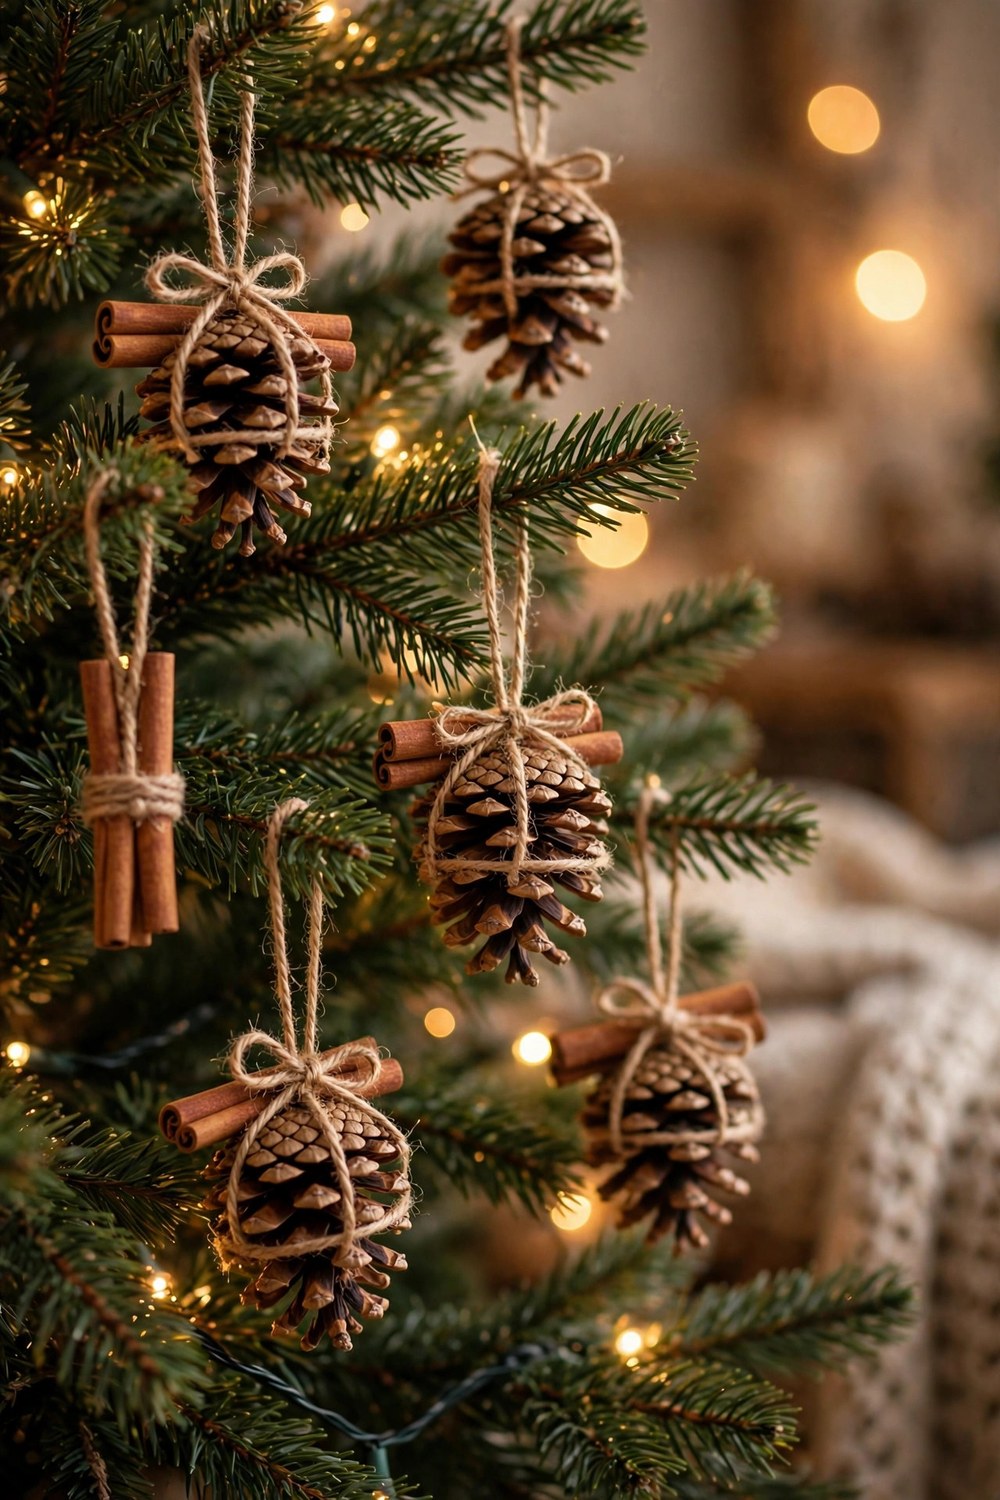
7. Make cinnamon-scented cones that make the whole room smell like Christmas
Brush a little diluted craft glue onto the scales, roll the cones in ground cinnamon, and let them dry on parchment. Or tie two cinnamon sticks alongside each cone with twine for scent plus decoration in one. The fragrance typically lasts a few weeks, and hanging a handful near the tree warms up the whole corner. Refresh them later with another light dusting if needed.
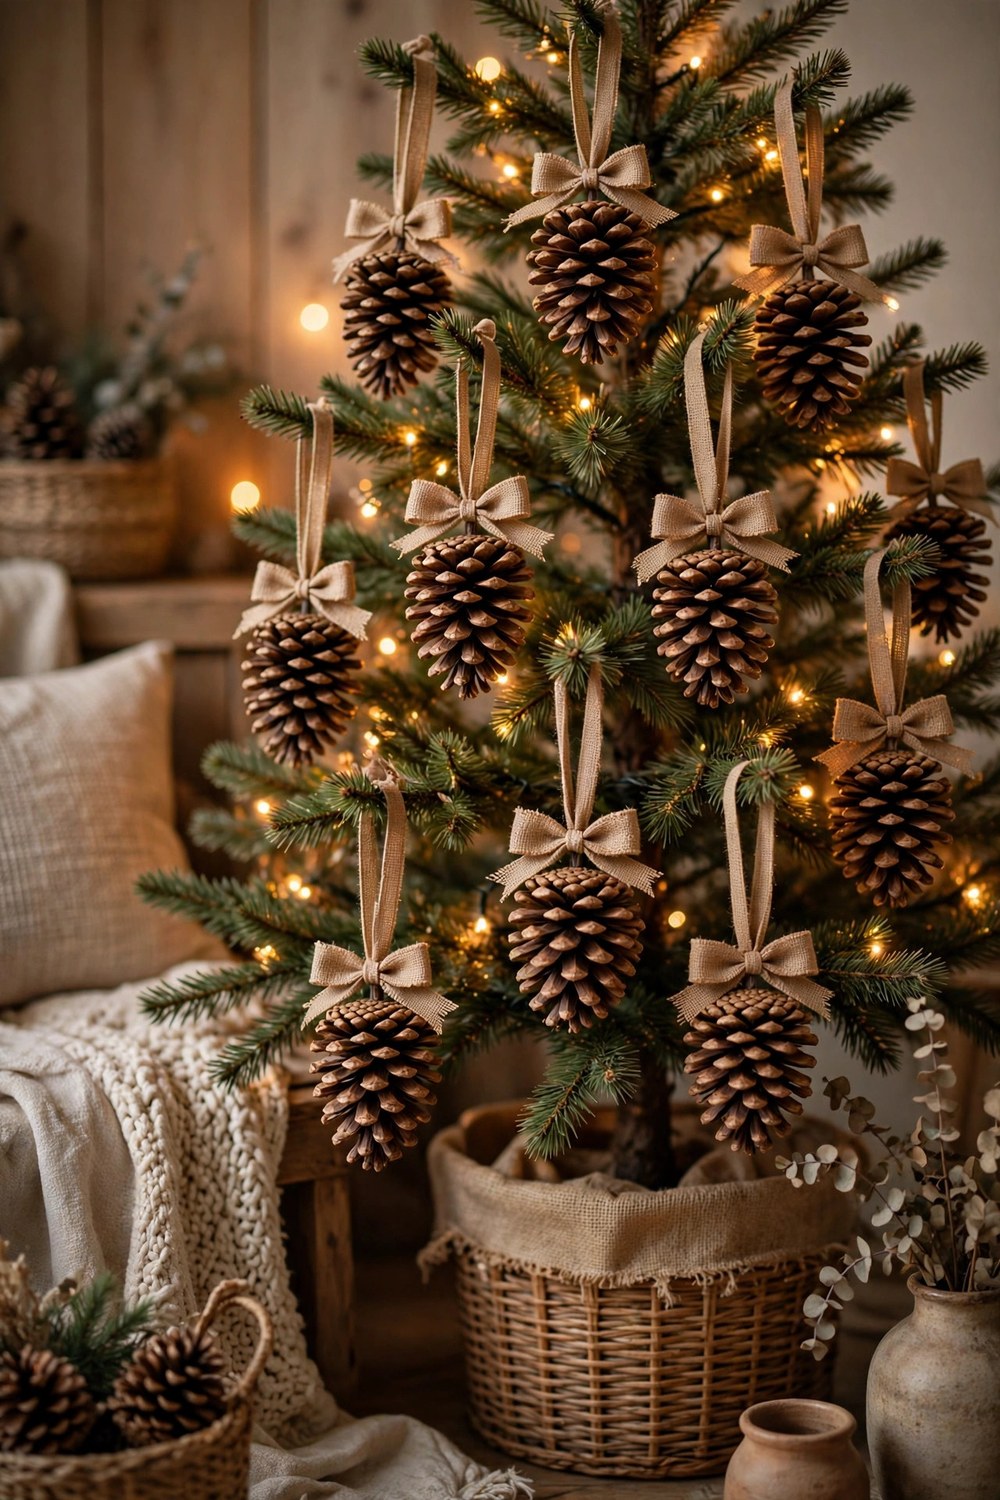
8. Keep it simple with natural cones and burlap ribbon hangers
Sometimes all a good cone needs is a neat loop of burlap or hessian ribbon hot-glued at the top and a small bow where the loop meets the cone. Leave the scales completely bare so the warm brown tones do the work. These usually look best grouped in odd numbers along lower branches, and they hold up well year after year because there’s no paint to chip.

9. Pair cones with dried orange slices for old-fashioned woodland color
Thread a dried orange slice just above each cone on the same twine loop, or glue the slice flat against the cone’s top with a sprig of faux greenery behind it. That amber glow against the brown scales feels warm and nostalgic, especially near candlelight. Make extra, because this combination also looks wonderful strung along a mantel or tucked into a simple wreath.
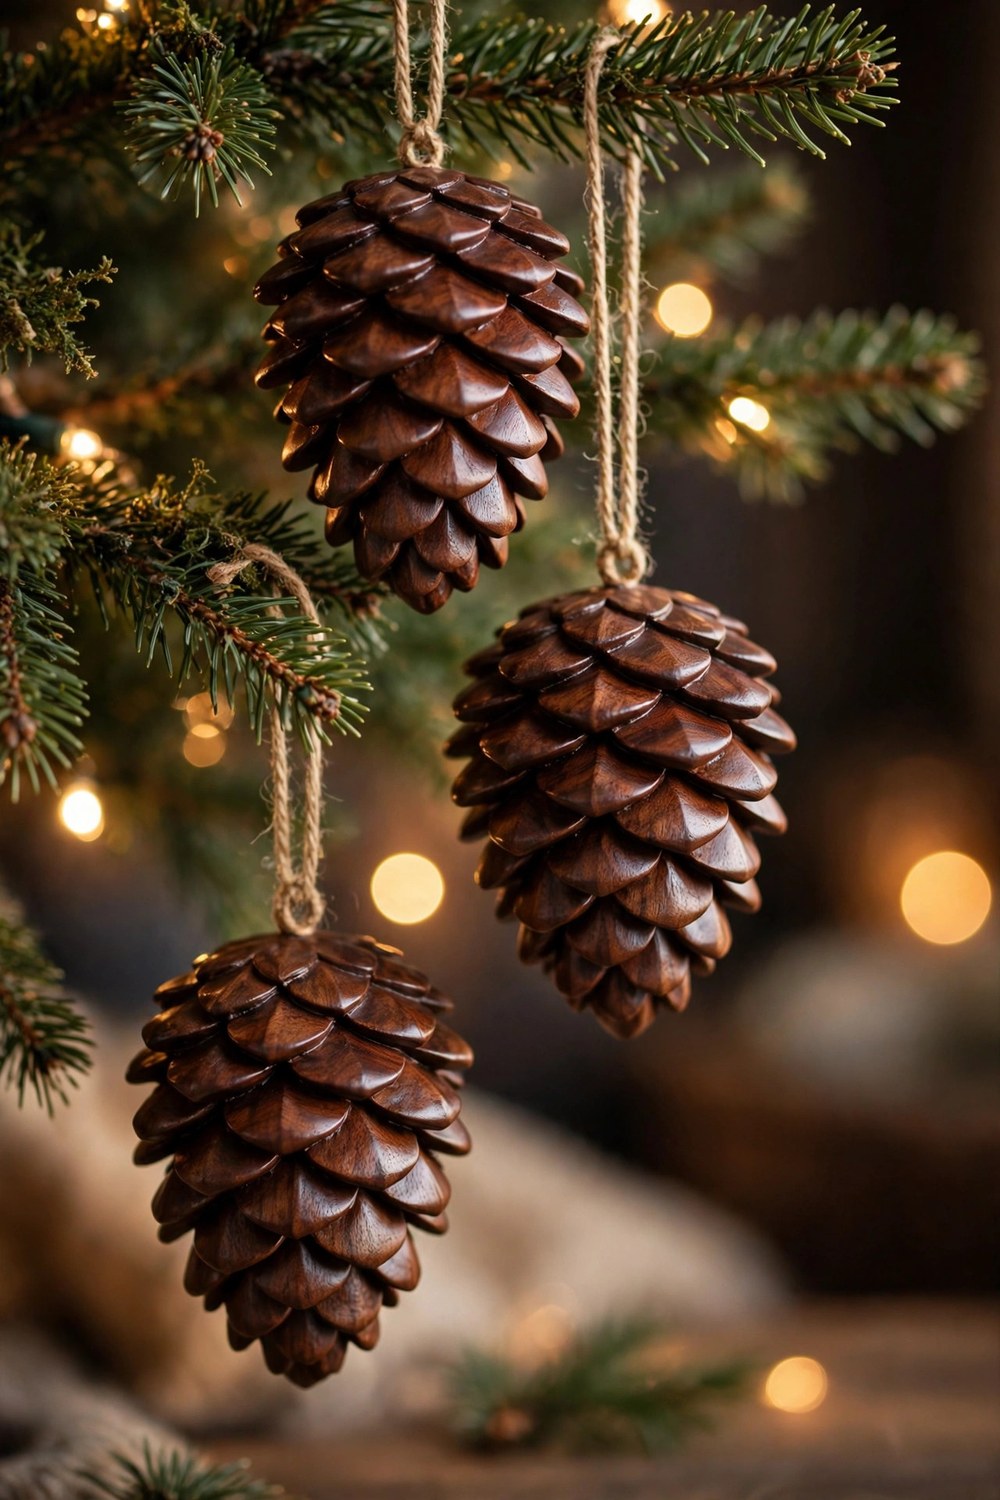
10. Deepen the color with a walnut stain for a richer natural finish
Brush wood stain in a walnut or dark oak shade over clean, dry cones, wipe back the excess with a cloth, and let them dry completely before hanging. The stain settles into the crevices and usually gives even plain craft store cones an expensive, aged look. Hang them with black or deep brown ribbon for contrast, and mix in a few unstained cones for variety.
Cones as Mini Trees, Wreaths and Garlands
A single large cone already looks a bit like a tiny tree, so it’s no surprise cones shine in bigger statement pieces too. These ideas stretch your basket further, from tabletop trees to a wreath you’ll hang for years.
11. Turn single large cones into mini Christmas trees
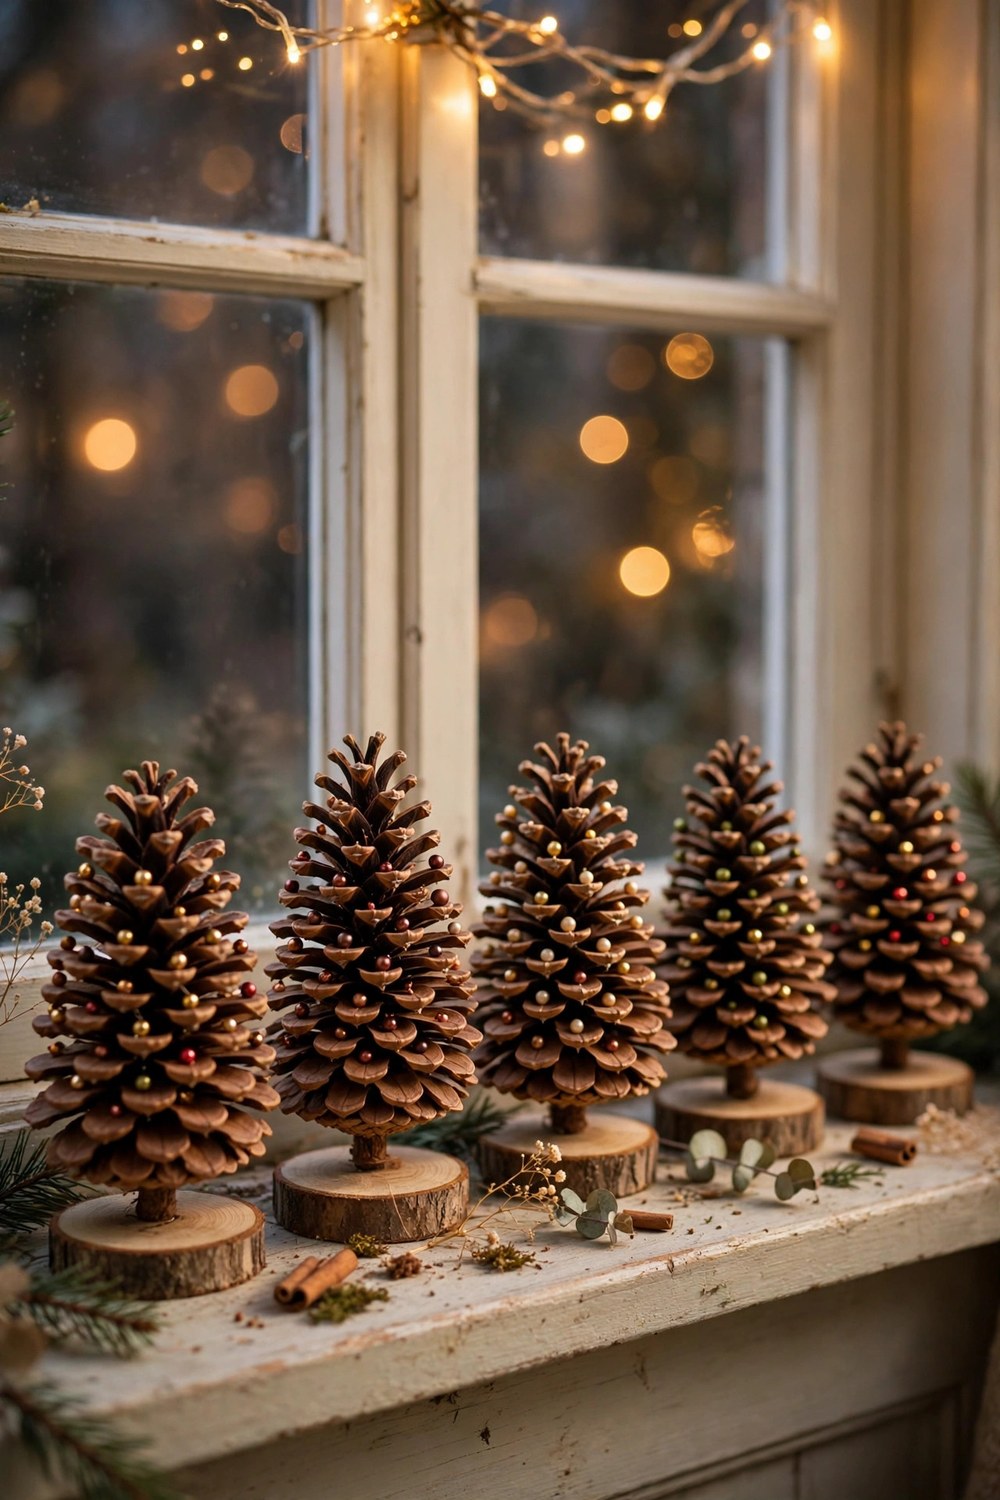
Glue a big, open cone upright onto a cork, a small wood slice, or a tiny terracotta pot so it stands like a little fir. Dab the scale tips with white paint for snow, glue on tiny beads as baubles, and finish with a small star or pearl on top. Lined up along a windowsill or mantel, a row of five or six typically looks sweeter than one alone.
12. Build a rustic pinecone wreath you can bring out every year
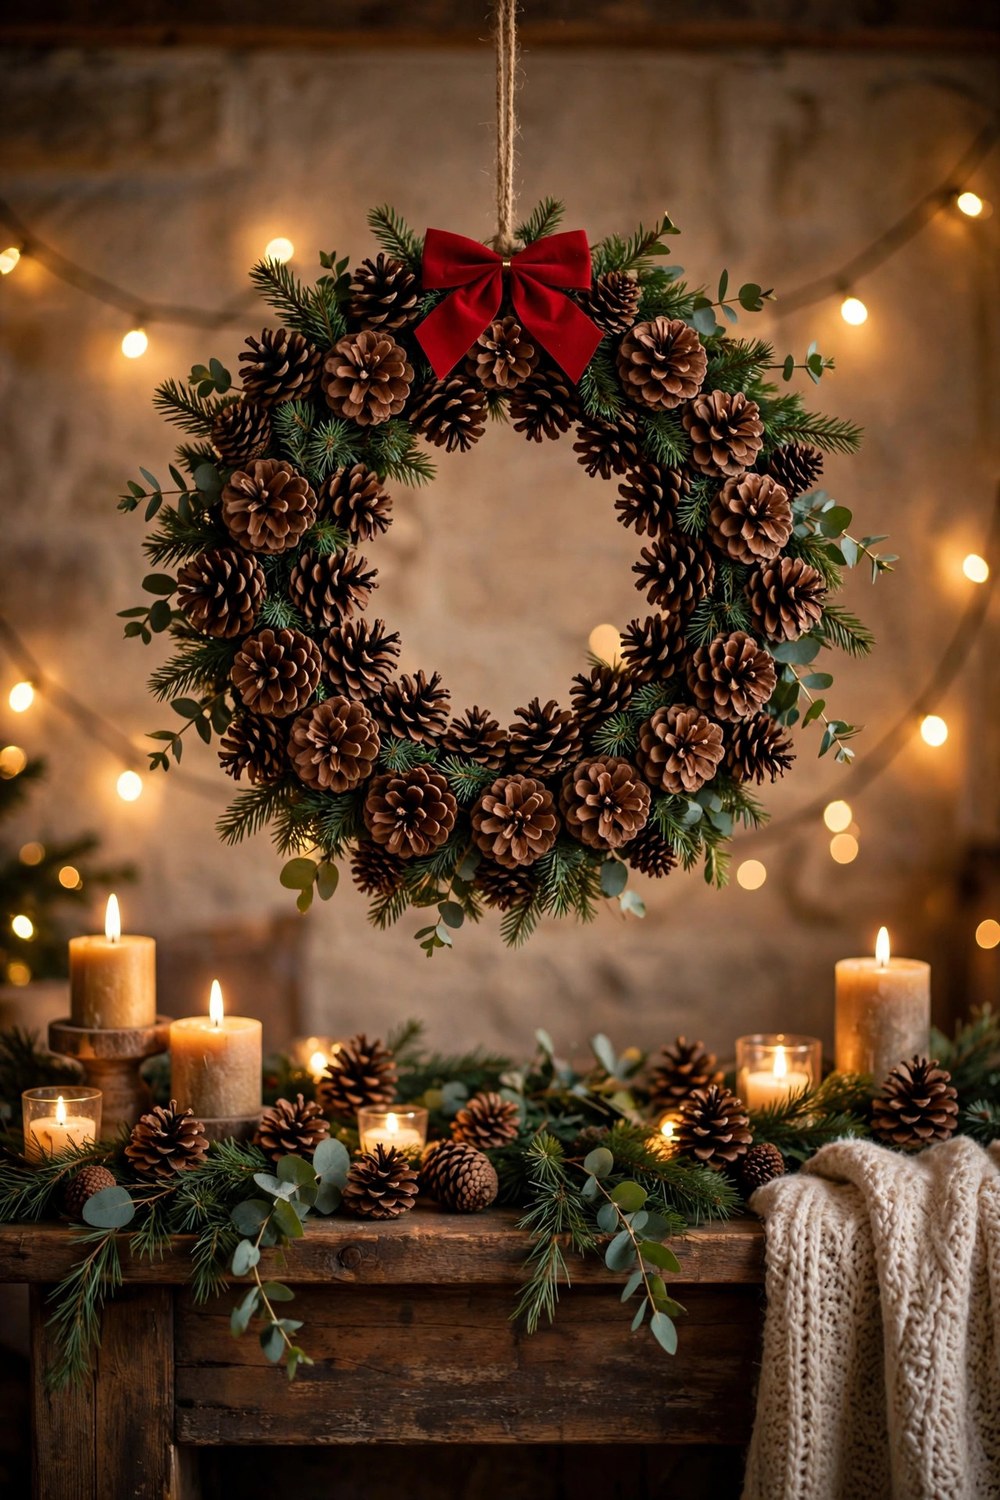
Wire or hot-glue cones in overlapping rings onto a wreath form, tilting them slightly outward so the wreath looks full from the front. Tuck in faux evergreen sprigs, a few red berries, and one generous bow to soften all that texture. Because cones are sturdy, a wreath like this usually stores well in a box and needs only a quick dusting each December.
13. String a pinecone garland swag across the mantel
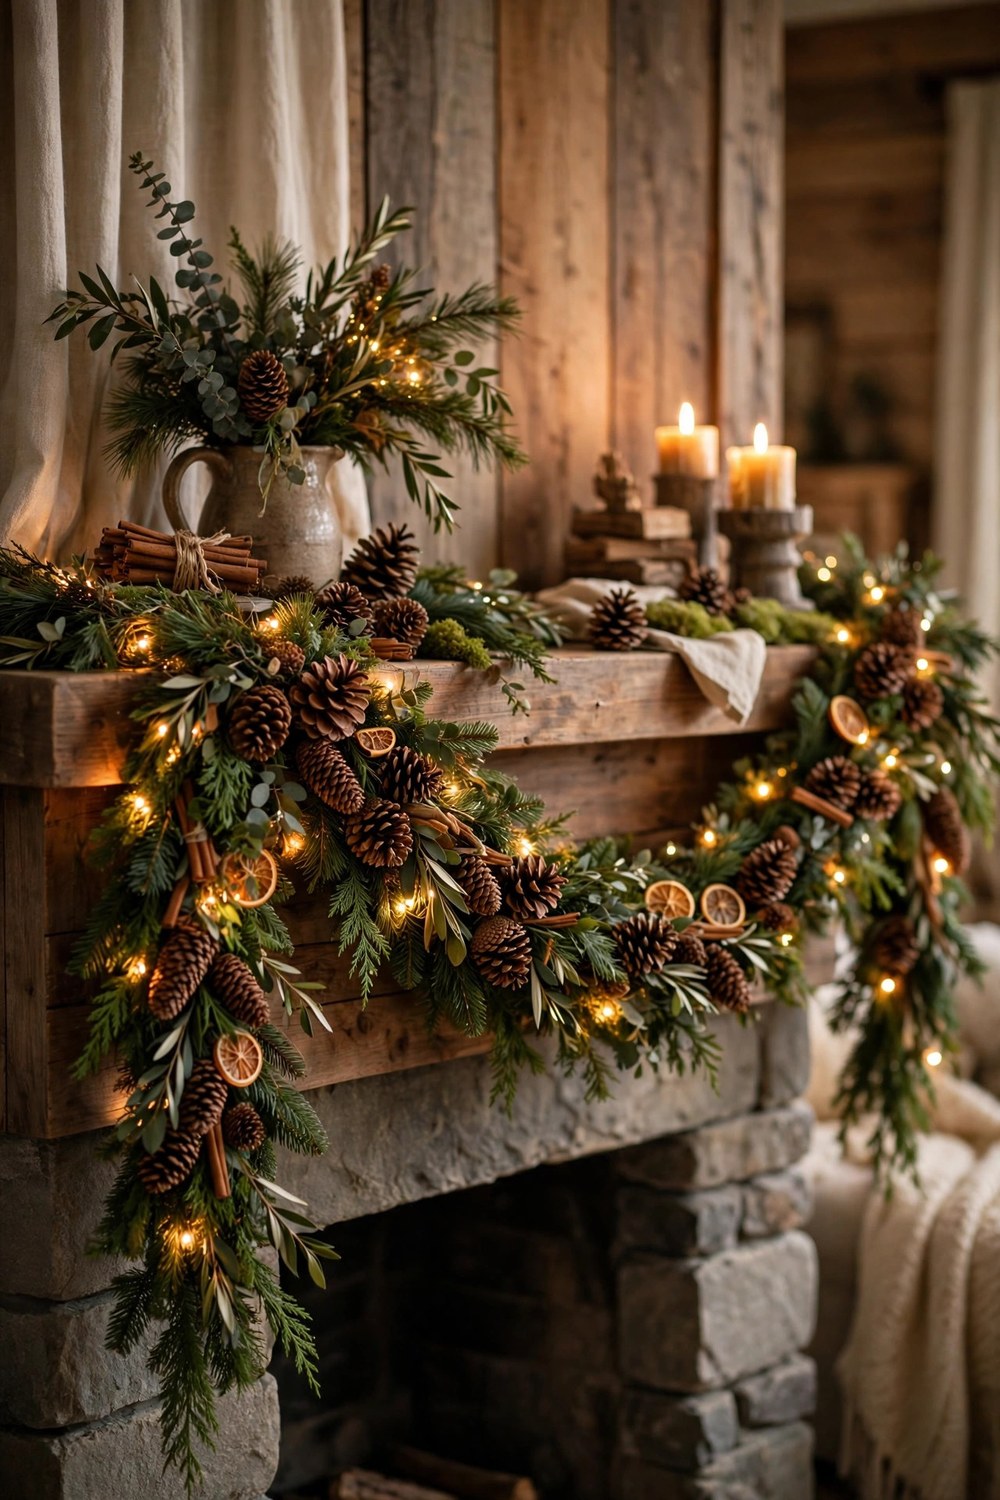
Screw tiny eye hooks into the tops of your cones, or simply hot-glue them at intervals along a length of sturdy twine, alternating their direction so the garland hangs naturally. Weave it loosely through evergreen garland rather than hanging it straight, and let the middle dip a little. Add fairy lights last, because the warm glow between the cones is usually what makes the whole mantel feel finished.
14. Cluster cones into an easy evergreen table centerpiece
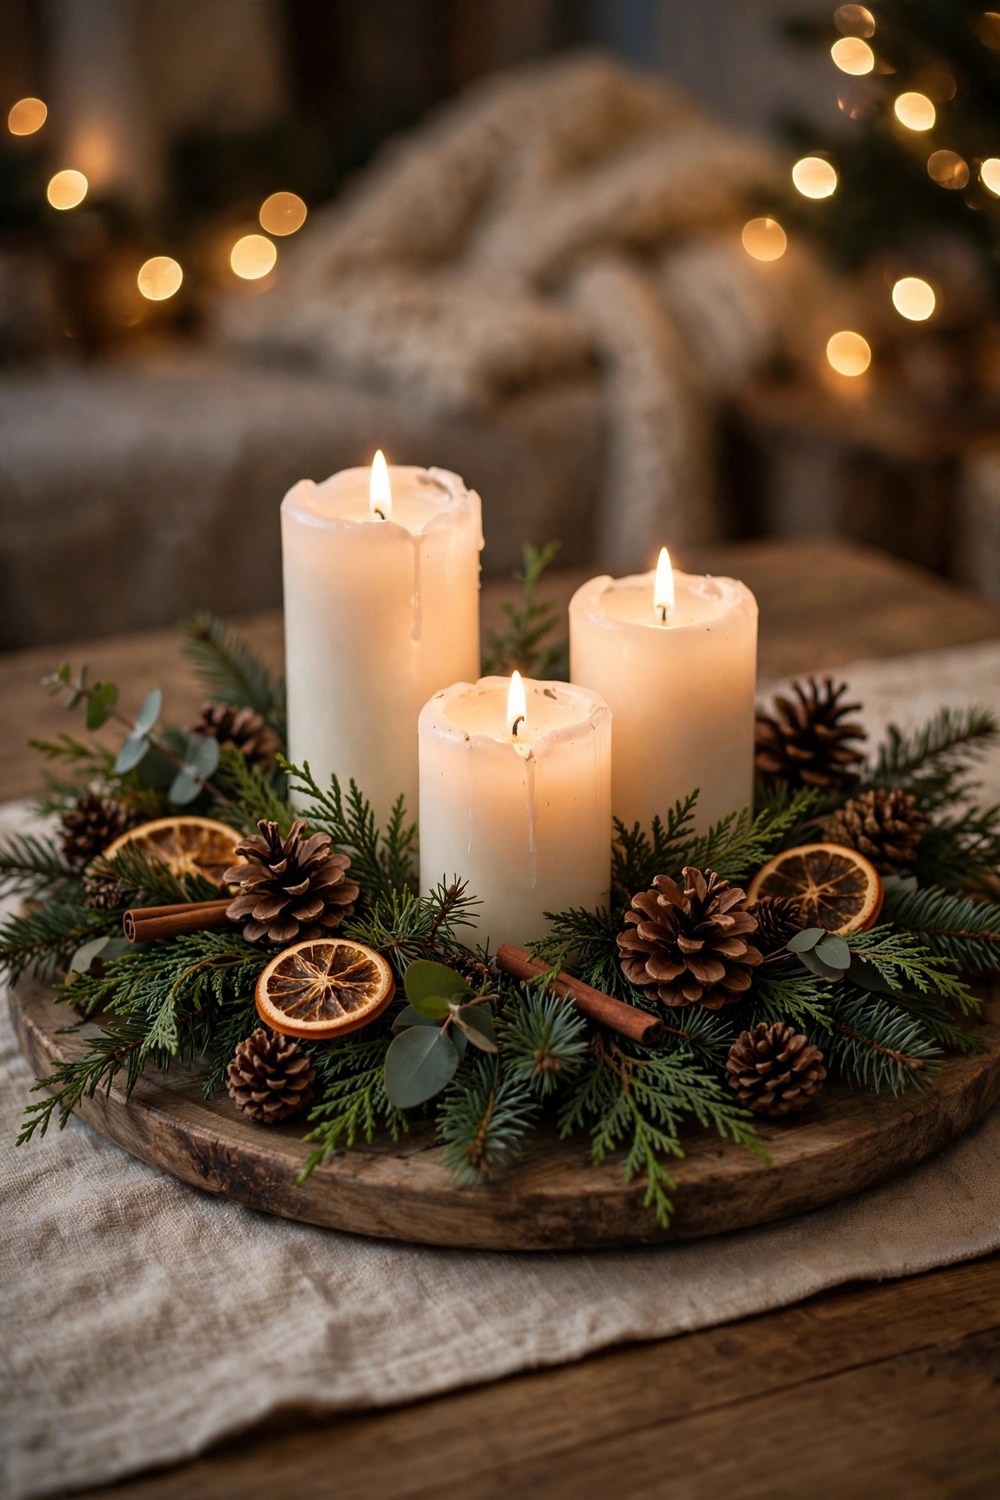
Arrange a low tray or shallow wooden bowl, lay a bed of evergreen clippings, and nestle cones of different sizes between pillar candles or a row of tealights in glass holders. Mix in a few gold or white painted cones from earlier in this list for a little contrast. It takes maybe ten minutes, typically lasts the whole season, and you can refresh the greenery whenever it fades.
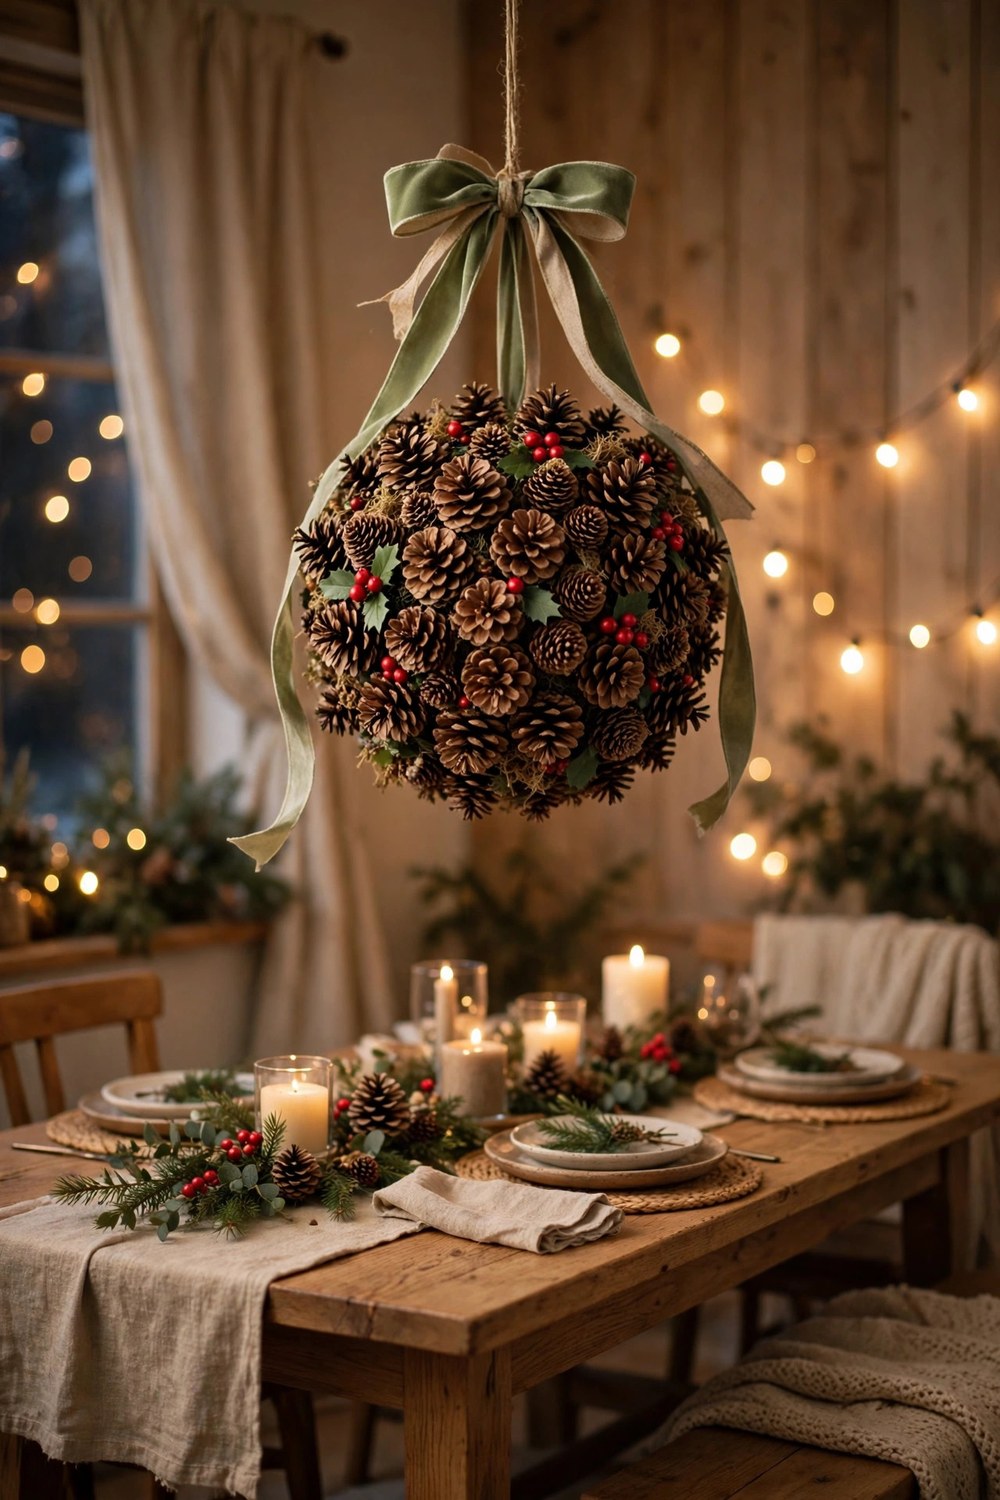
15. Make a hanging pinecone kissing ball for a doorway
Glue cones tightly all around a foam ball until no gaps show, working in small sections and letting each one set. Push in a few faux berries and small greenery picks between the cones, then loop a wide ribbon through the top for hanging. Hung in a doorway or over a dining table, it usually draws more compliments than pieces that took three times as long to make.
Finishing Touches and Ways to Display Them
Once your ornaments are made, how you show them off matters almost as much as the crafting. These last ideas cover display tricks, gift details, and a couple of spots beyond the tree where cones really earn their keep.
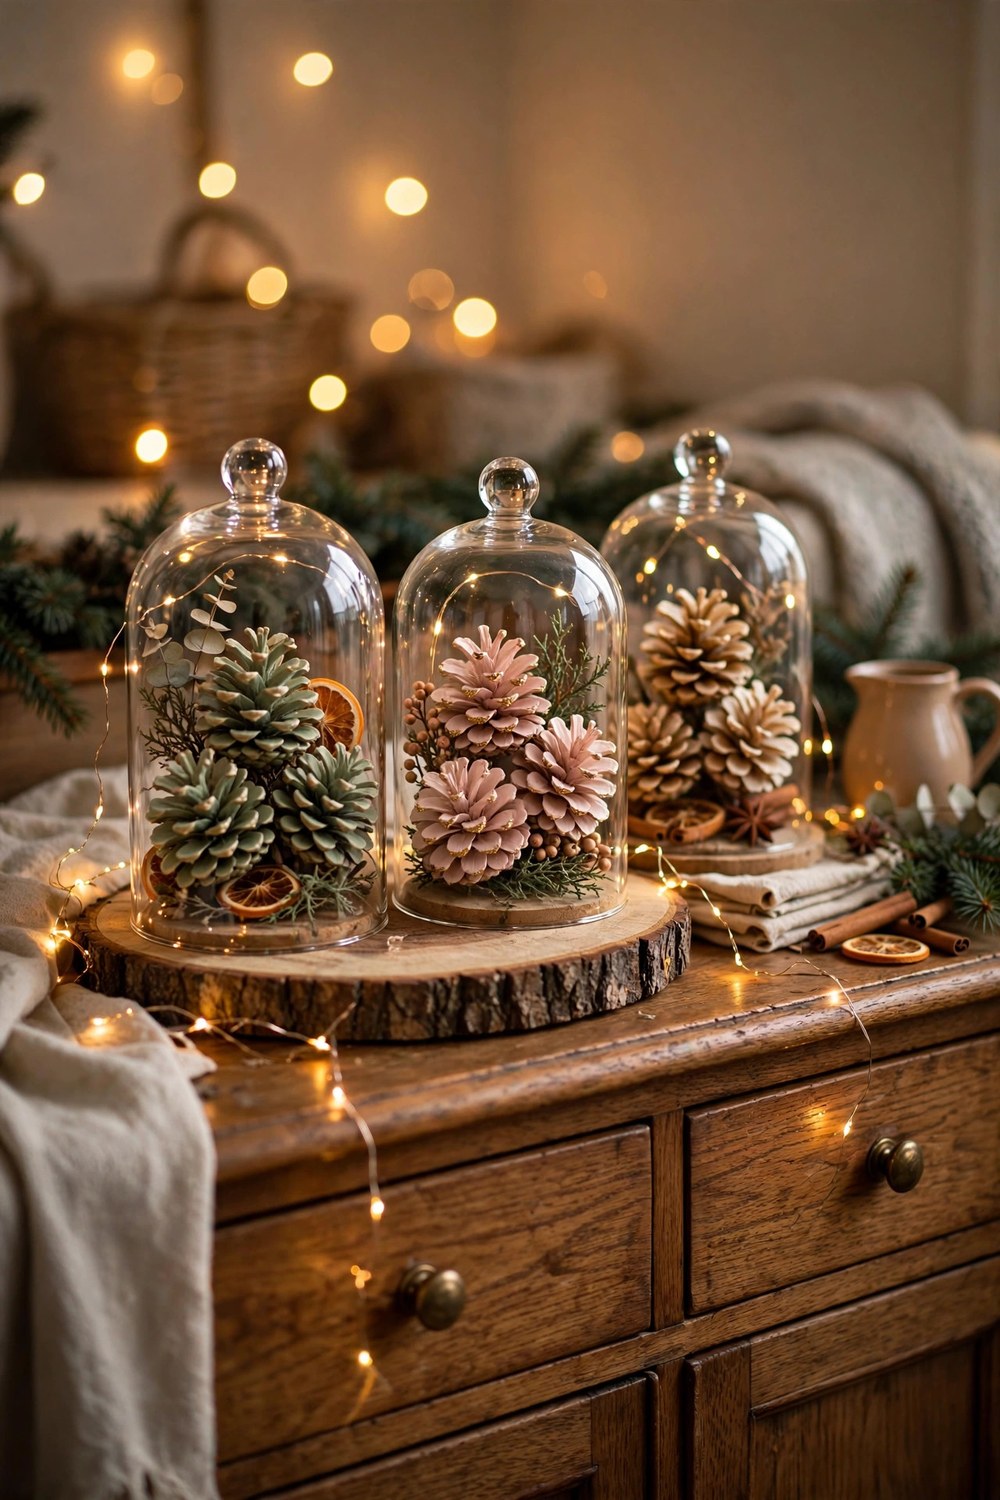
16. Display your best cones under glass cloches like little treasures
Set one large painted or gilded cone, or a neat stack of three small ones, on a wood slice under a glass dome on a sideboard or entry table. A sprig of greenery and a tiny string of fairy lights inside the glass makes it feel festive after dark. This works especially well for fragile glittered cones you’d rather not hang where they’ll get knocked.
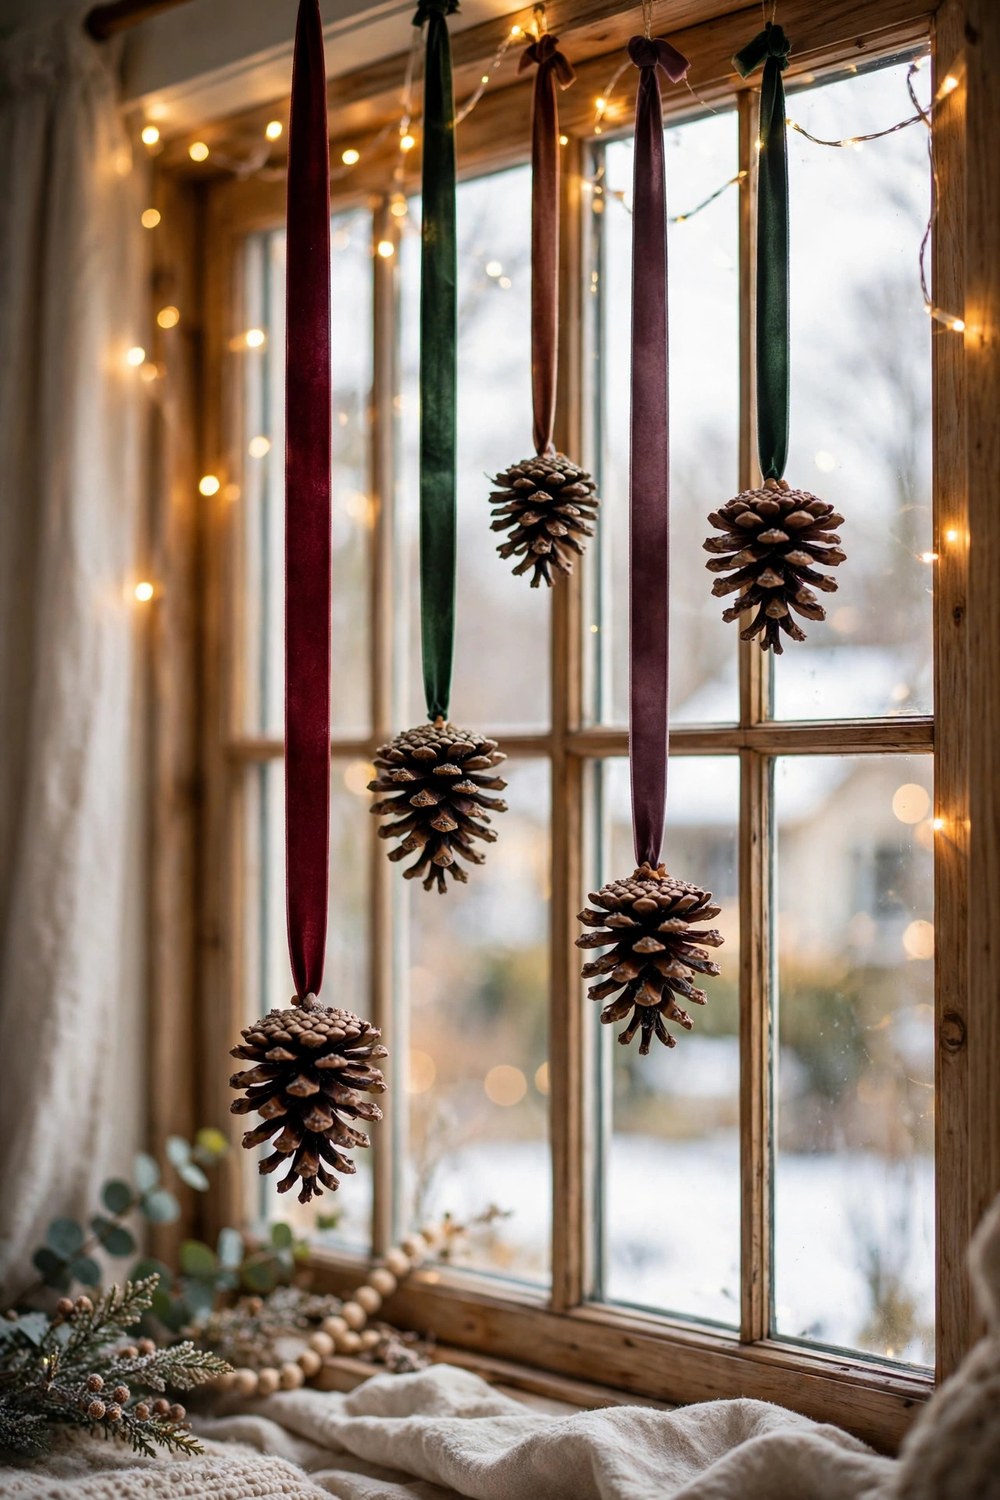
17. Hang cones in the window on ribbons of different lengths
Tie each cone to a length of velvet or satin ribbon, varying the drops so they float at different heights across the window. Daylight coming through behind them shows off the texture beautifully, and painted cones cast soft color too. Use a slim curtain rod or a tension line to hold them, and keep heavier cones toward the ends where the support is typically strongest.

18. Use small cones as gift toppers instead of store-bought bows
Hot-glue a small cone, a sprig of greenery, and a cinnamon stick onto wrapped presents, or tie the cone into the ribbon knot so it can be reused as an ornament afterward. Kraft paper and brown twine let the natural cone stand out, while white painted cones look especially pretty on deep green or red paper. It’s a small touch guests usually notice right away.
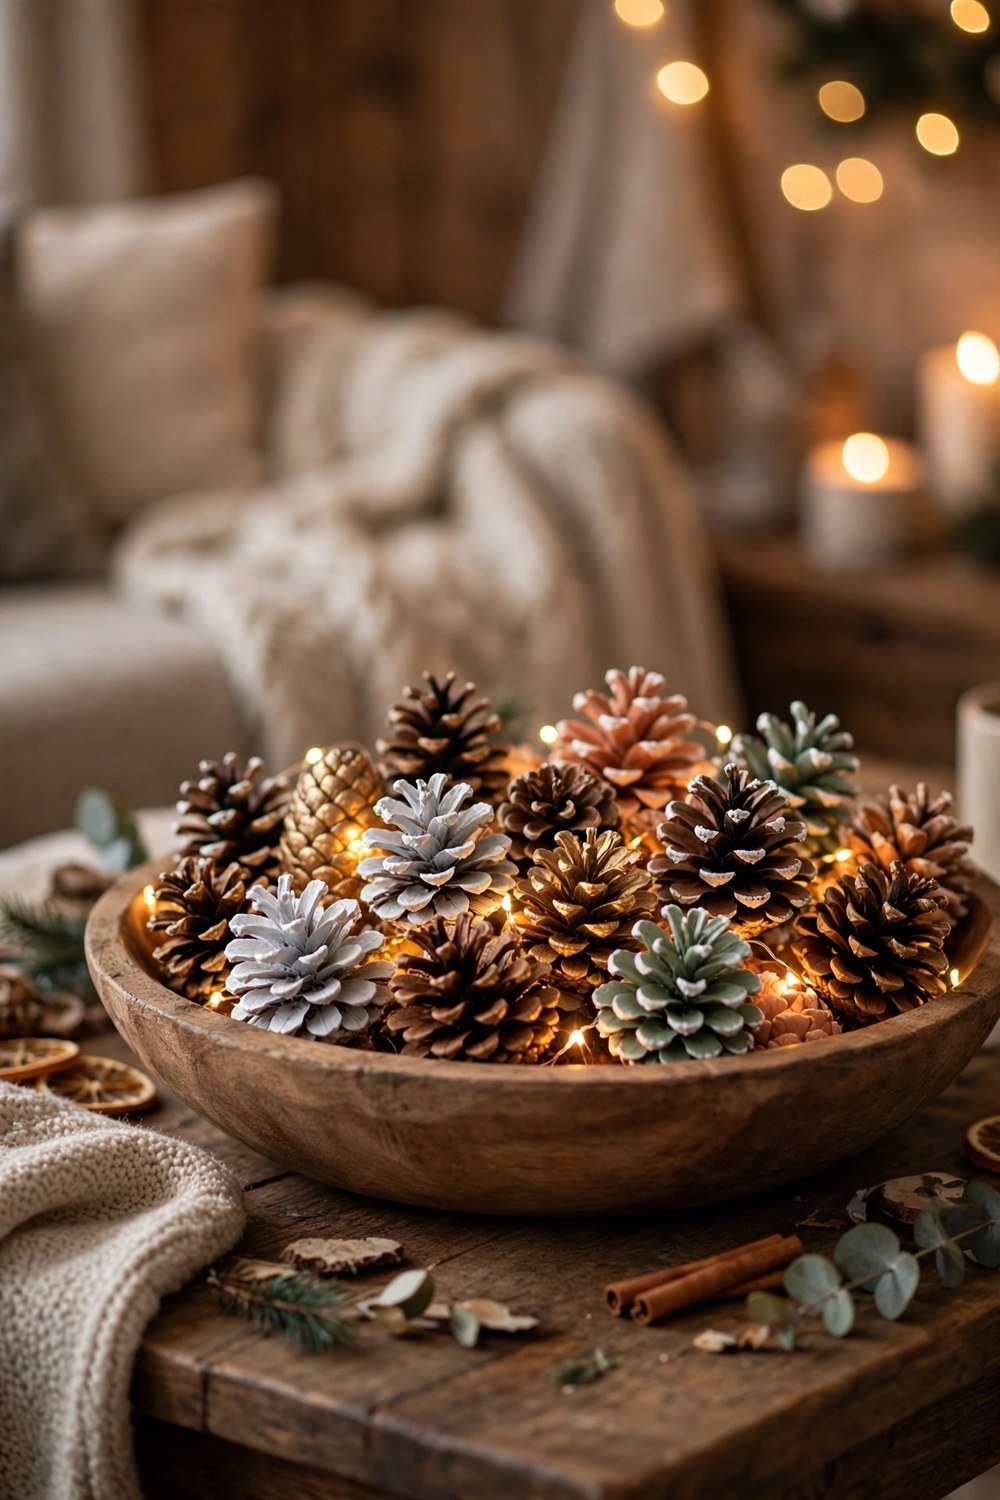
19. Fill a bowl with cones and fairy lights for the coffee table
Layer natural and painted cones loosely in a wide wooden or ceramic bowl, then tuck a short string of battery fairy lights through them so the glow settles between the scales. Add a few dried orange slices or star anise if you have them for scent and color. It’s the kind of display you can leave out all winter, long after the tree comes down.
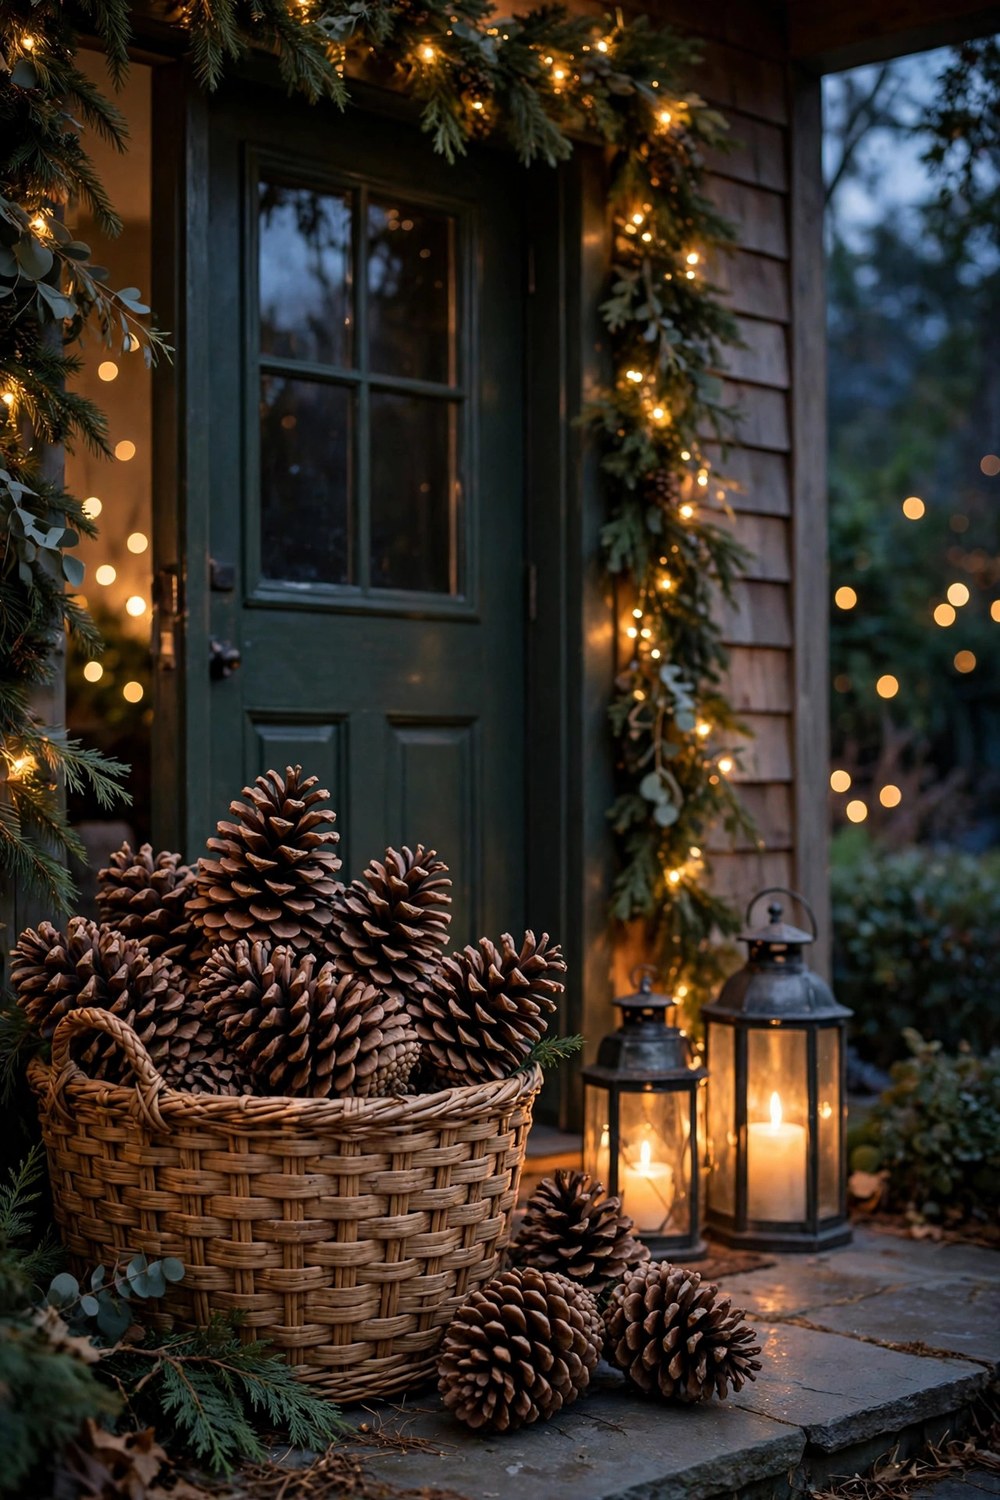
20. Take oversized cones outdoors in a porch basket with lanterns
Pile your largest cones into a woven basket or galvanized bucket beside the front door, and set a lantern or two among them for a warm evening welcome. Cones handle cool outdoor air well, though a covered porch usually keeps them looking fresh longer. Add a plaid blanket draped over the basket edge or a small evergreen wreath above, and the whole entry feels ready for guests.
Whichever finishes you try first, give yourself permission to keep it simple and a little imperfect. A slightly crooked ribbon or an uneven coat of paint usually just makes a handmade ornament feel more personal, and that’s exactly the point of crafting them yourself instead of buying a matching set.
If you end up with extras, and you probably will, tuck them into bowls, wreaths, and gift wrap all season long. Pinecones you gather or buy this year will typically keep for many Christmases to come, so the basket you start this weekend might just become one of your favorite traditions.






Leave a Reply