
Christmas is the one season where handmade decor does not just compete with store-bought — it wins, because the best holiday rooms are the ones that smell of cinnamon, carry a little imperfection, and hold a story on every shelf. The good news is that almost everything beautiful about a DIY Christmas comes from simple materials: jars, paper, pinecones, oranges, scraps of fabric, and greenery you can cut, gather, or buy for very little. These ten projects are beginner-friendly, kind to a budget, and sized for real homes — a mantel here, a window there, a tree full of things you made. Save your favorites, clear the kitchen table, and let the making be half the celebration.
In This Article
- 1. Turn Plain Mason Jars into Snowy Lanterns
- 2. String a Dried Orange and Cinnamon Garland
- 3. Stamp and Bake Simple Clay Ornaments
- 4. Tie Mini Wreaths for Chair Backs and Cabinet Doors
- 5. Fold Paper Bag Snowflakes for the Windows
- 6. Build a Pinecone and Greenery Swag for the Mantel
- 7. Fill Clear Baubles with Greenery and Berries
- 8. Bind Cinnamon Sticks into Rustic Stars
- 9. Set Bottle Brush Trees on Wood Slices
- 10. Hand-Paint Plain Baubles in Cream and Soft Gold
1. Turn Plain Mason Jars into Snowy Lanterns
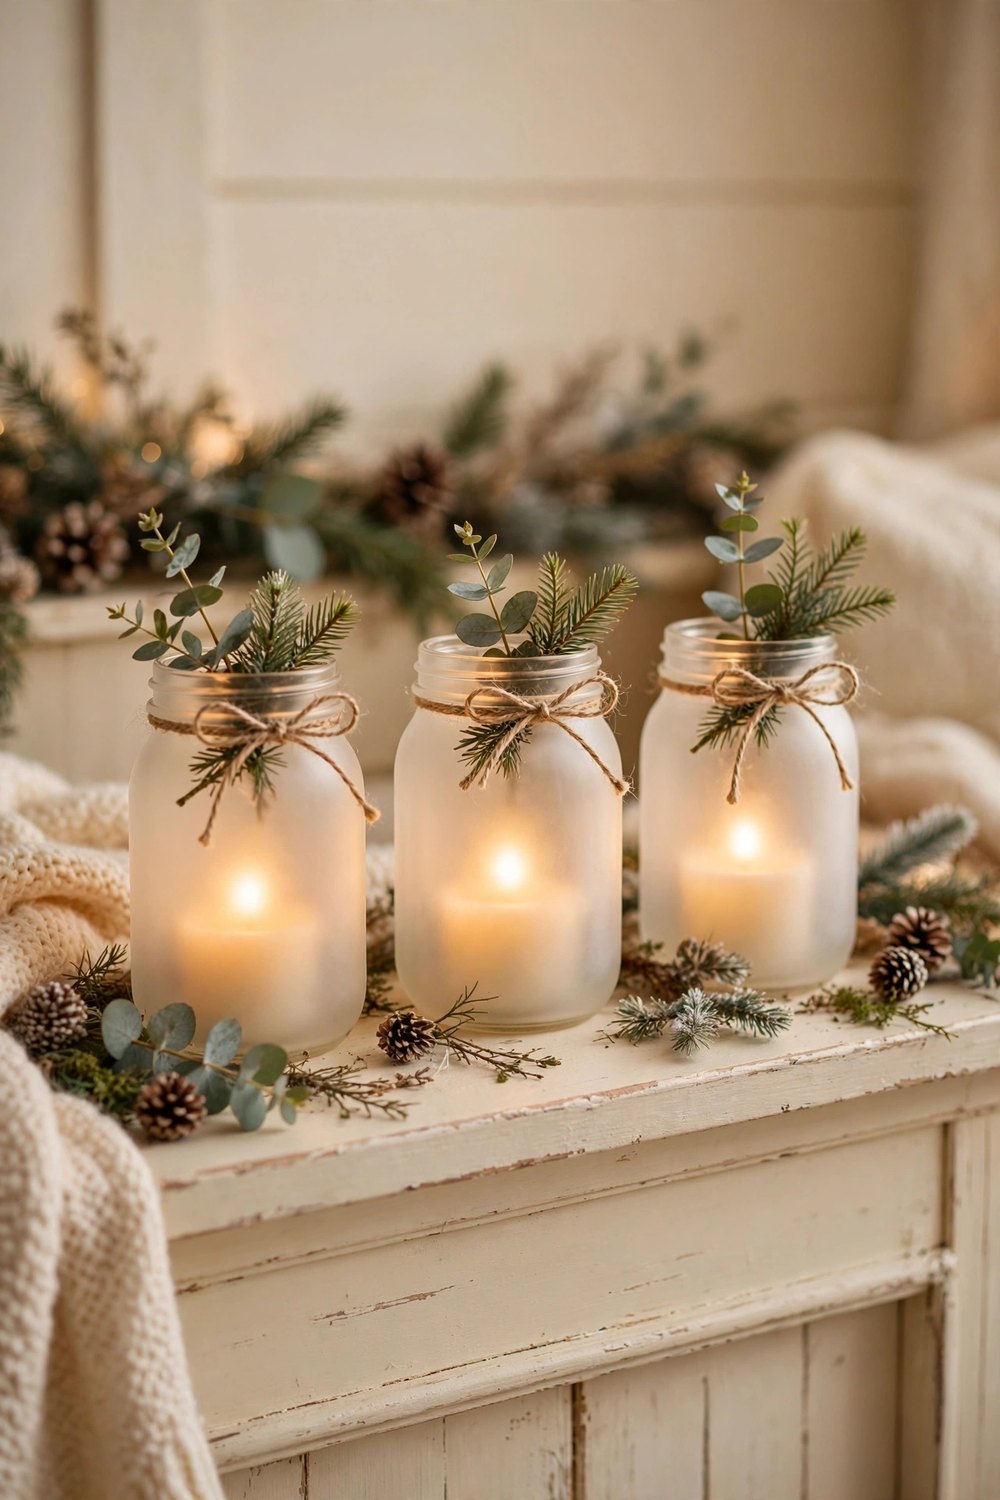
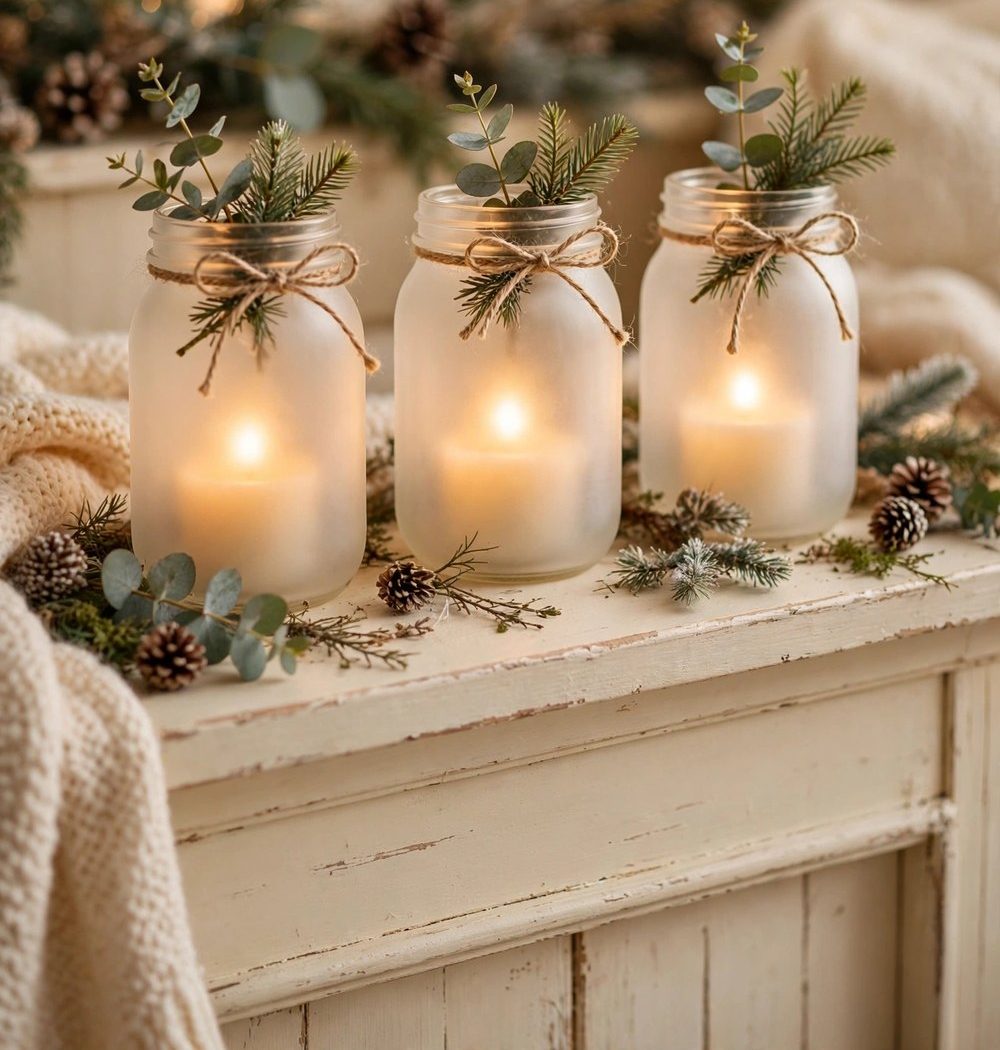
A row of snowy jars glowing along a mantel or windowsill is the easiest Christmas magic there is. Brush plain mason jars or recycled jam jars with a thin layer of craft glue, roll or sprinkle them with coarse salt or faux snow flakes, and let them dry until the frosty crust sets. Drop in a tea light or a flameless candle, tie a short length of twine and one sprig of greenery around the rim, and the jars glow like frosted glass on a cold night. Grouped in threes at different heights they look collected and calm, and the whole project costs almost nothing if the jars come from your recycling.
2. String a Dried Orange and Cinnamon Garland
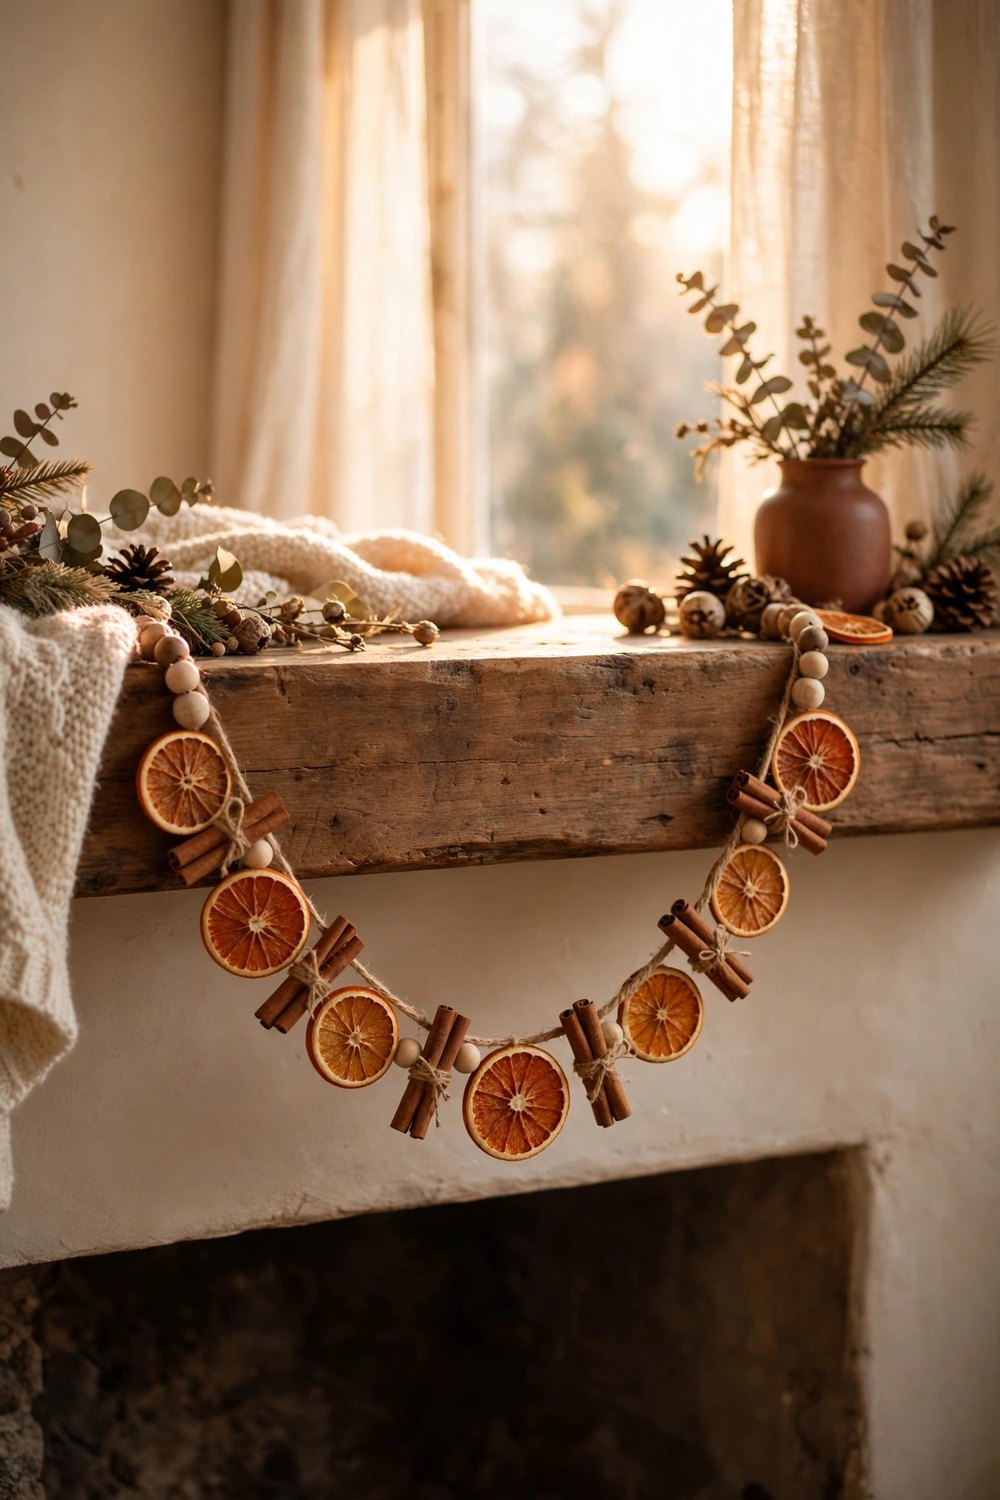
Dried oranges are Christmas in material form — they glow like stained glass when the light catches them and they make the whole room smell wonderful. Slice oranges thinly, pat them dry, and bake them low and slow in the oven until translucent and leathery, then thread them onto twine with cinnamon sticks and a few bay leaves or wooden beads between each slice. Drape the strand across a mantel, down a staircase rail, or around a window frame where backlight does half the decorating. Make a fresh batch each year and enjoy the ritual; it is the rare decoration that perfumes the house while it works.
3. Stamp and Bake Simple Clay Ornaments
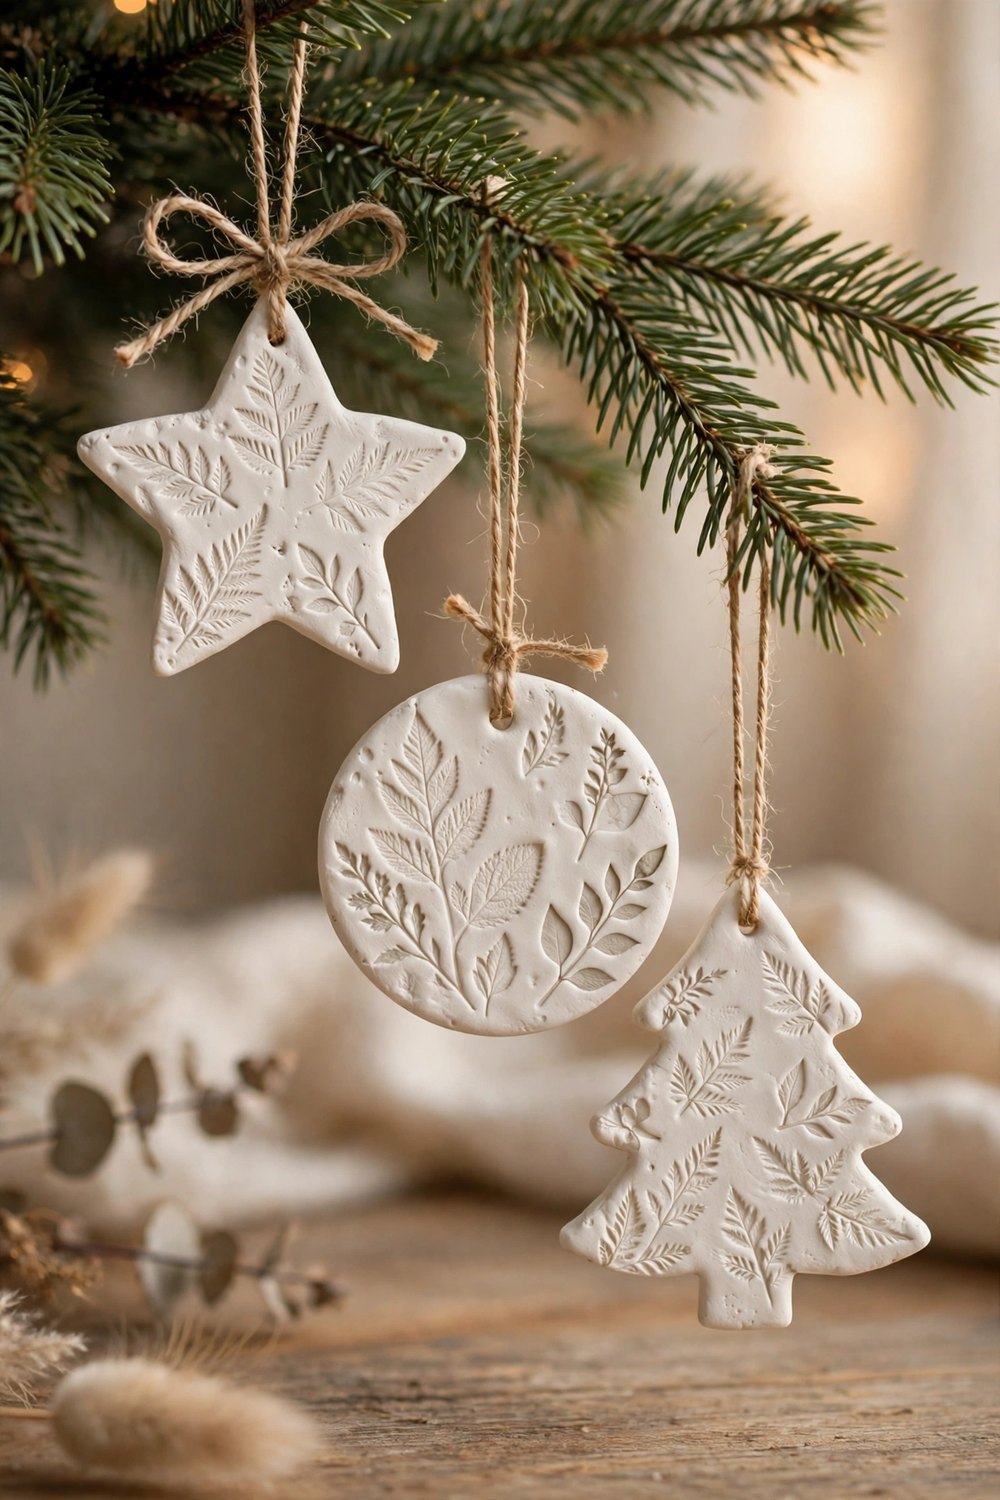
Air-dry or salt-dough ornaments are the Christmas craft that welcomes every age at the table. Roll white air-dry clay to biscuit thickness, cut circles, stars, and simple tree shapes with cookie cutters, and press a sprig of rosemary, a piece of lace, or a rubber stamp into each one before it dries to leave a delicate pattern. Poke a hole near the top with a straw, let them dry flat for a day or two, then thread with twine or thin ribbon. Hung on the tree in clusters of cream and white, they give a calm, handmade look that shiny baubles cannot copy — and a dated set each year becomes a family archive.
4. Tie Mini Wreaths for Chair Backs and Cabinet Doors
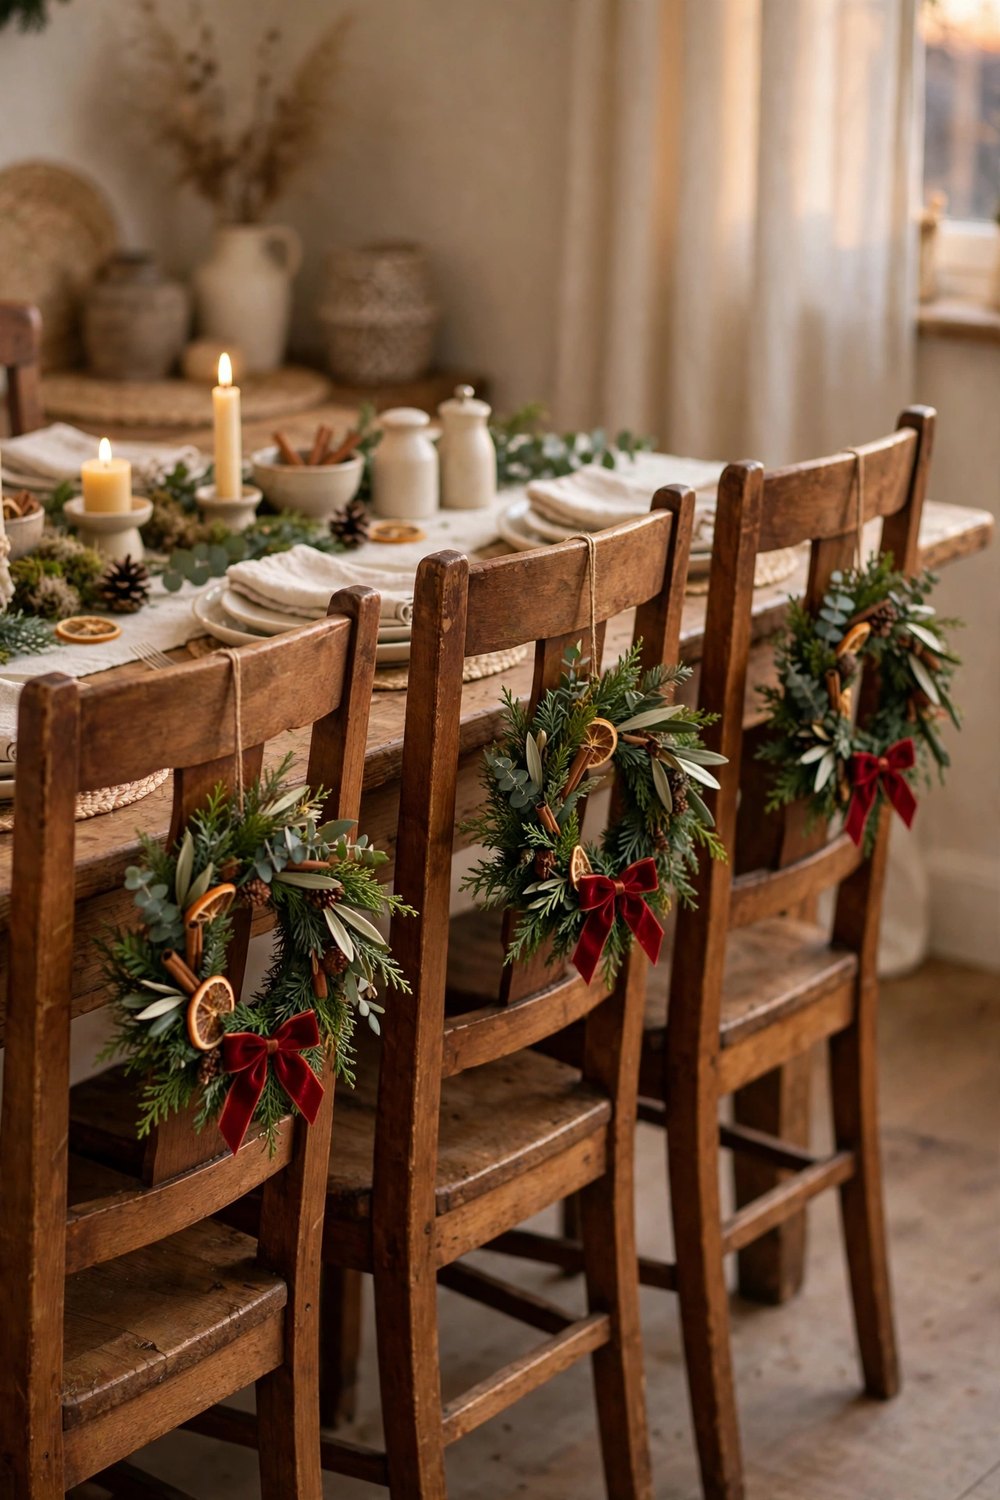
Small wreaths are the hardest-working Christmas DIY you can make, because they turn the plainest furniture festive in seconds. Bend short lengths of faux or real greenery wire, rosemary stems, or flexible grapevine into palm-sized circles, secure with florist wire, and finish each with a tiny bow in velvet ribbon — deep red, cream, or soft sage. Hang them on chair backs at the dining table, on kitchen cabinet doors, over picture frames, or down a row of hooks in the hallway. One greenery stem makes several wreaths, they store in a single small box, and they come back out every December like old friends.
5. Fold Paper Bag Snowflakes for the Windows
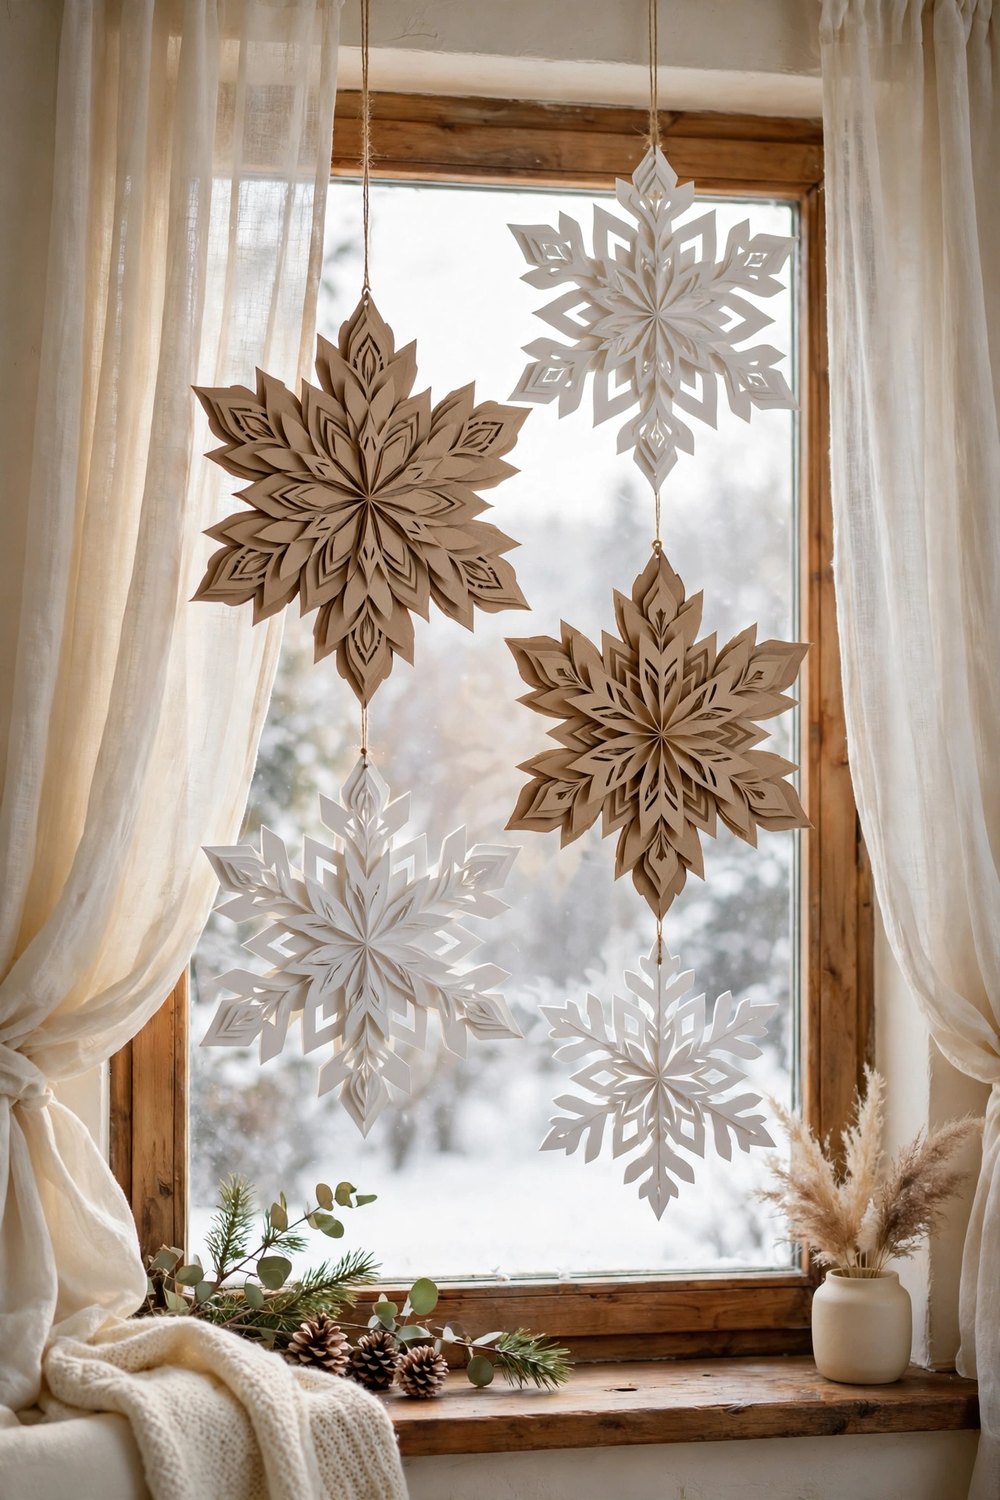
The giant paper snowflake is proof that the humblest material can steal the room. Glue six or seven plain brown or white paper lunch bags together in a stack, cut simple shapes through all the layers — triangles, half circles, notches along the edges — then fan the stack open and glue the ends together into a full, layered snowflake. Hang two or three sizes in a window, over a doorway, or floating above the dining table on clear thread and they read as soft sculpture rather than school craft. They fold flat for storage, cost pennies each, and children genuinely can do most of the cutting.
6. Build a Pinecone and Greenery Swag for the Mantel

A swag gives you a lush mantel moment without the commitment of a full garland, and pinecones do most of the heavy lifting. Lay two or three short branches of pine, cedar, or faux greenery pointing outward from a center point, wire them together at the stems, then wire in pinecones, a few dried orange slices, and one generous ribbon bow at the center to hide the mechanics. Set the finished swag at the center of the mantel, on top of the piano, or above a doorway, and let candles or a small stack of books flank it. Gathered cones are free, the greenery can be clippings, and the whole piece stores flat in a box.
7. Fill Clear Baubles with Greenery and Berries

Clear fillable baubles are a five-minute project with a jeweler’s finish. Pop the cap off a clear glass or plastic bauble and tuck inside a curled sprig of cedar or rosemary, two or three tiny red berries, a pinch of faux snow, or a miniature pinecone — just enough to suggest a tiny winter world rather than stuff the sphere. Replace the cap, tie on a ribbon loop, and hang them where light passes through: the tree’s outer branches, a window, or a bare branch arranged in a vase. A set of six takes less time than wrapping one present, and they look like something from a boutique shelf.
8. Bind Cinnamon Sticks into Rustic Stars

Cinnamon stick stars are the ornament that scents the tree all season long. Take five equal cinnamon sticks, arrange them into a simple star with the ends overlapping, and bind every joint tightly with jute twine or thin wire, hiding the knots at the back. Add one tiny sprig of greenery or a single small bell at the center if you like, and hang with a twine loop. They suit a calm, natural tree beautifully, weigh almost nothing, and cost a few sticks each; any that crack in the making go straight into the mulled drinks, so nothing is wasted.
9. Set Bottle Brush Trees on Wood Slices
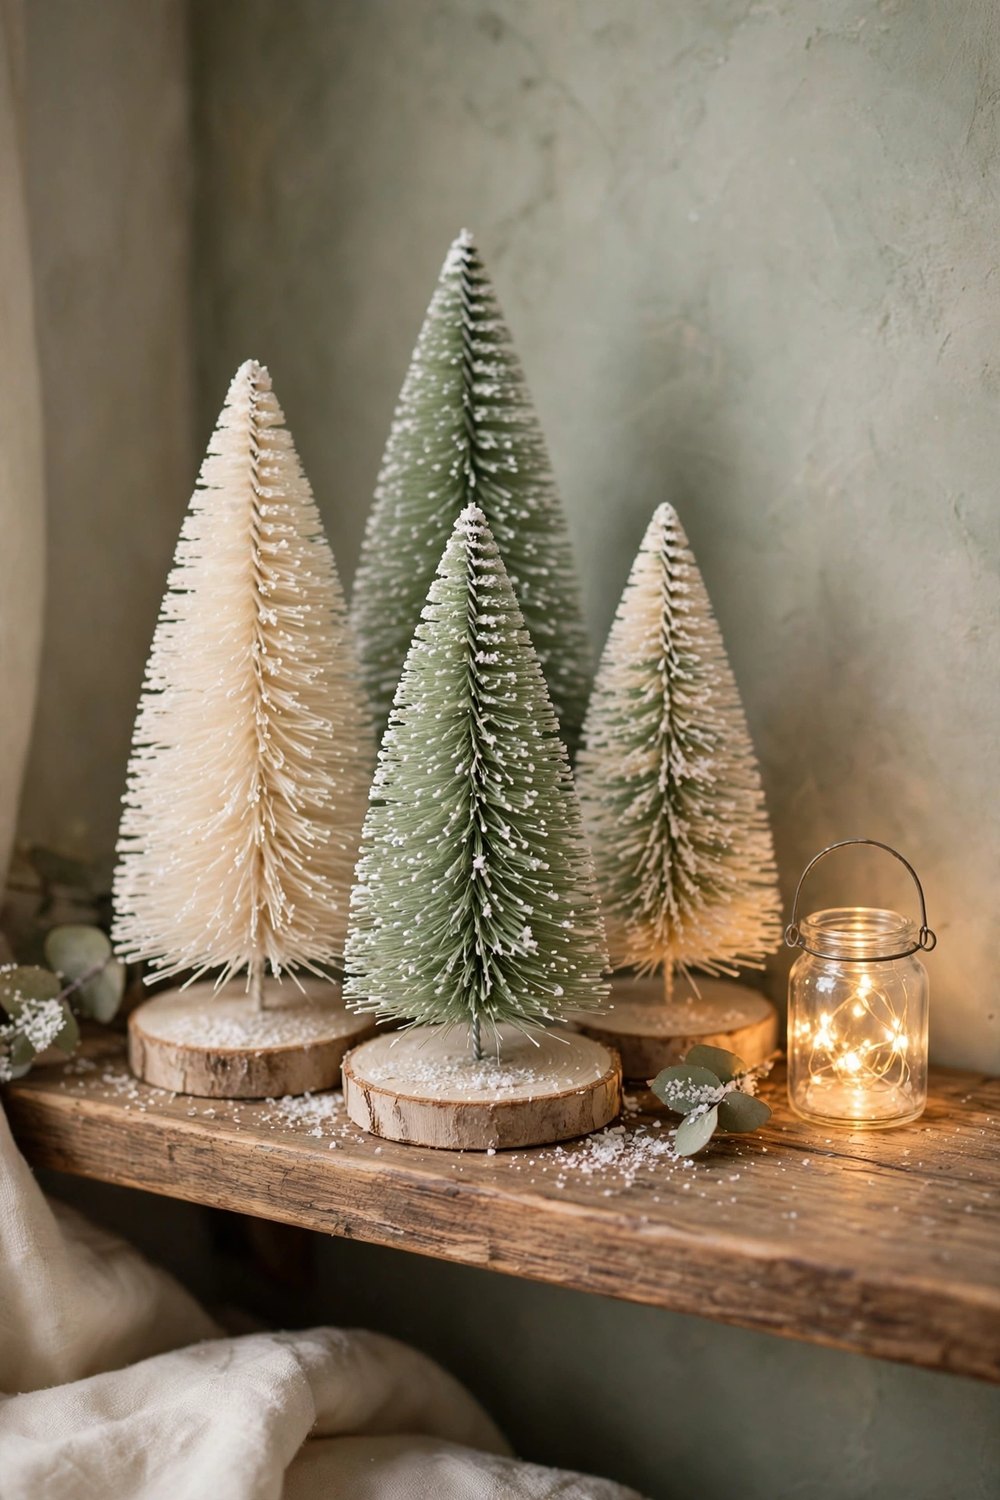
A tiny forest makes the sweetest shelf and mantel scene of the season. Hot-glue small bottle brush trees — cream, soft green, or gently bleached ones look calmest — onto slices of wood, cork coasters, or small upturned terracotta pots so each tree stands at its own height. Cluster three to five together with a jar lantern or a tiny house among them, and dust the whole group lightly with faux snow. It takes ten minutes, uses dollar-store supplies, and gives children a scene to rearrange daily, which quickly becomes its own small December tradition.
10. Hand-Paint Plain Baubles in Cream and Soft Gold

The plainest glass or plastic baubles become a calm, designer-looking set with nothing but matte paint. Choose chalk or acrylic paint in cream, warm white, pale sage, and soft metallic gold, then either dip each bauble a third of the way for a clean dipped line, brush on loose strokes, or add tiny hand-painted dots and stars with the end of a brush handle. Let them dry upside down in an egg carton, re-cap, and hang with linen ribbon instead of the shiny caps’ string. A whole tree of painted baubles in one quiet palette looks expensive, restful, and entirely your own.
A handmade Christmas is not about filling every surface with projects — it is about a few honest pieces with real materials in them: oranges you dried, clay you stamped, greenery you wired with your own hands. Start with the snowy jars or the orange garland, let each finished piece talk you into the next, and box the keepsakes carefully so every December begins with old friends. Save this list to your Pinterest board so it is there before your next craft afternoon — and follow DecorNesti for a new cozy project list every week.






Leave a Reply