
Paint is the cheapest magic in home decor — one can and a free afternoon can turn a tired thrift-store dresser into the piece everyone asks about. These ten painted furniture makeovers cover everything from classic chalk-paint finishes to two-tone looks and hand-painted details, and every one of them works on the furniture you already own. Save your favorites to Pinterest, pick the piece that has been bothering you the longest, and let a little paint do the heavy lifting.
In This Article
- 1. Give a Thrifted Dresser a Soft Chalk-Paint Finish
- 2. Try a Two-Tone Look with a Bare Wood Top
- 3. Paint a Bookshelf in a Deep, Moody Color
- 4. Refresh Kitchen Cabinets with Warm Cream Paint
- 5. Add Hand-Painted Stripes to a Plain Side Table
- 6. Turn a Dated Desk into a Two-Color Writing Corner
- 7. Paint an Old Chair in a Cheerful Accent Color
- 8. Create a Limewashed Look on a Wooden Bench
- 9. Stencil a Simple Pattern onto a Plain Cabinet
- 10. Dip-Paint the Legs of a Stool or Table
1. Give a Thrifted Dresser a Soft Chalk-Paint Finish
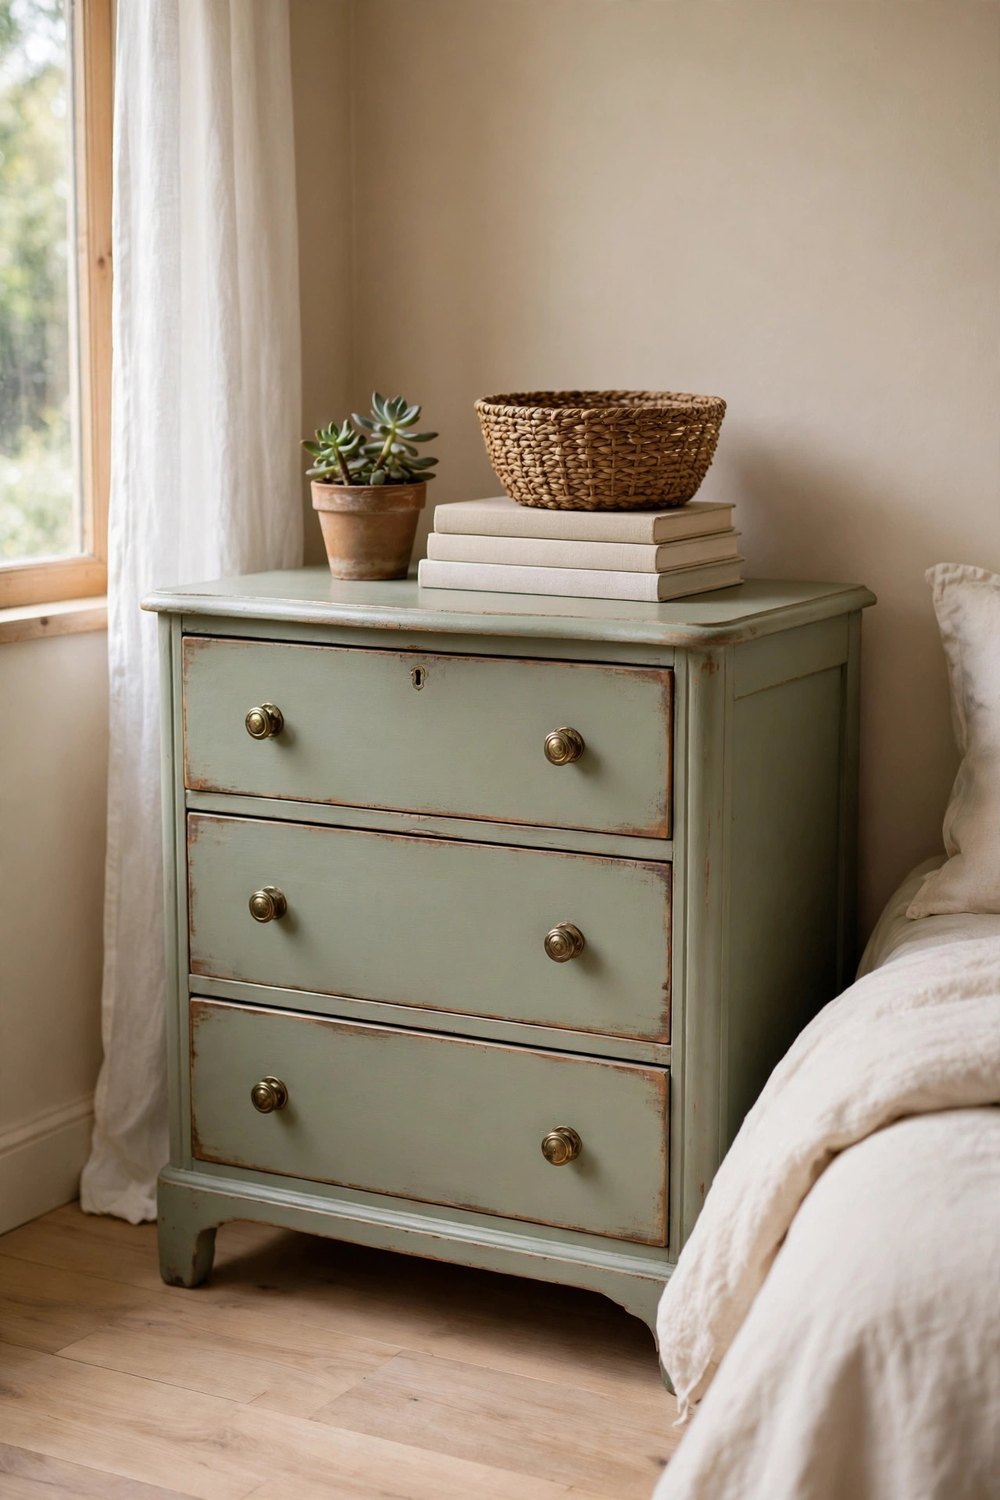
Chalk paint is the beginner’s best friend because it sticks to almost anything with no sanding or priming. Clean the dresser well, stir the paint, and brush on two thin coats in a soft cream, sage, or warm greige, letting each coat dry fully. Lightly sand the edges with fine paper to reveal hints of wood underneath, then seal with clear wax buffed to a gentle sheen. A full dresser usually takes one small can of paint, which makes this a weekend makeover for the price of a pizza.
2. Try a Two-Tone Look with a Bare Wood Top
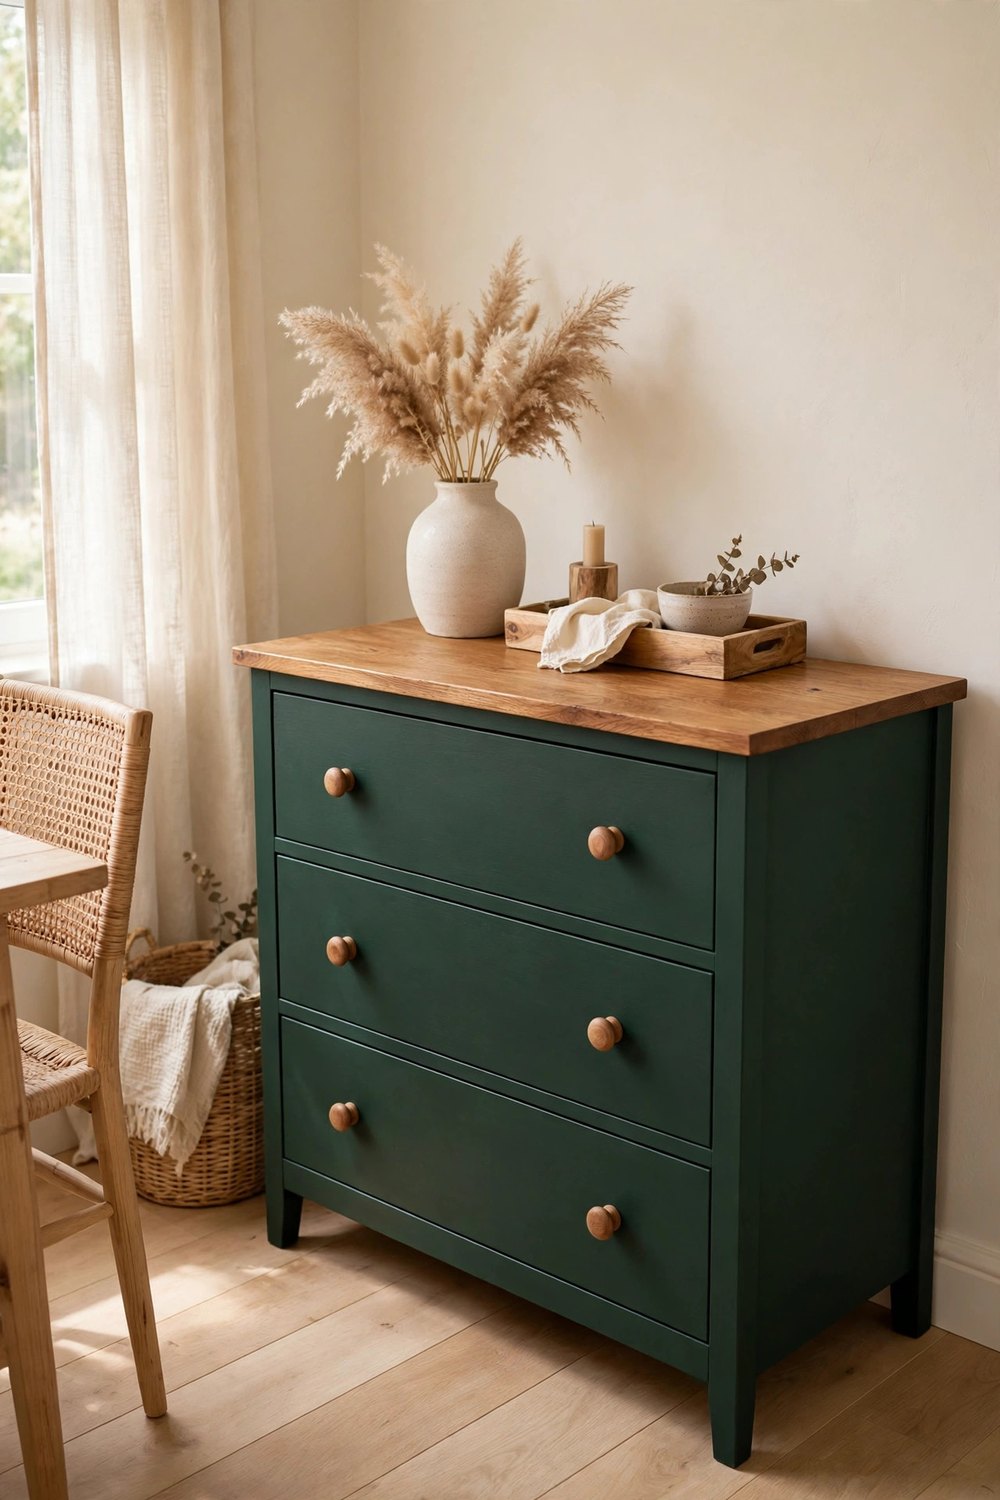
The two-tone finish looks designer-made but is mostly about knowing what not to paint. Sand the top of a dresser, buffet, or coffee table back to bare wood and seal it with a clear matte varnish, then paint only the body and drawers in a rich color like deep green or warm white. Tape a crisp line where paint meets wood so the contrast stays sharp. You get the warmth of natural timber with the freshness of paint, and the piece instantly looks more expensive than it was.
3. Paint a Bookshelf in a Deep, Moody Color
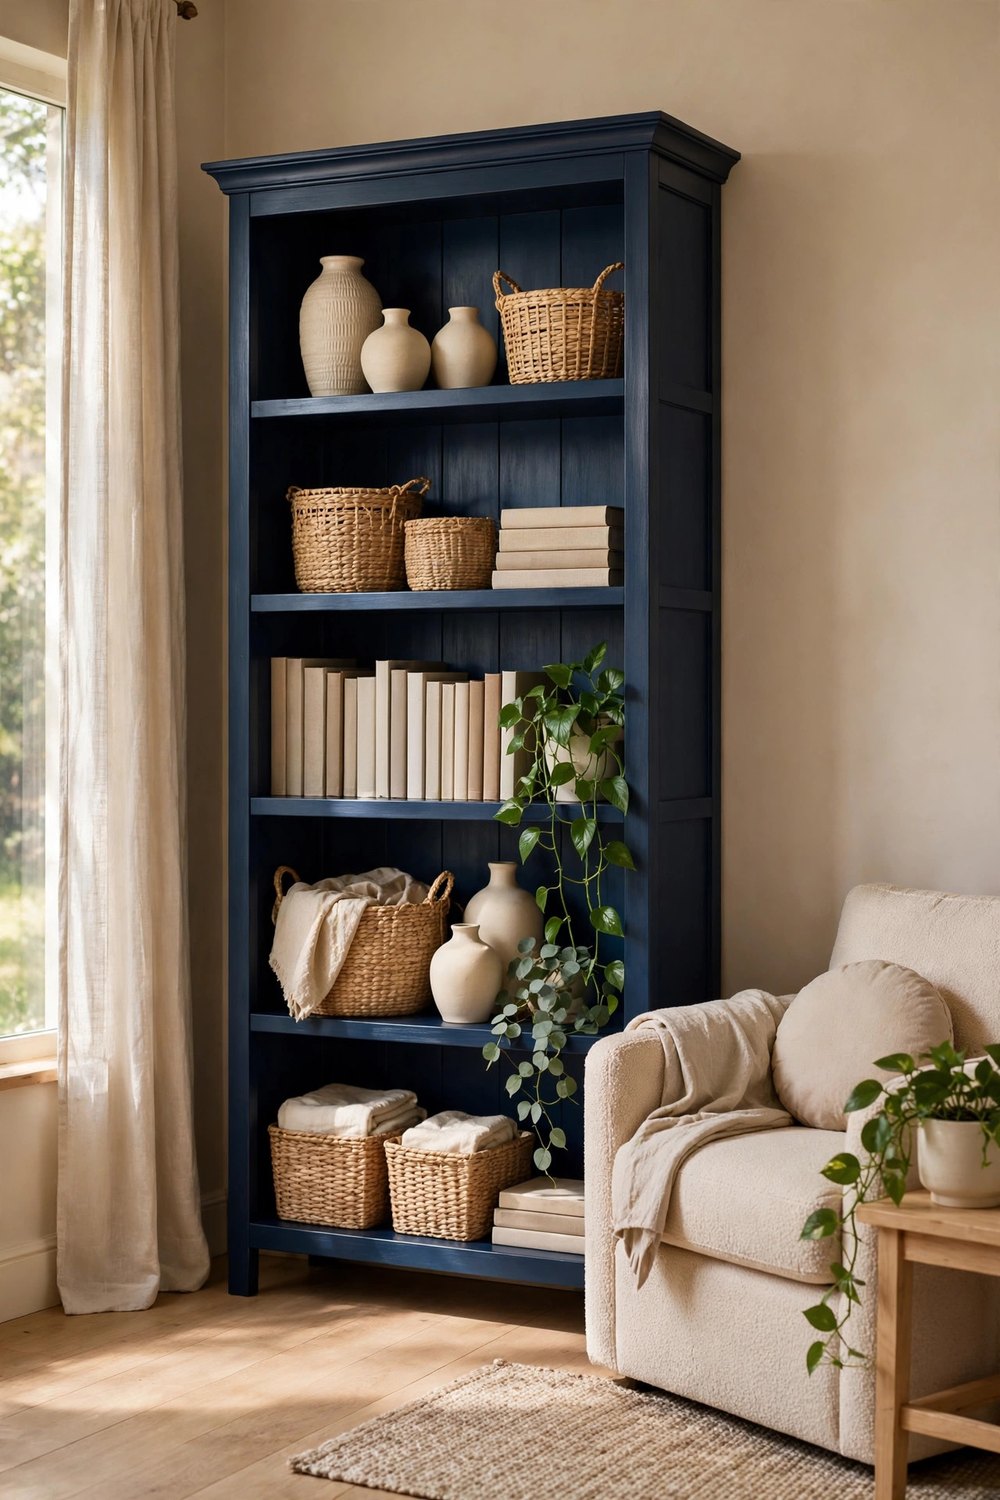
A tired bookshelf becomes a library moment when you paint it a deep, moody shade — think ink navy, forest green, or warm charcoal. Paint the inside back panel too so books and ceramics pop against the dark background, and style the shelves with light-colored objects, woven baskets, and a small plant to balance the depth. Use a satin or eggshell finish so the color looks rich rather than flat. One bookshelf, one can of paint, and the whole corner of the room feels collected and calm.
4. Refresh Kitchen Cabinets with Warm Cream Paint
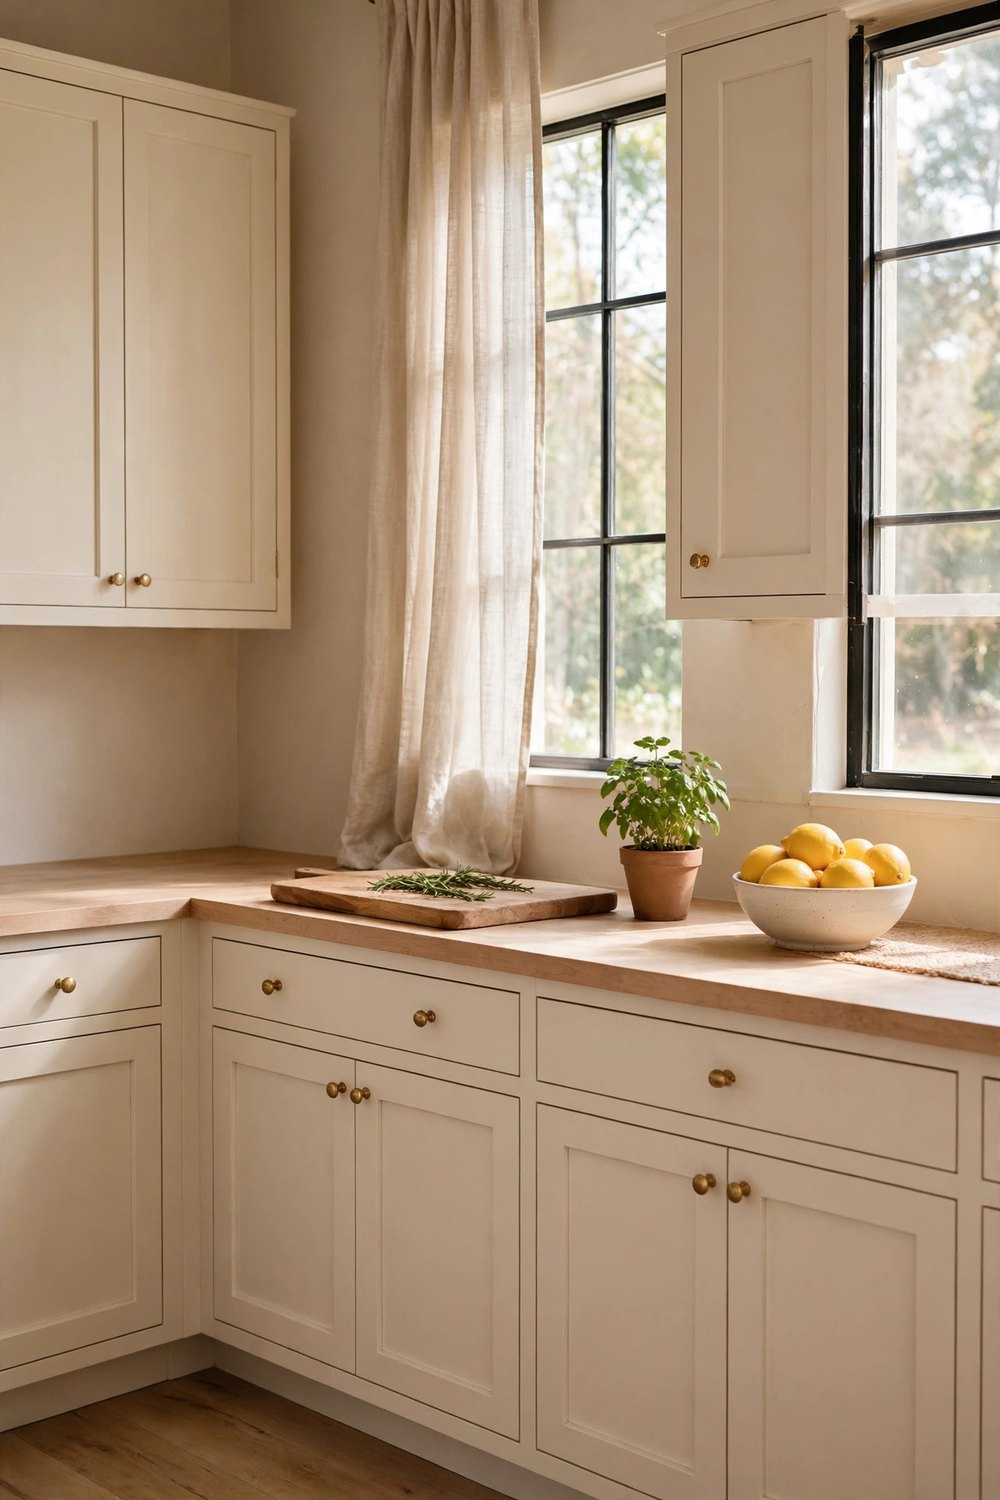
Painting kitchen cabinets is the biggest transformation on this list, and it still costs a fraction of new cabinetry. Take the doors off, label each one, degrease everything thoroughly, and use a cabinet or enamel paint in warm cream or soft white with a foam roller for a smooth, brush-mark-free finish. Two thin coats plus new simple knobs make dated wood cabinets look custom and bright. Work in batches over a weekend and the kitchen feels brand new by Monday.
5. Add Hand-Painted Stripes to a Plain Side Table
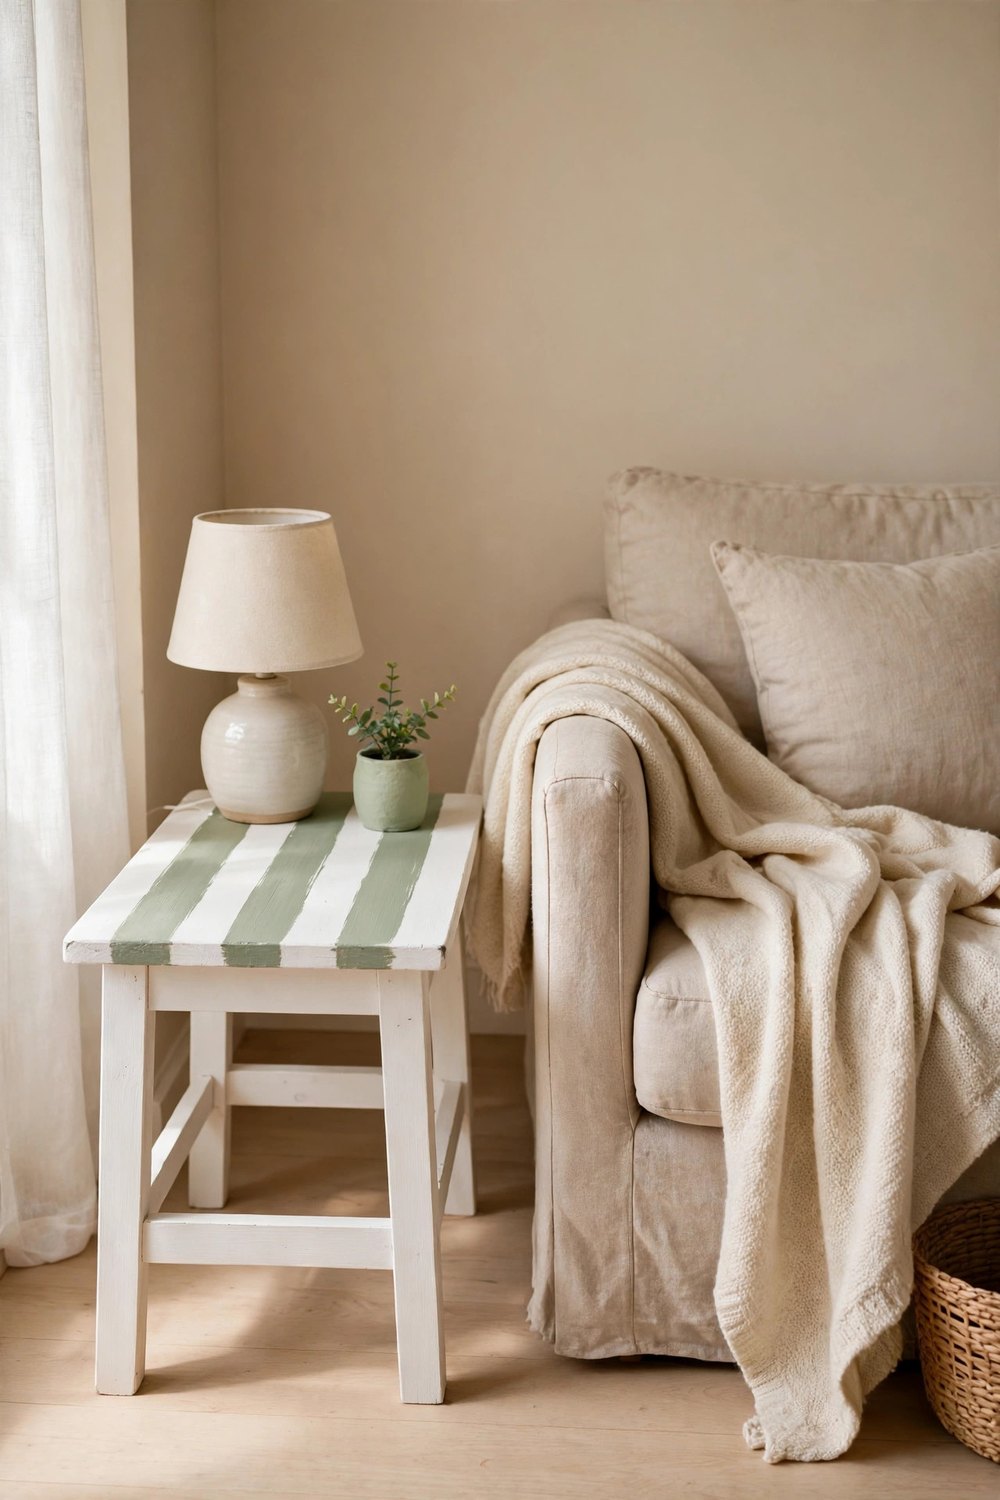
A plain side table becomes a charming statement with nothing more than painter’s tape and a second paint color. Paint the table your base color first — soft white or pale clay works beautifully — then tape off even stripes across the top or down the drawer front and fill them in with a contrasting shade. Peel the tape while the paint is still slightly tacky for the crispest lines. The whole project takes an hour and leftover paint samples, but the result looks like a boutique find.
6. Turn a Dated Desk into a Two-Color Writing Corner
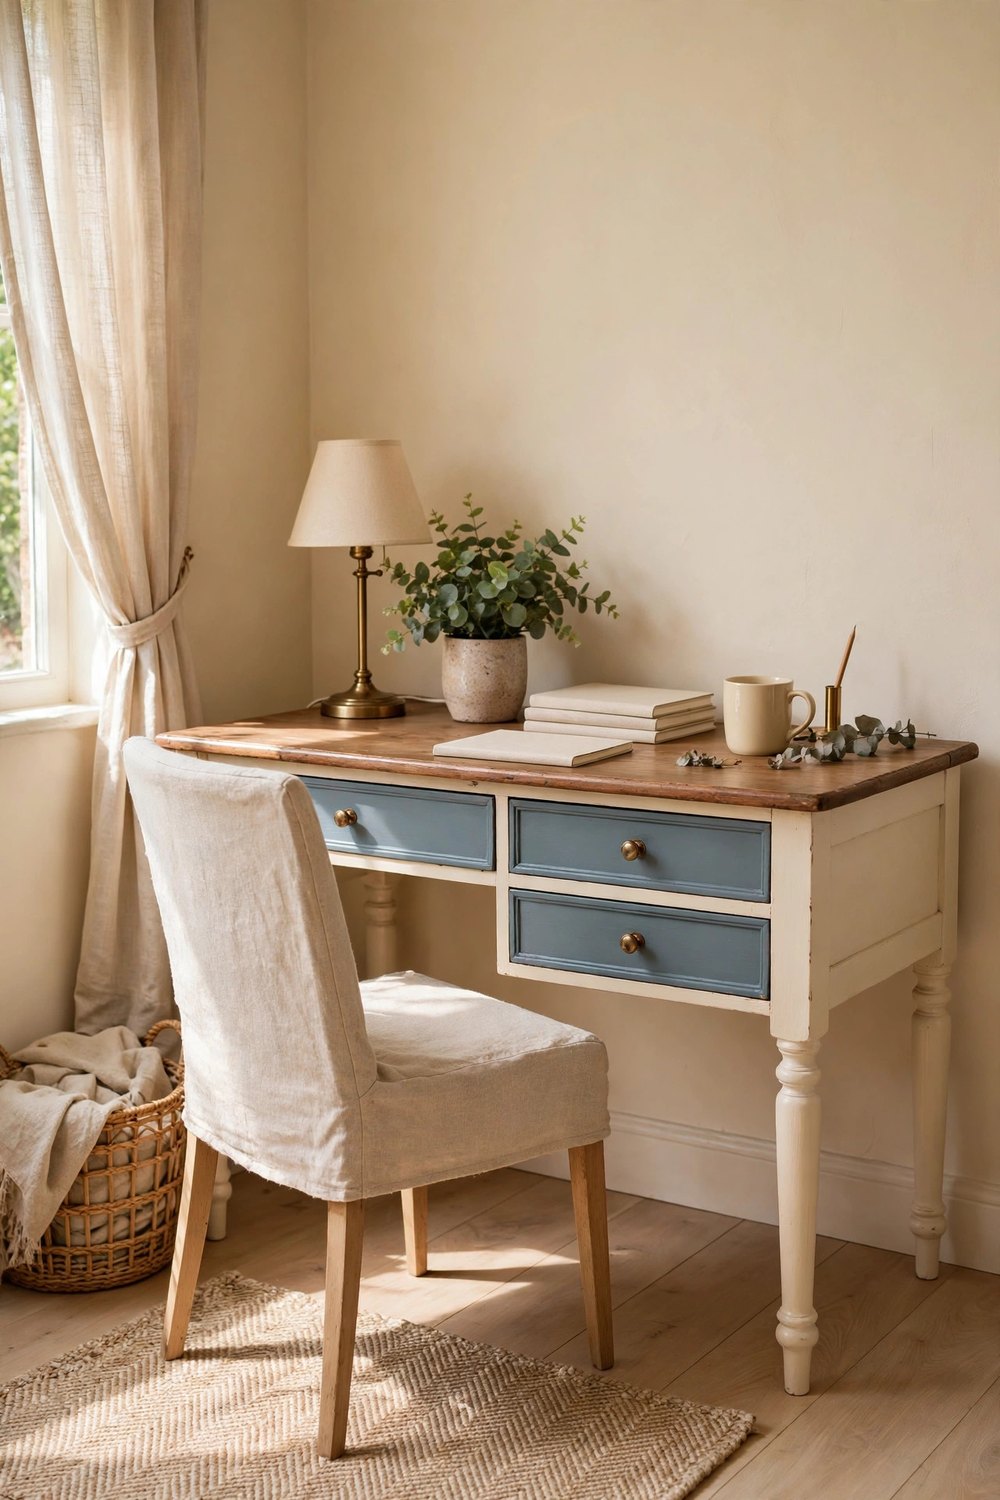
Give an old wooden desk a fresh identity by painting the frame one color and the drawers another. A classic pairing is a warm white body with soft sage or dusty blue drawers, finished with simple brass or wooden knobs. Sand lightly, prime if the old finish is glossy, and use a small roller on the flat surfaces for an even coat. Add a plant and a pretty lamp when it dries, and you have a writing corner that actually invites you to sit down.
7. Paint an Old Chair in a Cheerful Accent Color
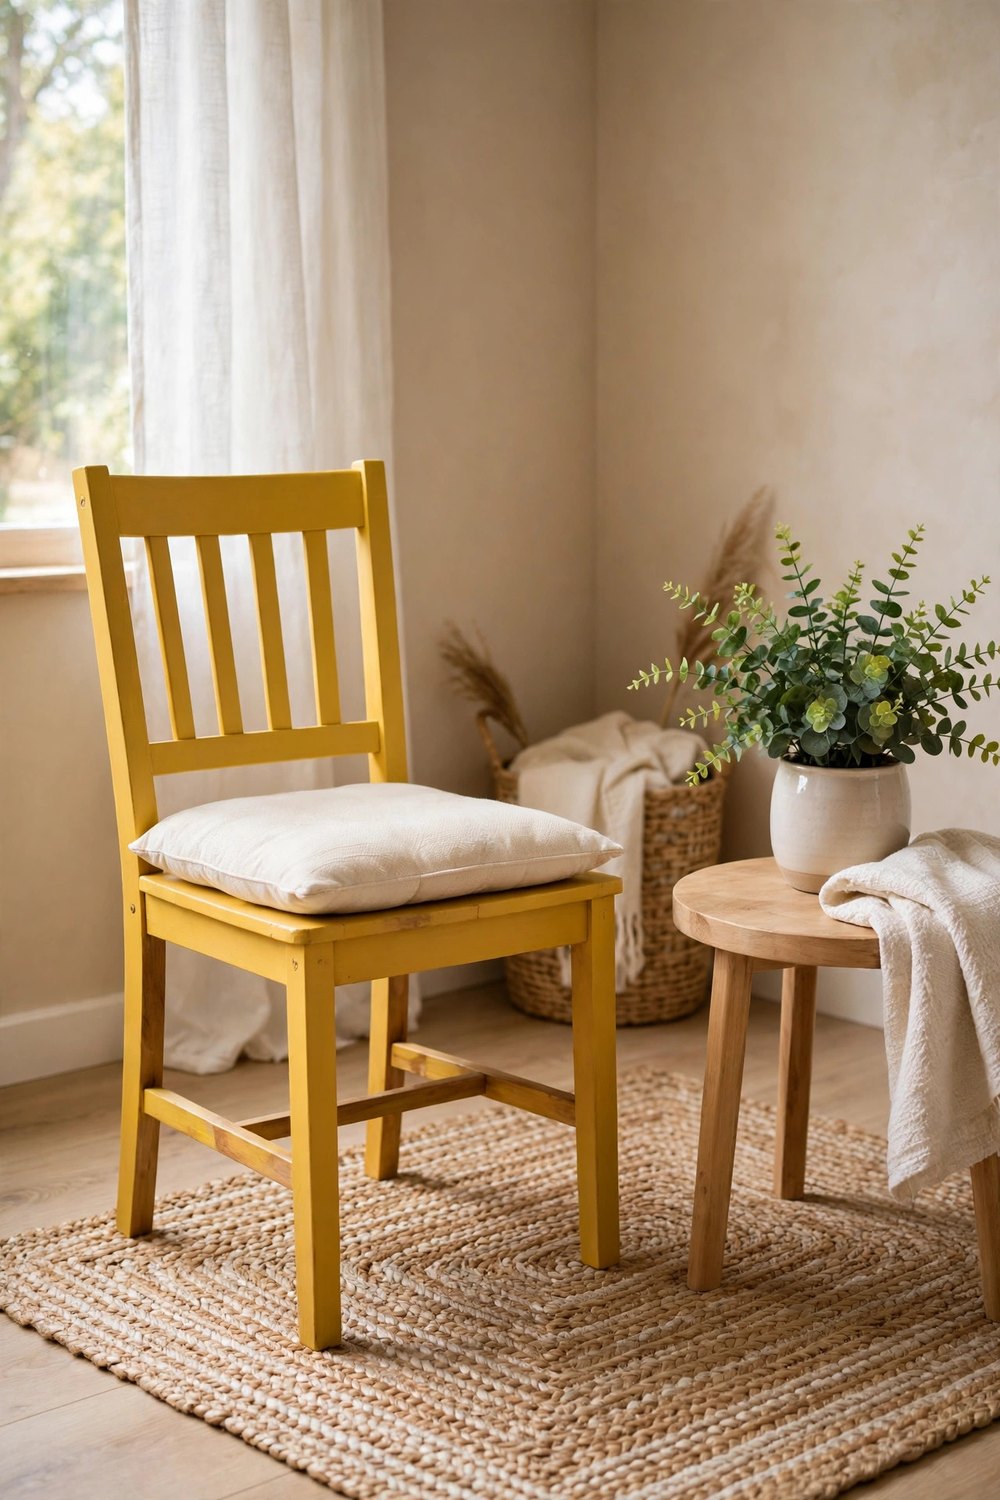
A single chair in a happy color is the fastest accent a room can get. Pick a sturdy thrifted or spare dining chair, give it a quick sand and wipe-down, and spray or brush it in mustard yellow, terracotta, or soft coral. Painting just one chair keeps the look playful rather than overwhelming, and it is perfect for a desk, vanity, or reading corner. The paint costs only a few dollars, and if you tire of the color, repainting takes twenty minutes.
8. Create a Limewashed Look on a Wooden Bench
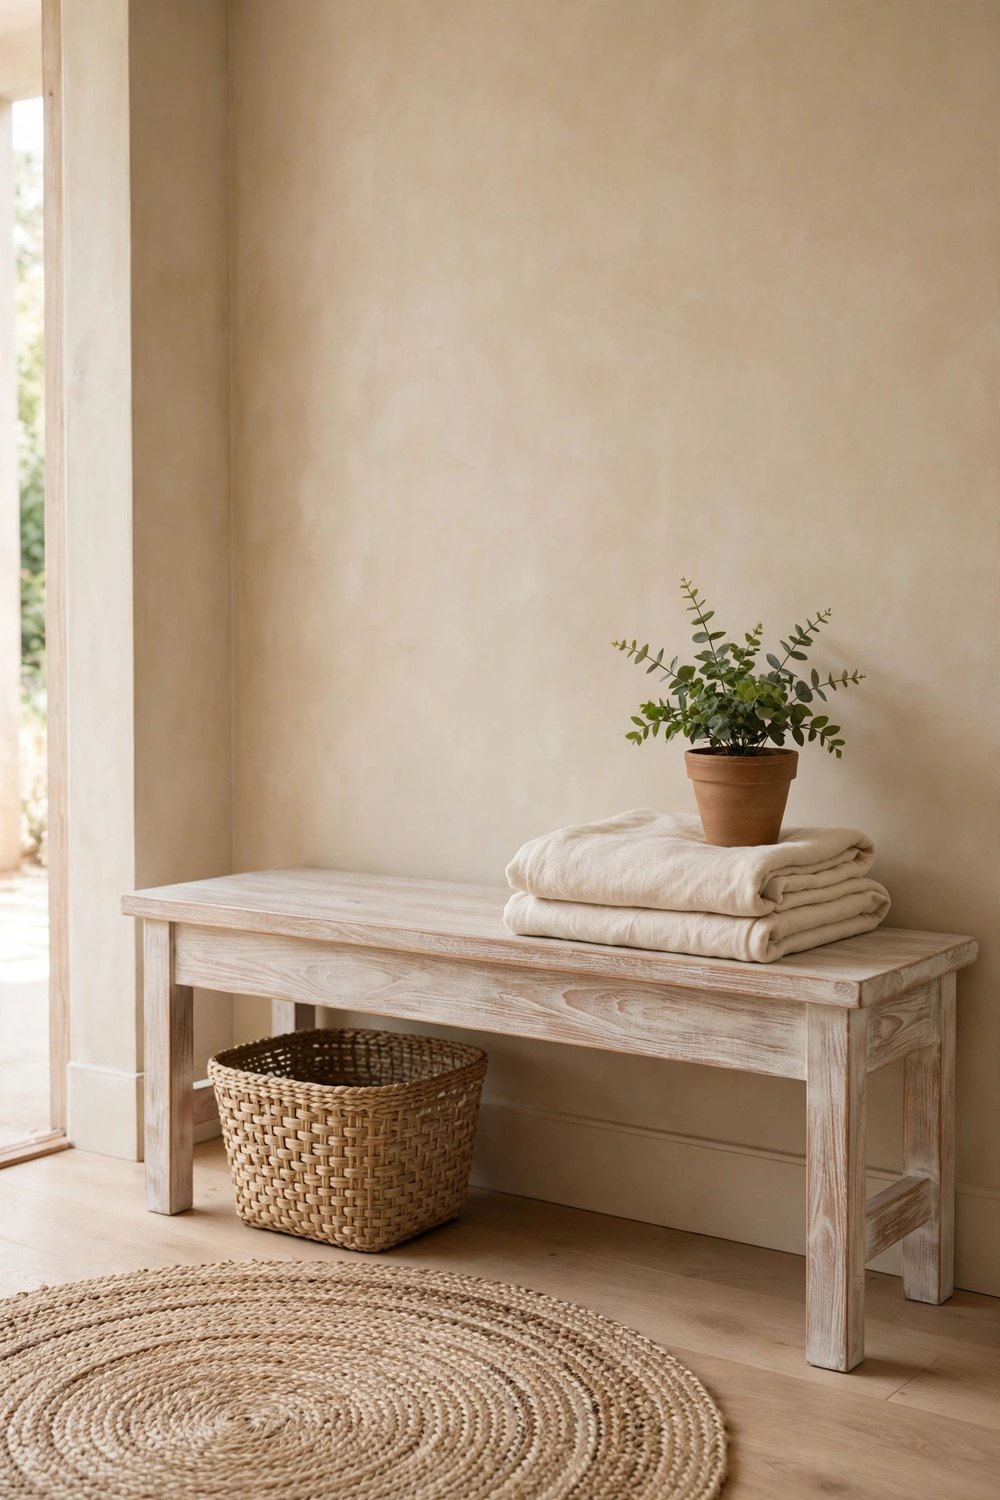
Limewash gives wood that soft, sun-bleached, Mediterranean feel that suits entryways and bedroom ends beautifully. You can buy limewash paint or thin regular white paint with water to about half strength, brush it on a plain wooden bench in long strokes, and wipe back with a cloth while it is wet so the grain ghosts through. Let some areas stay denser than others — the unevenness is the charm. It is a one-hour project that makes new pine look like it has lived a gentle life by the sea.
9. Stencil a Simple Pattern onto a Plain Cabinet
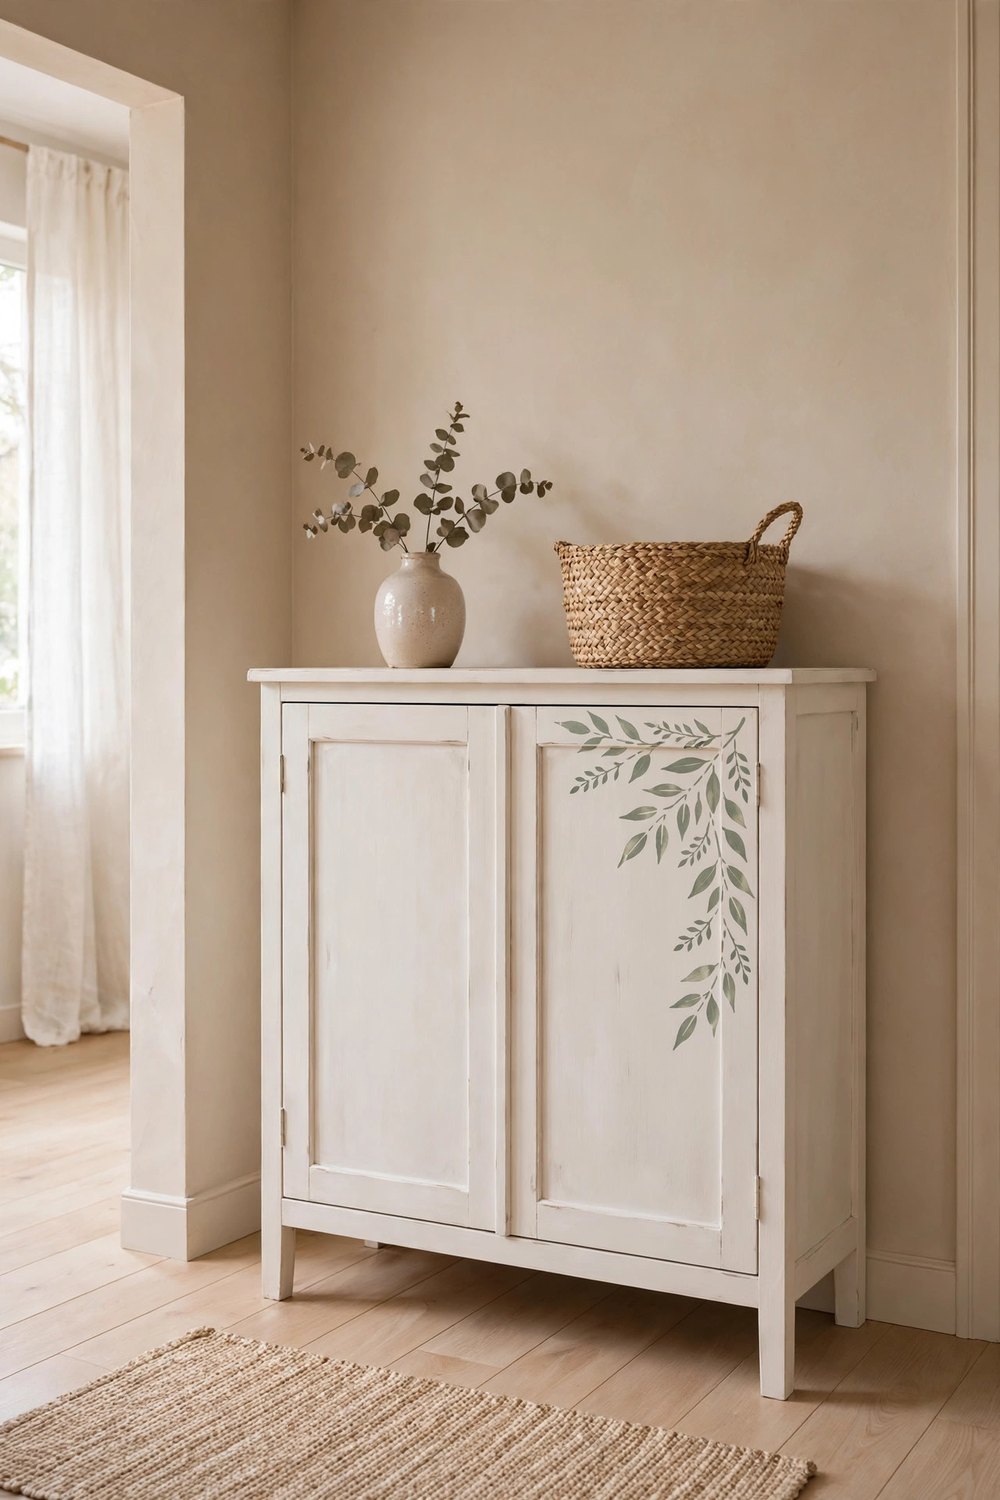
A flat, boring cabinet door is a blank canvas for a stencil. Paint the cabinet your base color, let it dry completely, then tape a simple stencil — a leaf sprig, a small tile motif, or a scattered folk pattern — onto the door and dab paint through it with a nearly dry brush so nothing bleeds underneath. Repeat the motif evenly or let it trail up one corner like climbing vines. Leftover paint and an inexpensive stencil sheet are all you need, and the finished cabinet looks hand-crafted.
10. Dip-Paint the Legs of a Stool or Table
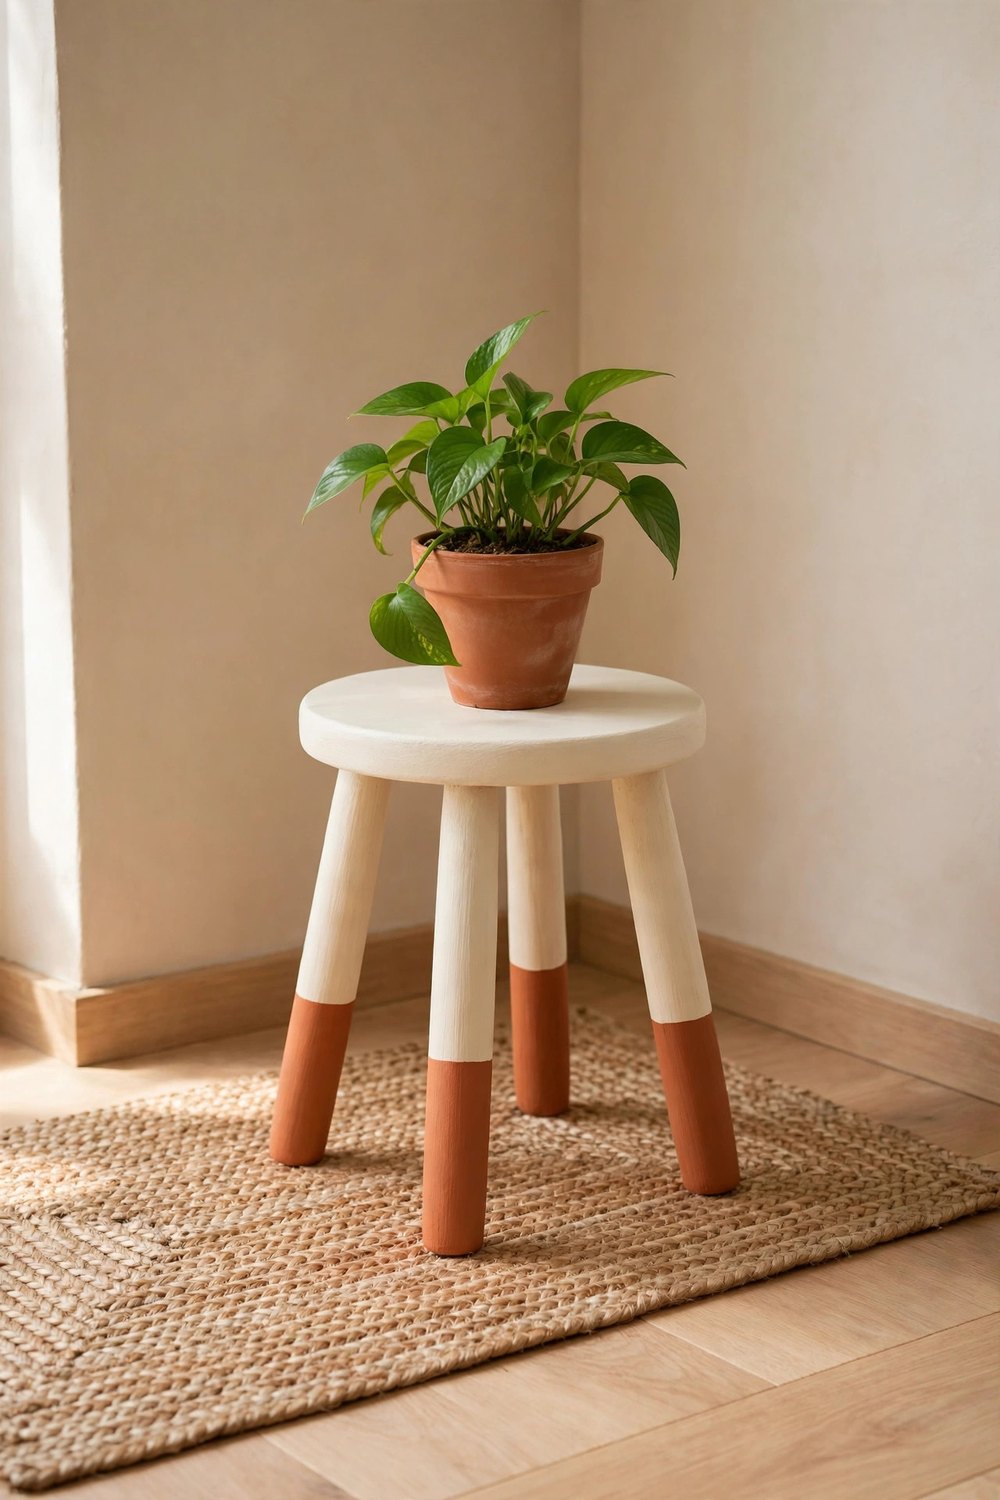
Dip-painting is the playful detail that makes simple furniture look intentional: paint the piece one color, then dip or brush just the bottom third of the legs in a contrasting shade. Mark the line with tape all the way around each leg at the same height — about a hand’s width from the floor looks balanced — and keep the edge sharp. It works beautifully on wooden stools, side tables, and even plain plant stands. The paint needed is barely a sample pot, so this is the perfect first project if you are nervous.
Every piece of painted furniture in a home carries a little story — the dresser you rescued, the chair you dared to paint yellow, the cabinets that changed the whole kitchen. Start small if you are new to this, and let one good makeover give you the confidence for the next. Save this list to your Pinterest board so it is ready before your next project weekend — and follow DecorNesti for a new cozy project list every week.

Leave a Reply