
A studio apartment has one room doing four jobs — living, sleeping, working, and eating — and without walls, those jobs blur into each other until the whole space feels like one big bedroom with a sofa in it. Rugs are the renter’s answer to walls: laid well, each one draws an invisible boundary on the floor, tells your eye where one “room” ends and the next begins, and softens the sound and feel of the whole place at once. These ten ideas use size, layering, texture, and placement to carve a single open space into calm, separate zones — no construction, no damage, nothing your landlord can object to. Save your favorites to Pinterest, measure your floor before you fall in love with a rug, and let the zoning begin from the ground up.
In This Article
- 1. Anchor the Sofa Zone with One Large Cream Rug
- 2. Layer a Smaller Patterned Rug Over a Big Neutral Base
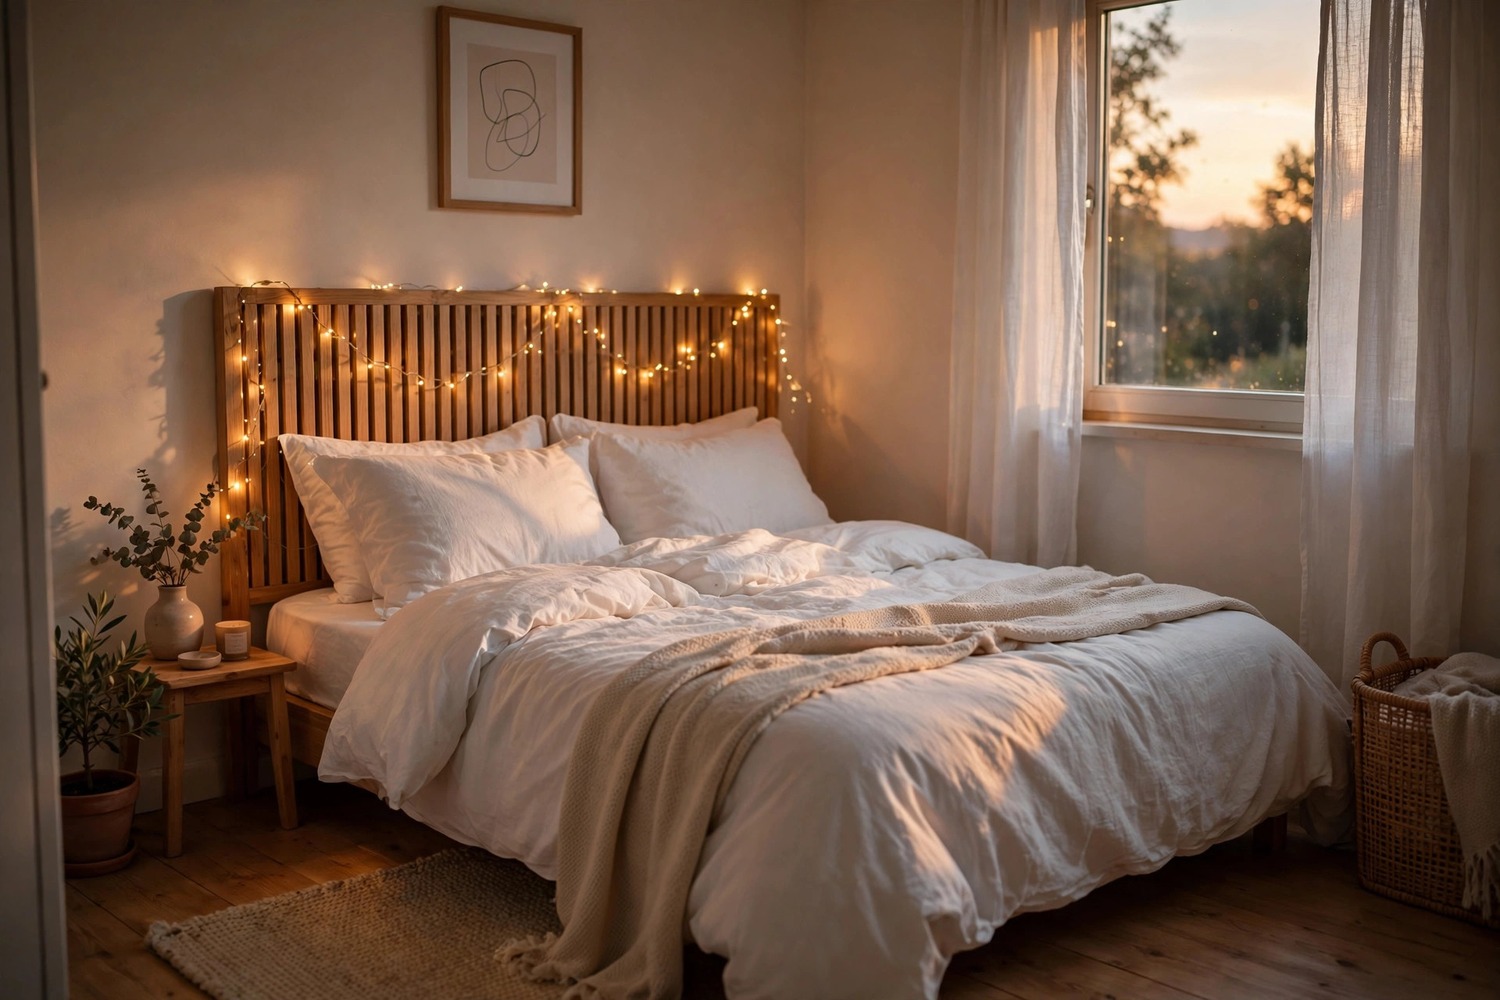
- 3. Give the Bed Its Own Soft Rug Island
- 4. Run a Runner Through the Kitchenette Strip
- 5. Mark the Work Corner with a Small Round Rug
- 6. Repeat One Rug Style Twice to Tie the Zones Together
- 7. Place the Rug at a Gentle Angle for a Softer Break
- 8. Choose a Flat-Weave Rug Under the Dining Table
- 9. Separate Sleep and Living with Contrasting Textures
- 10. Leave Bare-Floor Pathways Between the Zones
1. Anchor the Sofa Zone with One Large Cream Rug
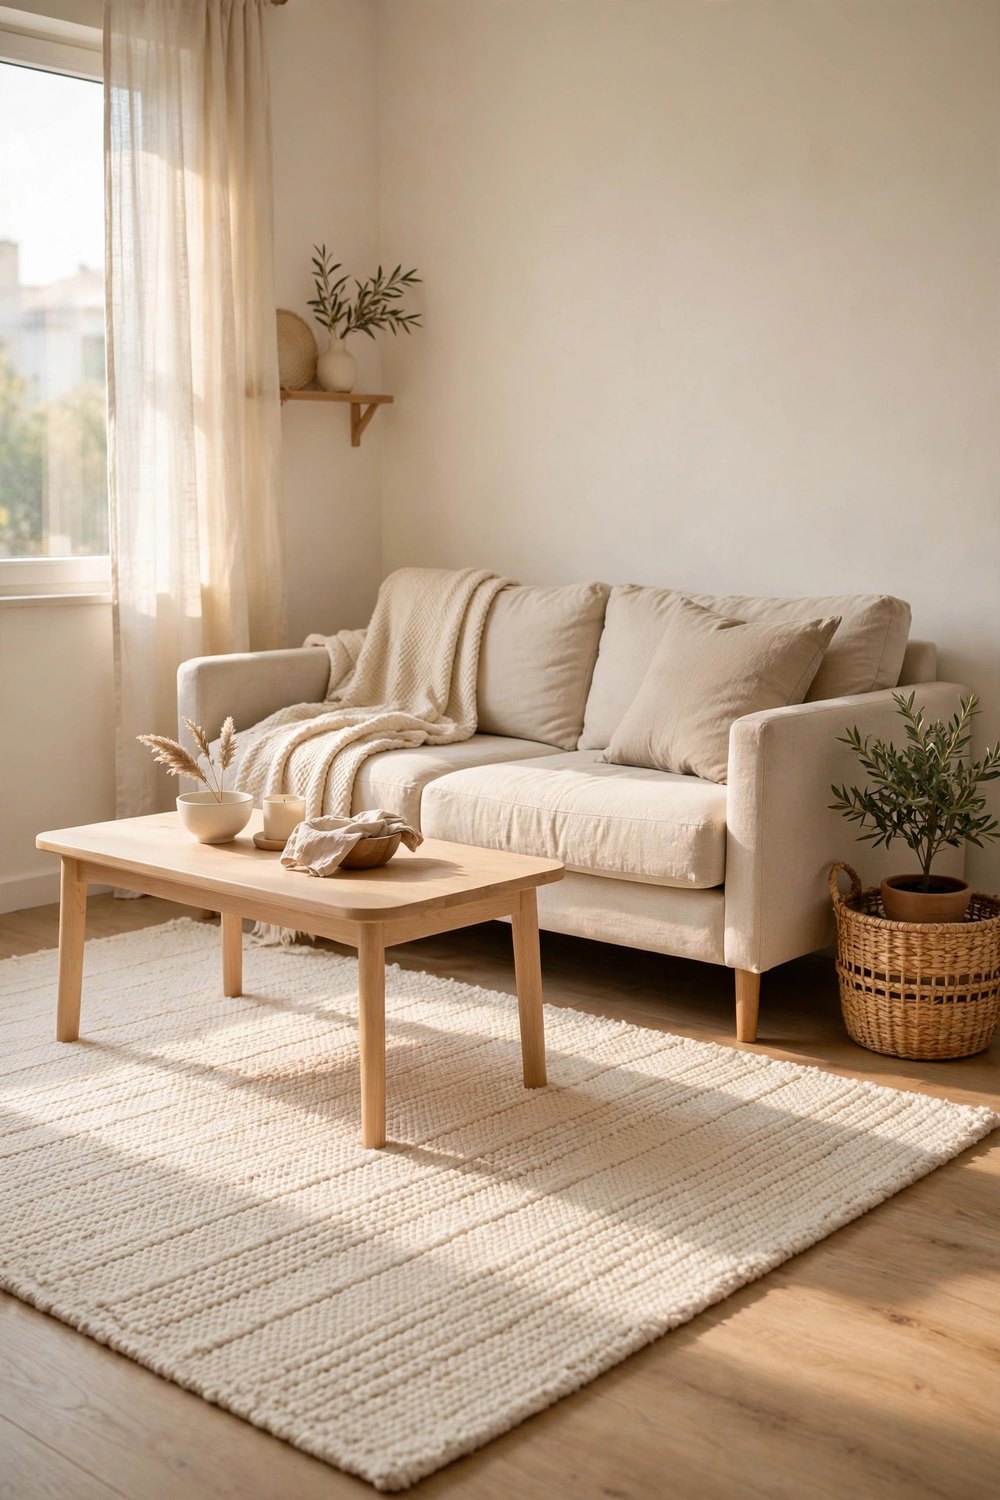
The living zone starts with the biggest rug you can fit. A generous cream or warm ivory rug under the sofa and coffee table — wide enough that the sofa’s front legs and both chairs sit on it — instantly reads as “the living room” in an open space. Size is everything here: a rug that floats only under the coffee table makes the zone feel like an afterthought, while a big one gives the furniture a shared island to live on. Keep the tone light and the pattern quiet so the zone feels calm against the busier corners of the studio.
2. Layer a Smaller Patterned Rug Over a Big Neutral Base
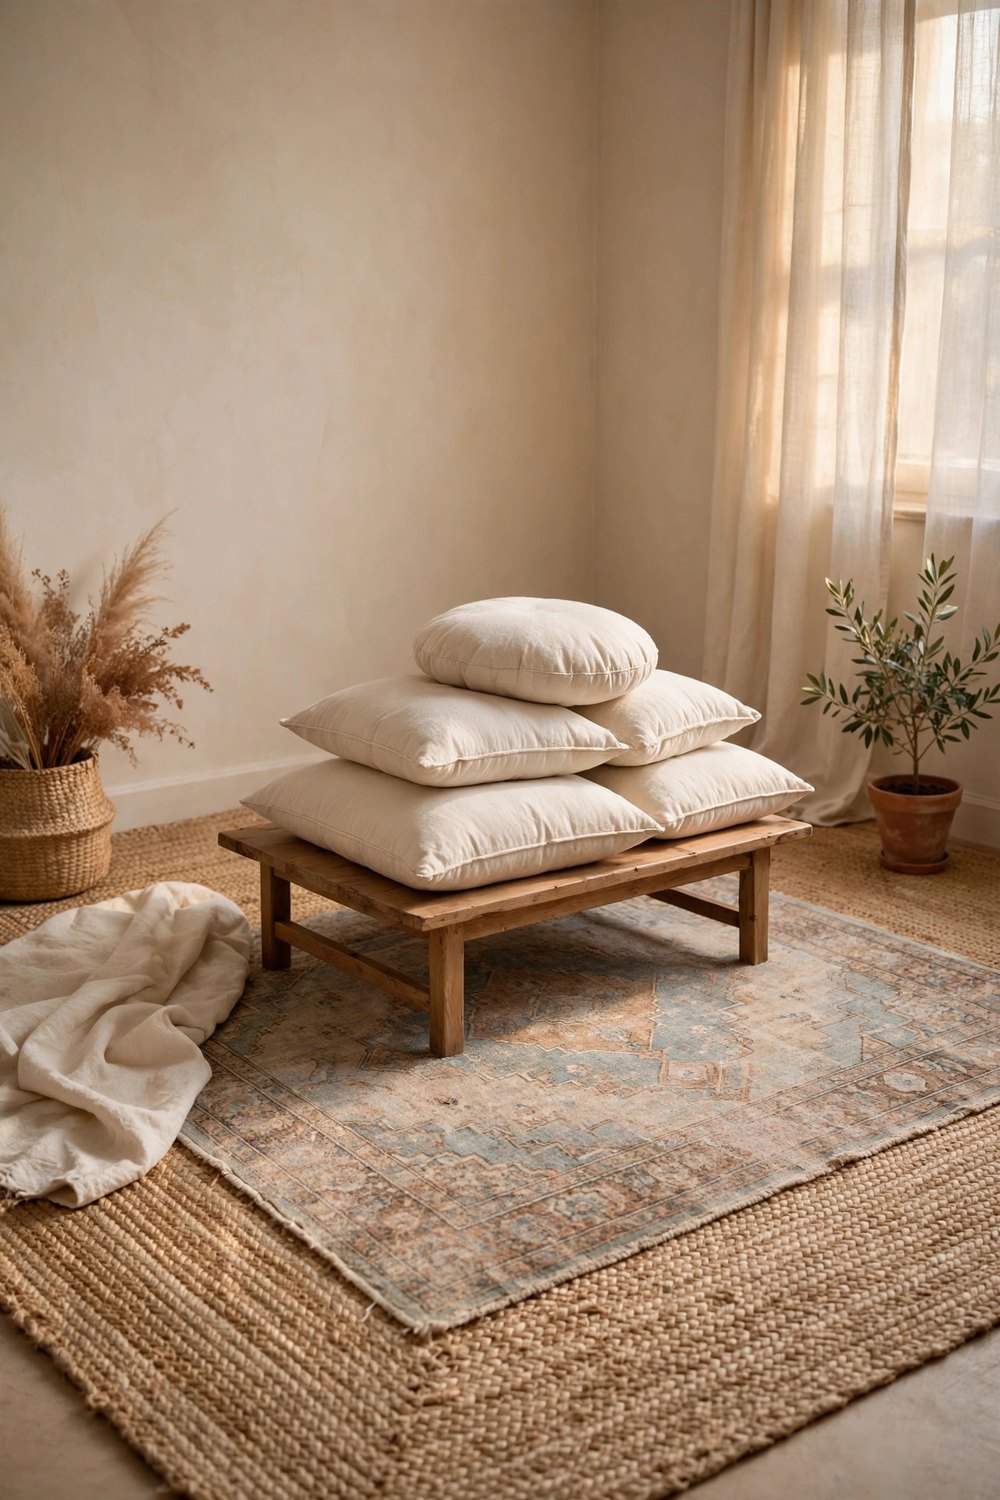
Layering is how a studio rug grows to full size on a small budget. Lay an inexpensive, large, flat neutral rug — natural jute or a plain low-pile in warm beige — then center a smaller, softer, gently patterned rug on top where feet actually land. The base does the zoning work, defining the whole seating area, while the top layer brings the texture and personality. This trick also lets you use that beautiful small vintage rug you already own at a scale the room actually needs.
3. Give the Bed Its Own Soft Rug Island
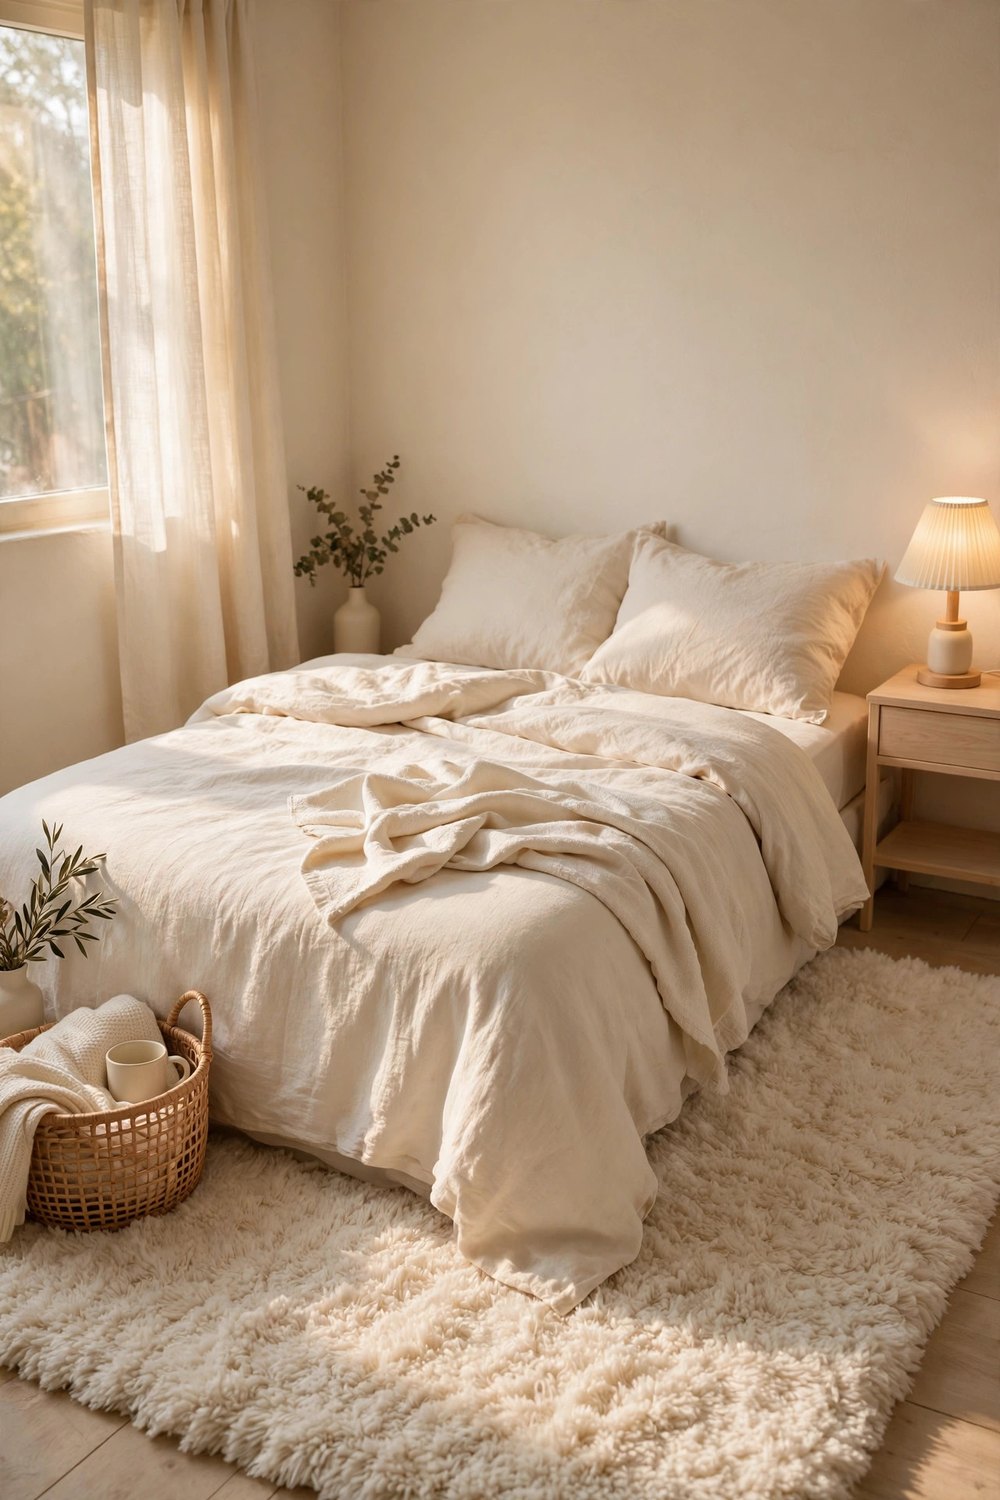
The sleep zone deserves its own floor, and a plush rug beside and under the bed draws that line beautifully. Slide a soft, high-pile rug two-thirds under the bed so a generous border frames the sides and foot — the first thing your feet touch each morning, and a clear visual signal that this corner is for rest. Choose the softest texture in the apartment for this zone, in a pale, quiet tone that keeps the bed area feeling separate and serene even when the rest of the studio is busy.
4. Run a Runner Through the Kitchenette Strip
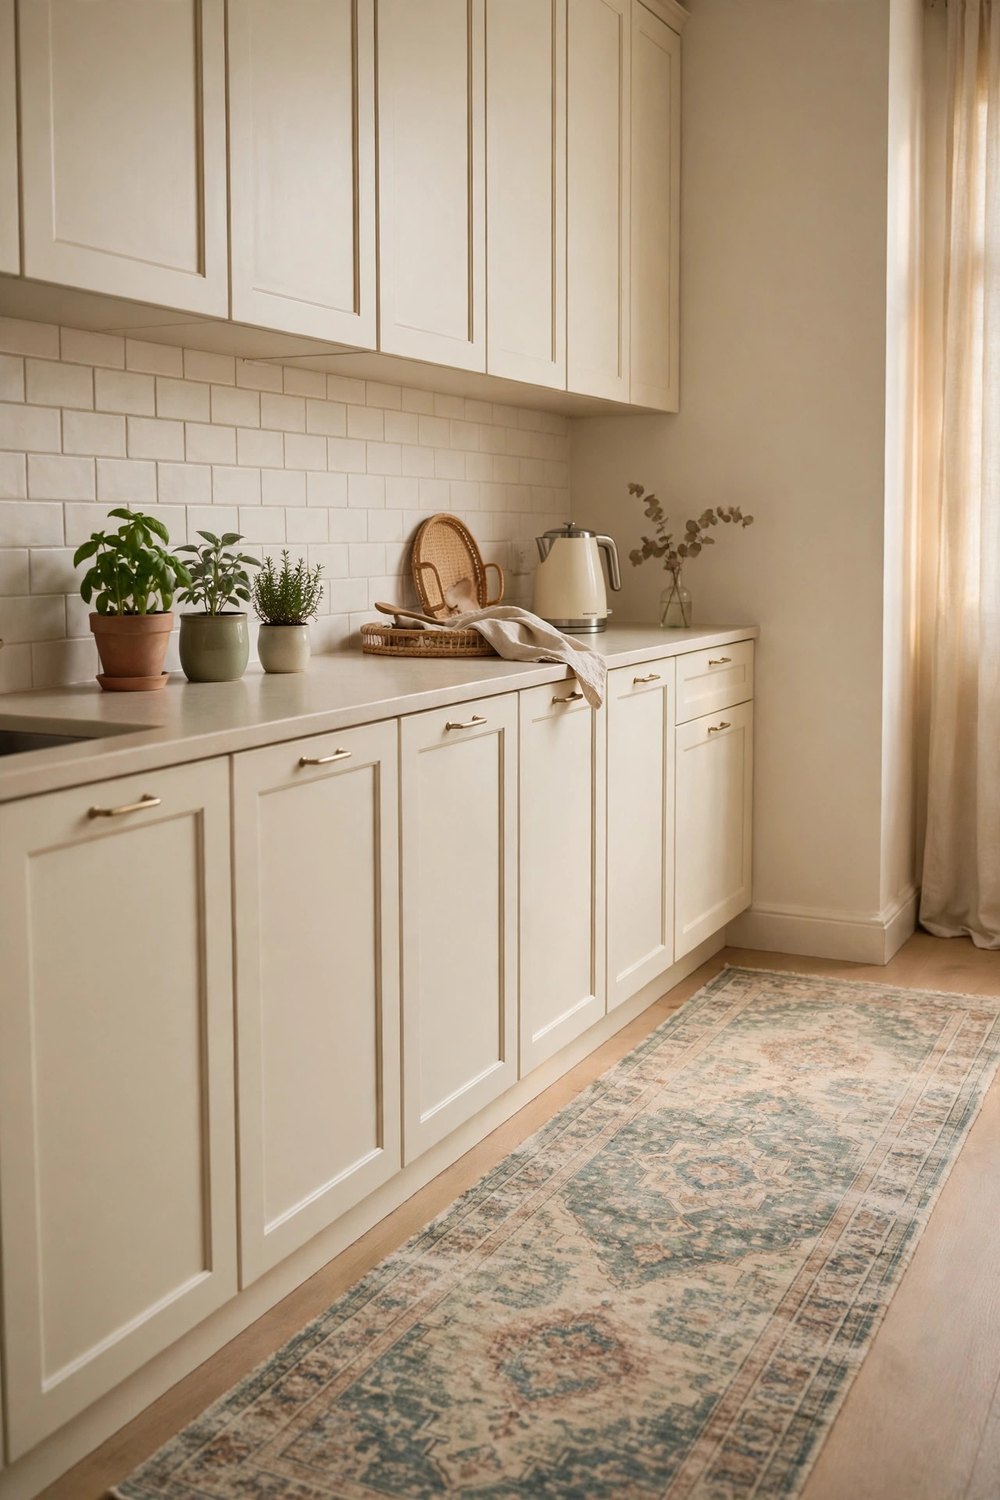
Studios often have a narrow kitchenette strip along one wall, and a long runner turns that strip into its own defined room. Choose a washable, low-pile runner in a warm stripe or faded vintage pattern and run it the full length of the counters so cooking feels like standing in a real galley kitchen. The runner cushions long cooking sessions, catches the inevitable splashes in a machine-washable layer, and its long straight lines sharpen the boundary between the kitchen zone and everything else.
5. Mark the Work Corner with a Small Round Rug
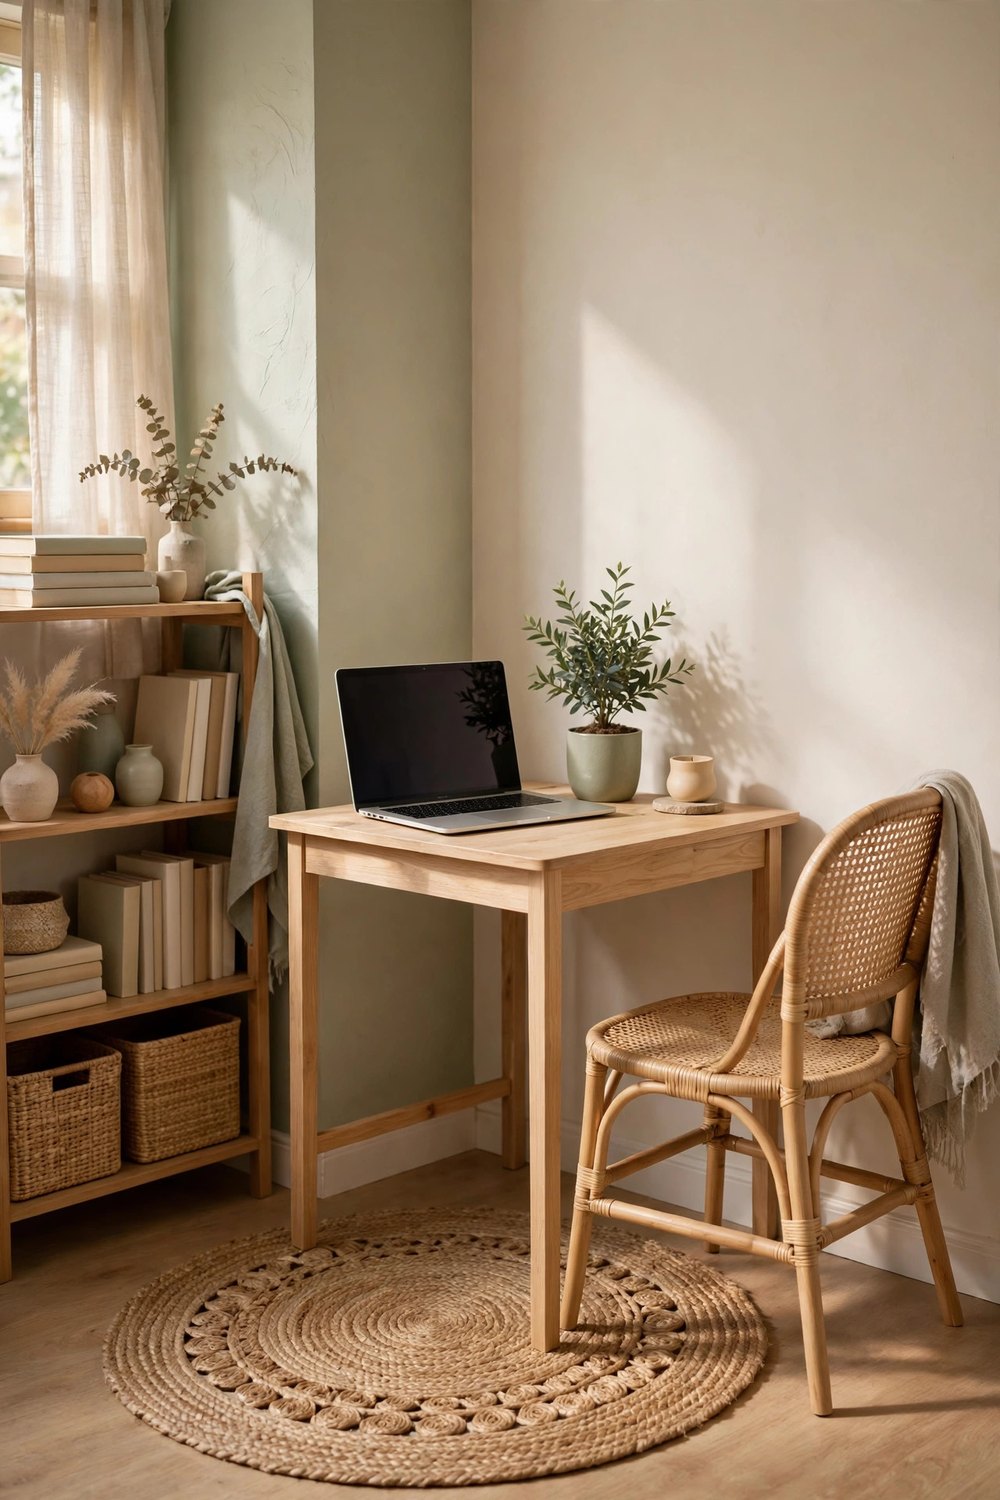
A desk squeezed into a corner becomes a proper office the moment it gets its own rug. A small round rug under the desk and chair — in woven jute, a soft cream wool, or a gentle sage — outlines the work zone in a shape no other zone uses, which makes the boundary unmistakable. Round also softens the hard angles of desk and chair legs and lets the chair roll or slide without catching an edge. When the rug is under you, you are at work; step off it, and the workday ends — a small ritual that matters in one-room living.
6. Repeat One Rug Style Twice to Tie the Zones Together
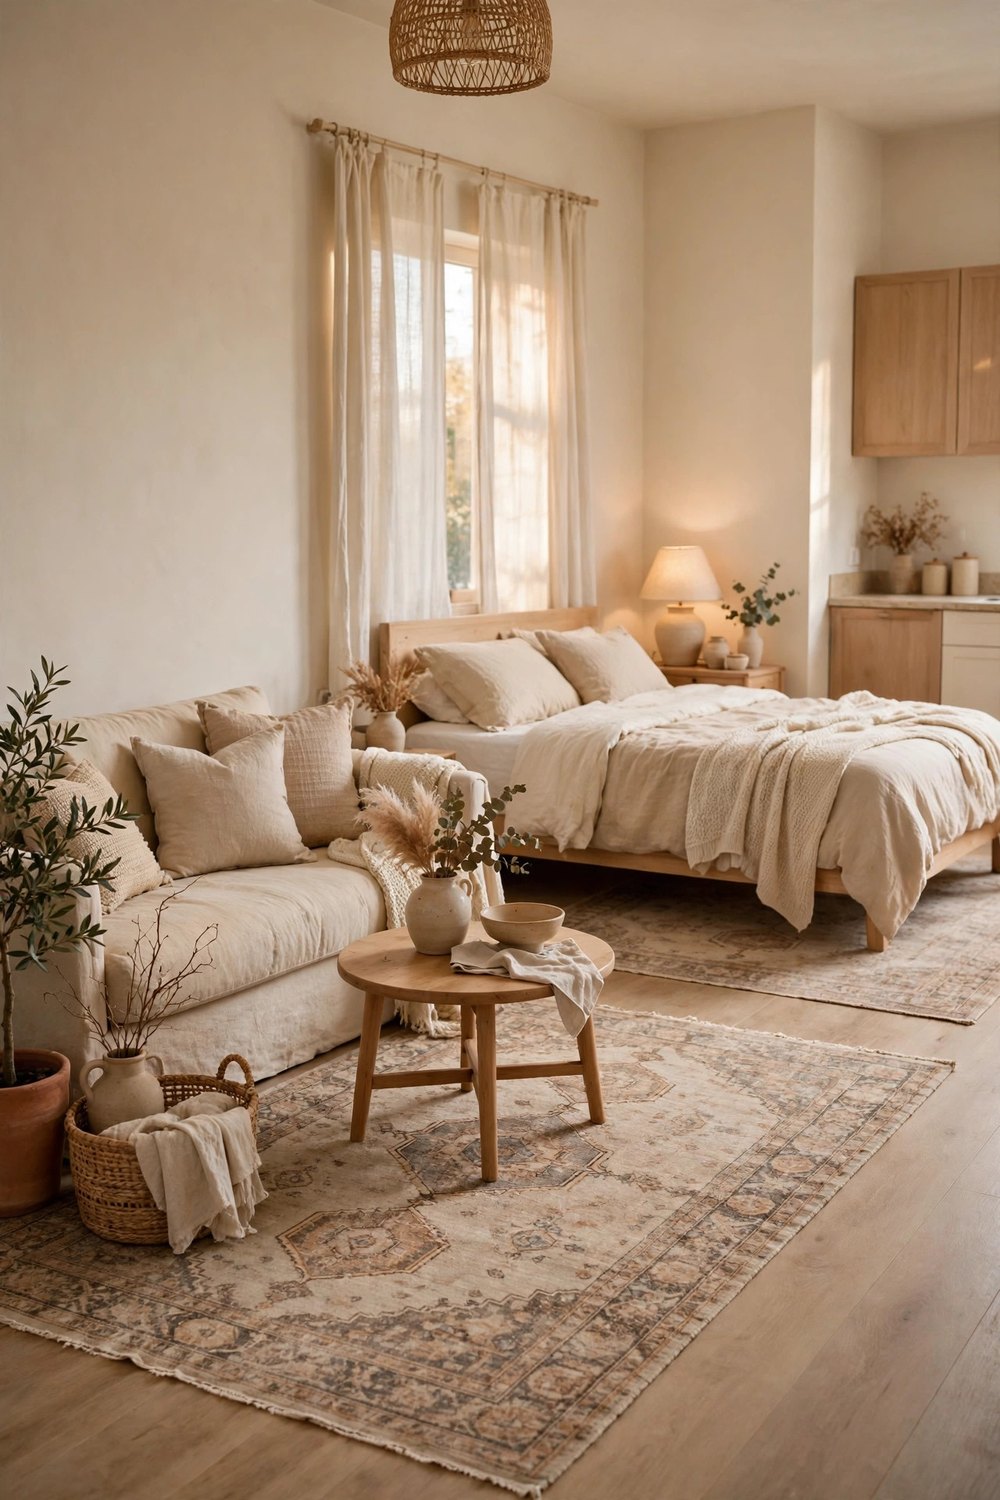
Separate zones still need to feel like one home, and repetition is the thread. Use the same rug family — matching jute weaves, the same faded vintage pattern in two sizes, a runner and an area rug from one design — in two different zones, and the eye reads them as relatives rather than rivals. The zones stay distinct because of placement and size, but the shared material keeps the studio from feeling like four clashing rooms stitched together. It is the easiest way to make a multi-rug studio look planned instead of accumulated.
7. Place the Rug at a Gentle Angle for a Softer Break
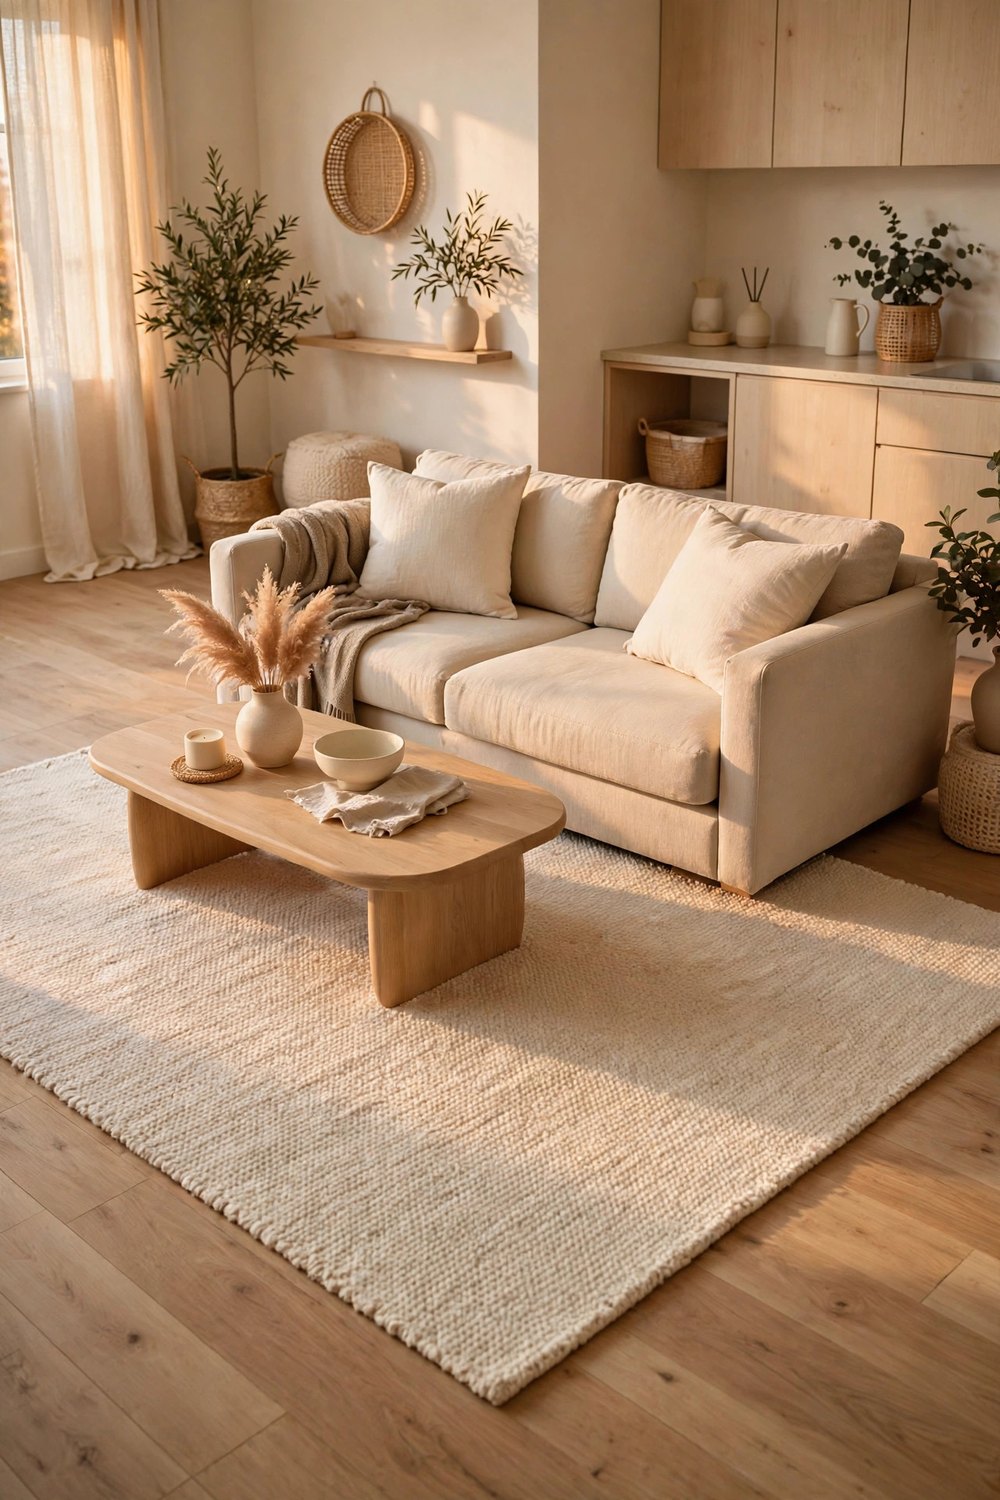
Not every boundary needs to be a straight line. Angling the living-zone rug a few degrees — so it sits slightly diagonal under the sofa grouping while the room’s other lines stay square — creates a soft, deliberate-feeling shift between zones that suits open, breezy studios. The angle also hides a multitude of studio sins: floors that are not quite level, furniture that does not quite line up. Keep the turn subtle, around ten to fifteen degrees, so it reads as intention rather than accident.
8. Choose a Flat-Weave Rug Under the Dining Table
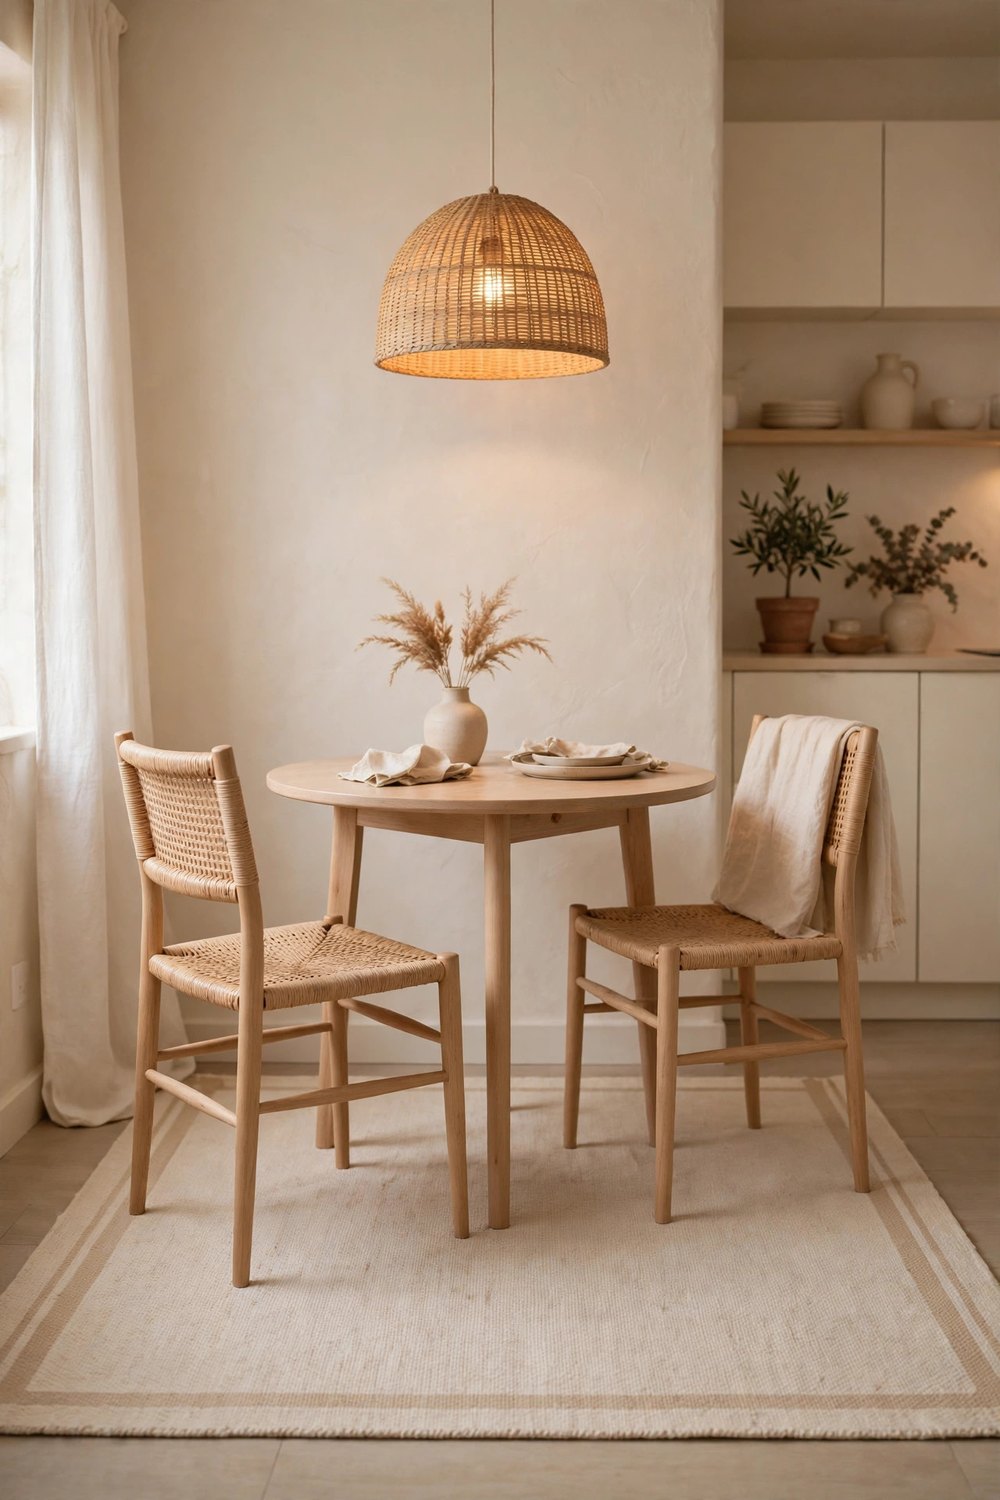
The dining zone needs a rug that chairs can slide on, and that means flat-weave. A low, smooth rug in natural cotton, jute blend, or a washable flat weave under a small dining table defines the eating zone without trapping chair legs or crumbs in deep pile. Size it so chairs stay on the rug even pulled out — about sixty centimeters of rug beyond the table on every side. A gentle border stripe or a quiet pattern here separates dinner from the sofa zone a meter away more clearly than any screen could.
9. Separate Sleep and Living with Contrasting Textures
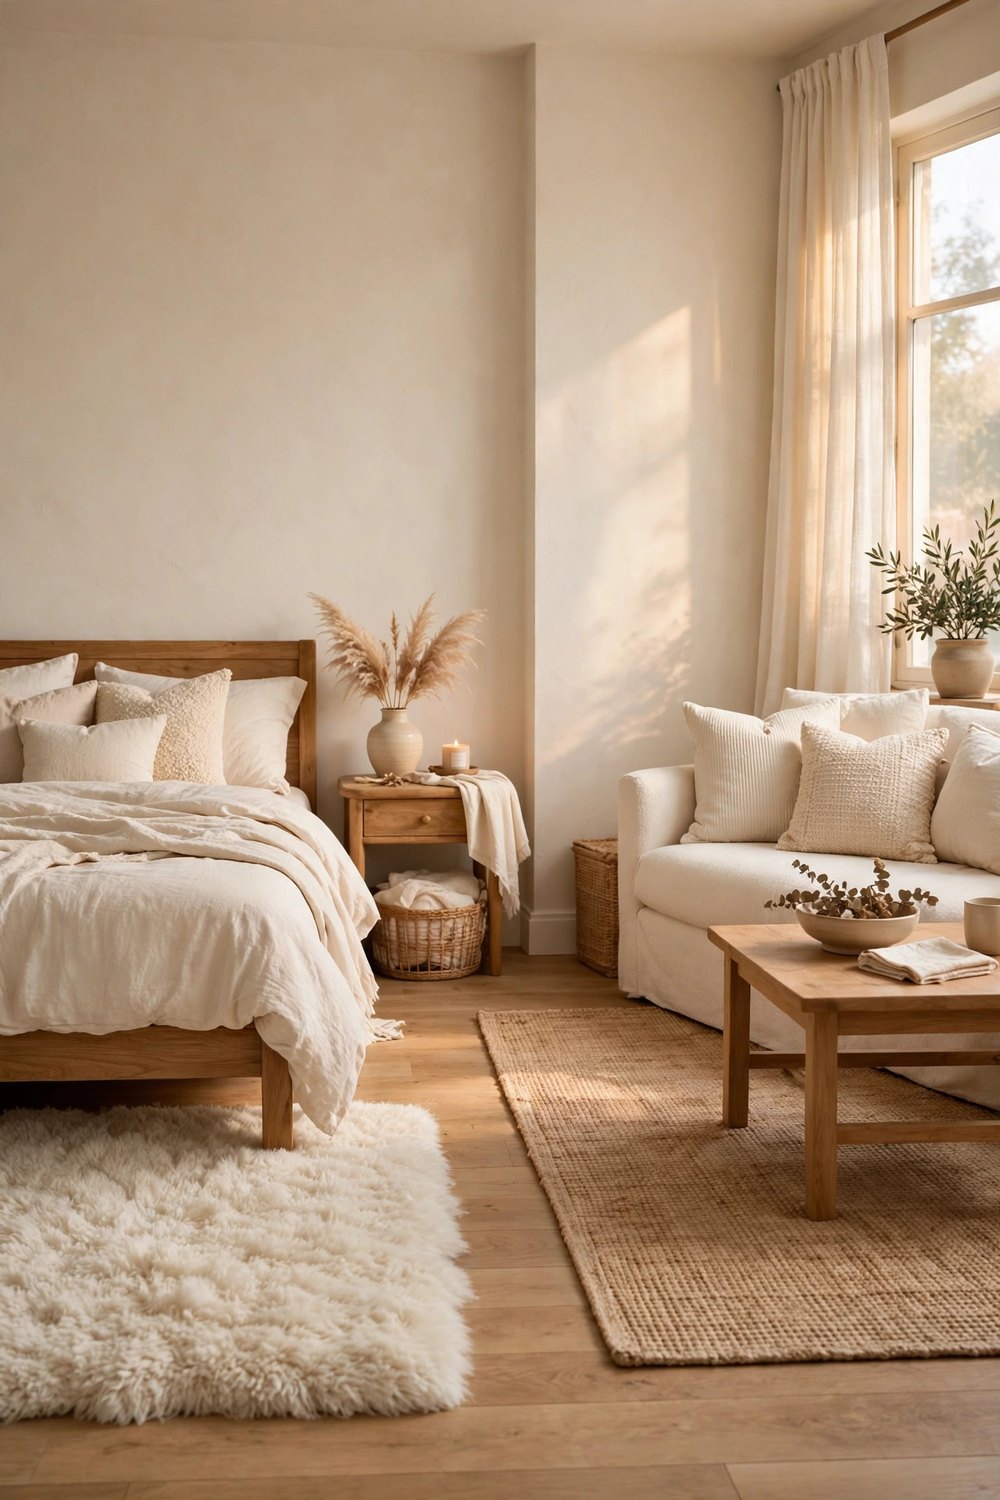
When two zones sit side by side, texture can draw the line that color cannot. Keep the whole studio in one calm palette, then make the sleep-zone rug deep and plush while the living-zone rug stays flat and woven — your feet learn the map of the apartment without your eyes ever checking. The contrast also suits each zone’s job: softness where you rest, practicality where you live and spill. It is zoning you can feel in the dark, which in a studio is genuinely useful.
10. Leave Bare-Floor Pathways Between the Zones
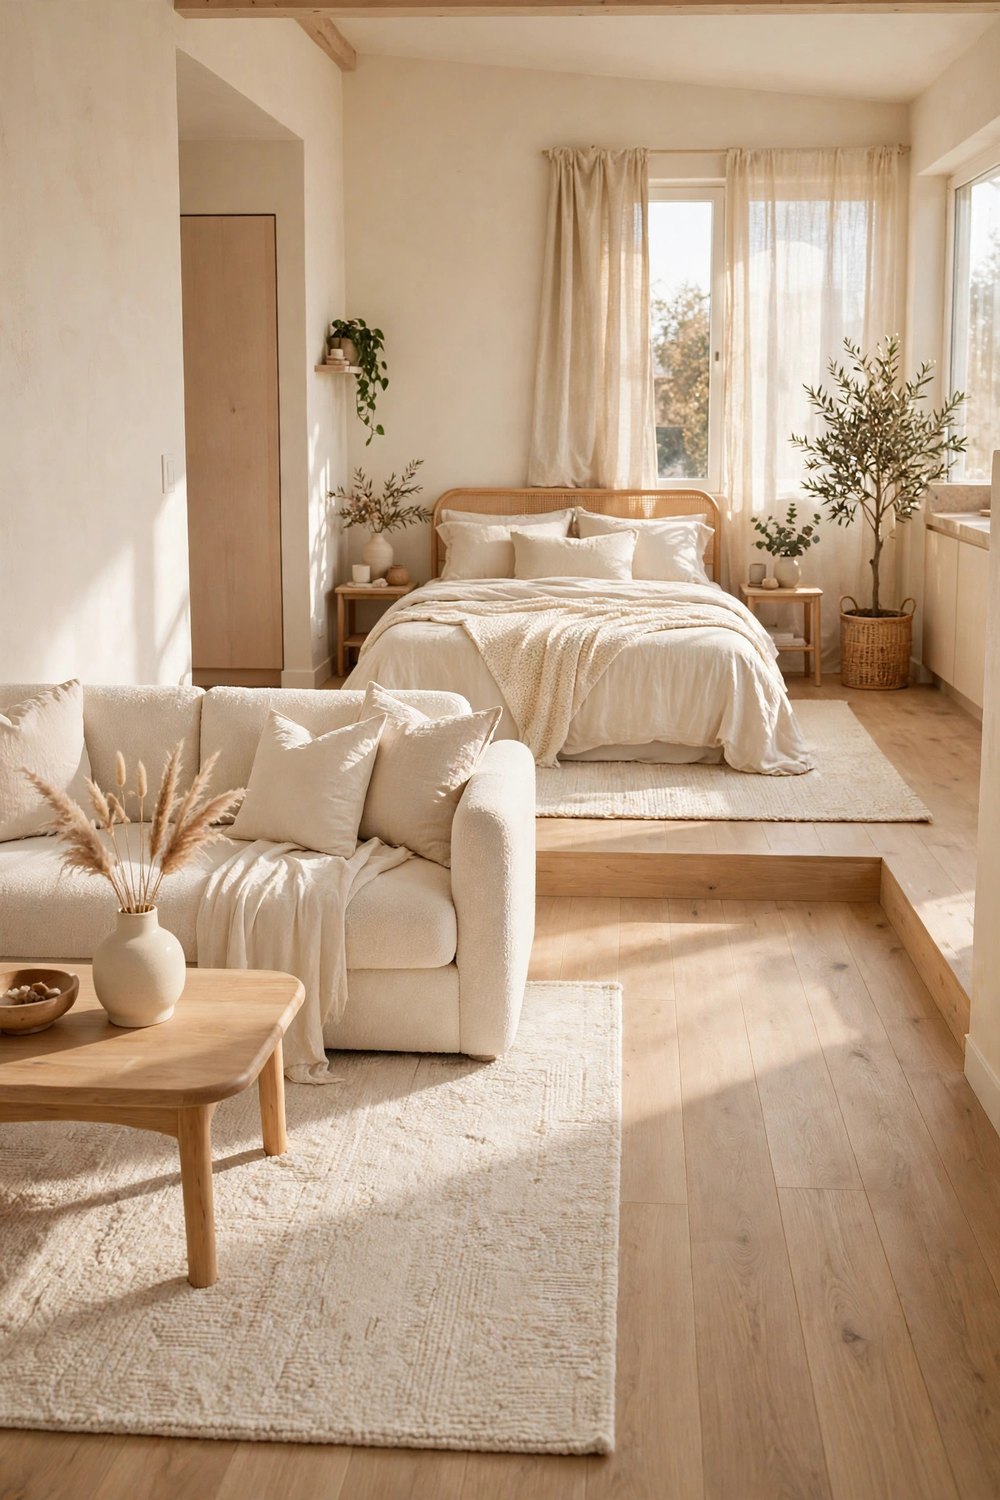
The most overlooked zoning trick is the floor you leave empty. Gaps of bare wood or tile between rugs act as hallways — circulation paths that keep the zones reading as separate rooms and stop the studio from looking carpeted wall to wall. Plan the gaps where you naturally walk: from door to kitchen, from bed to bathroom, a clear lane through the middle. Thirty to fifty centimeters of breathing room between rugs is enough, and those quiet lanes make every rug zone look more deliberate by contrast.
Zoning a studio is not about dividing the space — it is about naming it, one rug at a time: this soft island is for sleeping, this woven one is for living, this runner is the kitchen, this round one is where work happens. Start with the biggest zone, the sofa, measure honestly, and let each new rug sharpen the map a little more. Save this list to your Pinterest board so it is handy before your next rug hunt — and follow DecorNesti for a new cozy, space-smart list every week.

Leave a Reply