
Few materials warm up a room like rope, jute, and woven baskets — and few are cheaper to work with. A single coil of rope and a glue gun can become a vase, a lampshade, a plant hanger, and a whole set of pretty storage before the weekend is over. These twelve projects lean into that soft, natural texture Pinterest loves, and every one of them is beginner-friendly, forgiving, and easy on the budget. Save your favorites, grab a ball of twine, and let the cozy texture take over.
In This Article
- 1. Wrap a Plain Vase in Jute Rope
- 2. Coil a Rope Trivet and Placemat Set
- 3. Make a No-Sew Rope Basket from an Old Bucket
- 4. Wrap Terracotta Pots in Jute Twine
- 5. Hang Baskets on the Wall as Storage and Art
- 6. Braid a Simple Jute Table Runner
- 7. Turn a Cardboard Box into a Lined Storage Basket
- 8. Knot an Easy Rope Plant Hanger
- 9. Rope-Wrap a Plain Lamp Base
- 10. Coil Rope Coasters and a Fruit Bowl
- 11. Dress Up Glass Jars with Twine and Lace
- 12. Make a Rope-Wrapped Mirror Frame
1. Wrap a Plain Vase in Jute Rope
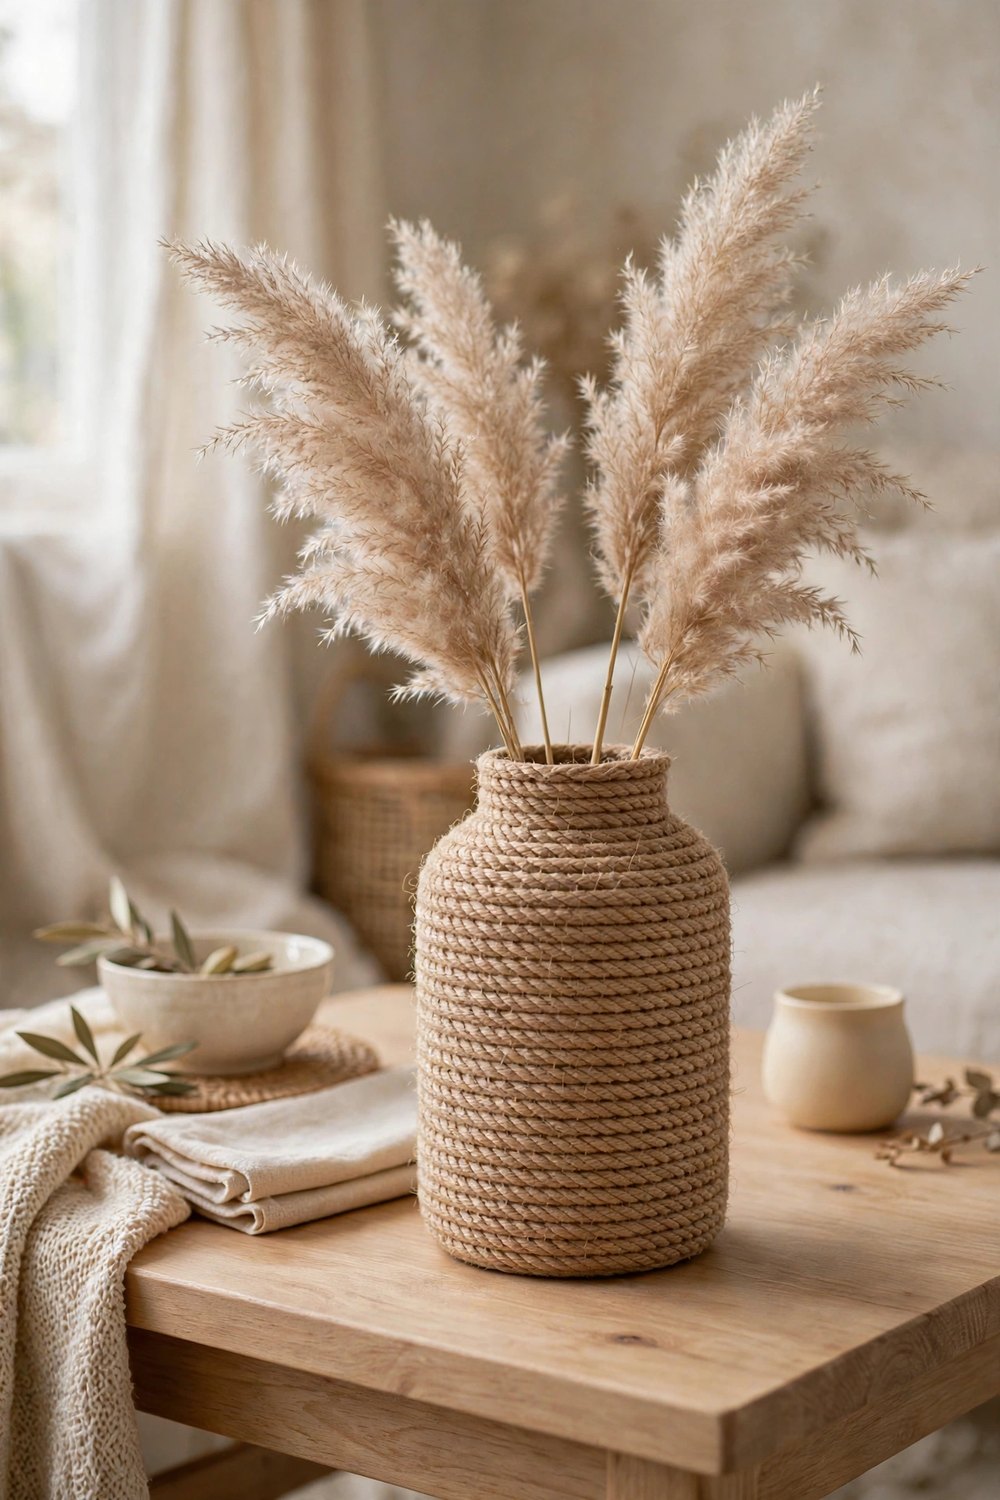
A dollar-store glass vase becomes a textured centerpiece with nothing but jute rope and hot glue. Start at the bottom, add a line of glue, and press the rope down in a tight coil, working your way up in slow spirals so no gaps show. Keep the tension even and tuck the final end at the back with a dab of glue. A medium vase uses one small ball of rope, so this is a five-dollar makeover that looks straight out of a boutique.
2. Coil a Rope Trivet and Placemat Set
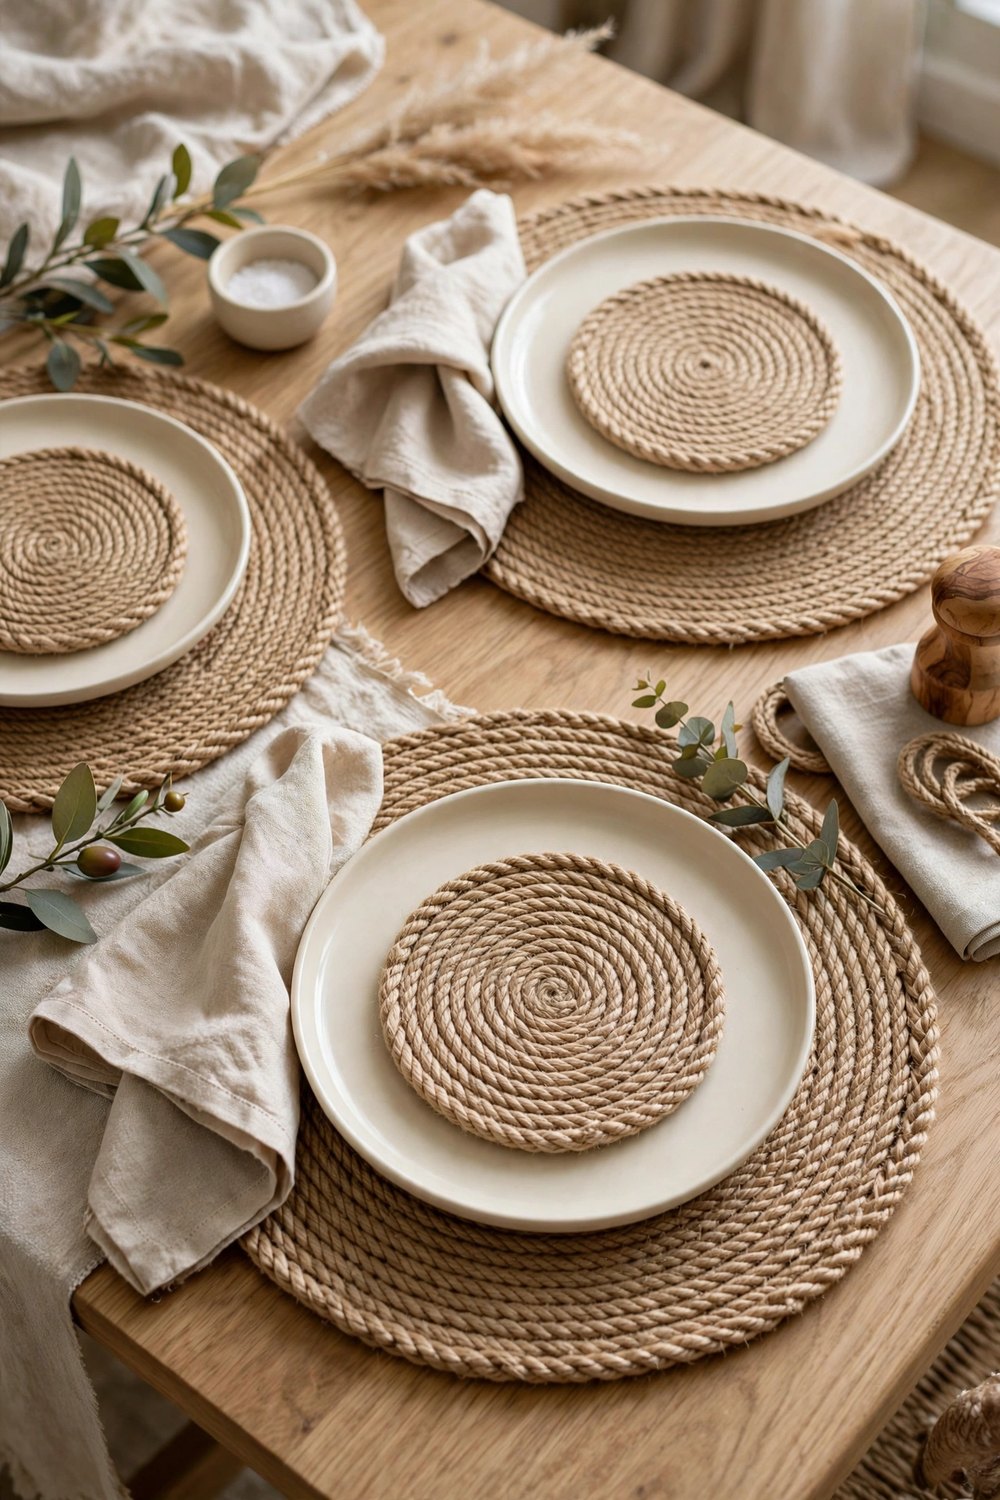
Flat rope coils are the easiest first rope project there is. Lay cotton or jute rope in a tight spiral on a flat surface, gluing as you go, until the coil is the size of a dinner plate — that is your placemat. Make smaller coils the same way for trivets and mug mats, and finish the outer edge by wrapping the end in a short piece of twine so it looks tailored. A whole table set costs less than one store-bought placemat and takes a single relaxed evening.
3. Make a No-Sew Rope Basket from an Old Bucket
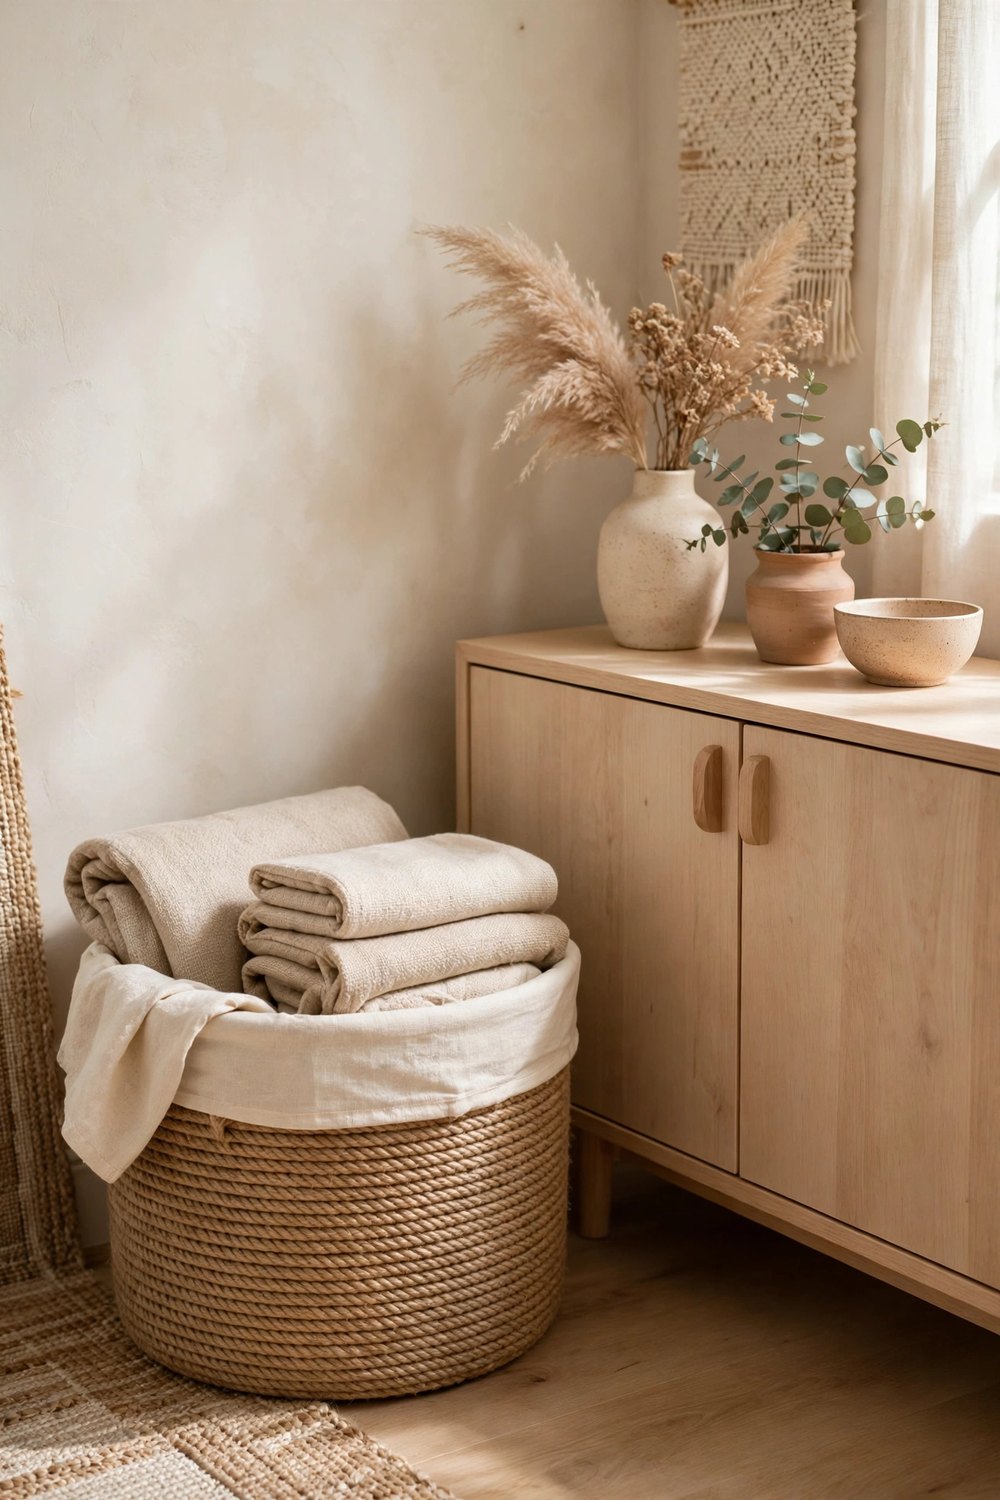
A plastic bucket or an old waste bin is the perfect hidden skeleton for a rope basket. Coat it in glue a few inches at a time and wrap rope tightly around the outside, pressing each row snug against the last. When you reach the top, carry the rope over the rim and down the inside a short way so the edge looks finished, then line it with a folded piece of linen or canvas. You get a sturdy storage basket for throws, toys, or yarn for the price of the rope alone.
4. Wrap Terracotta Pots in Jute Twine
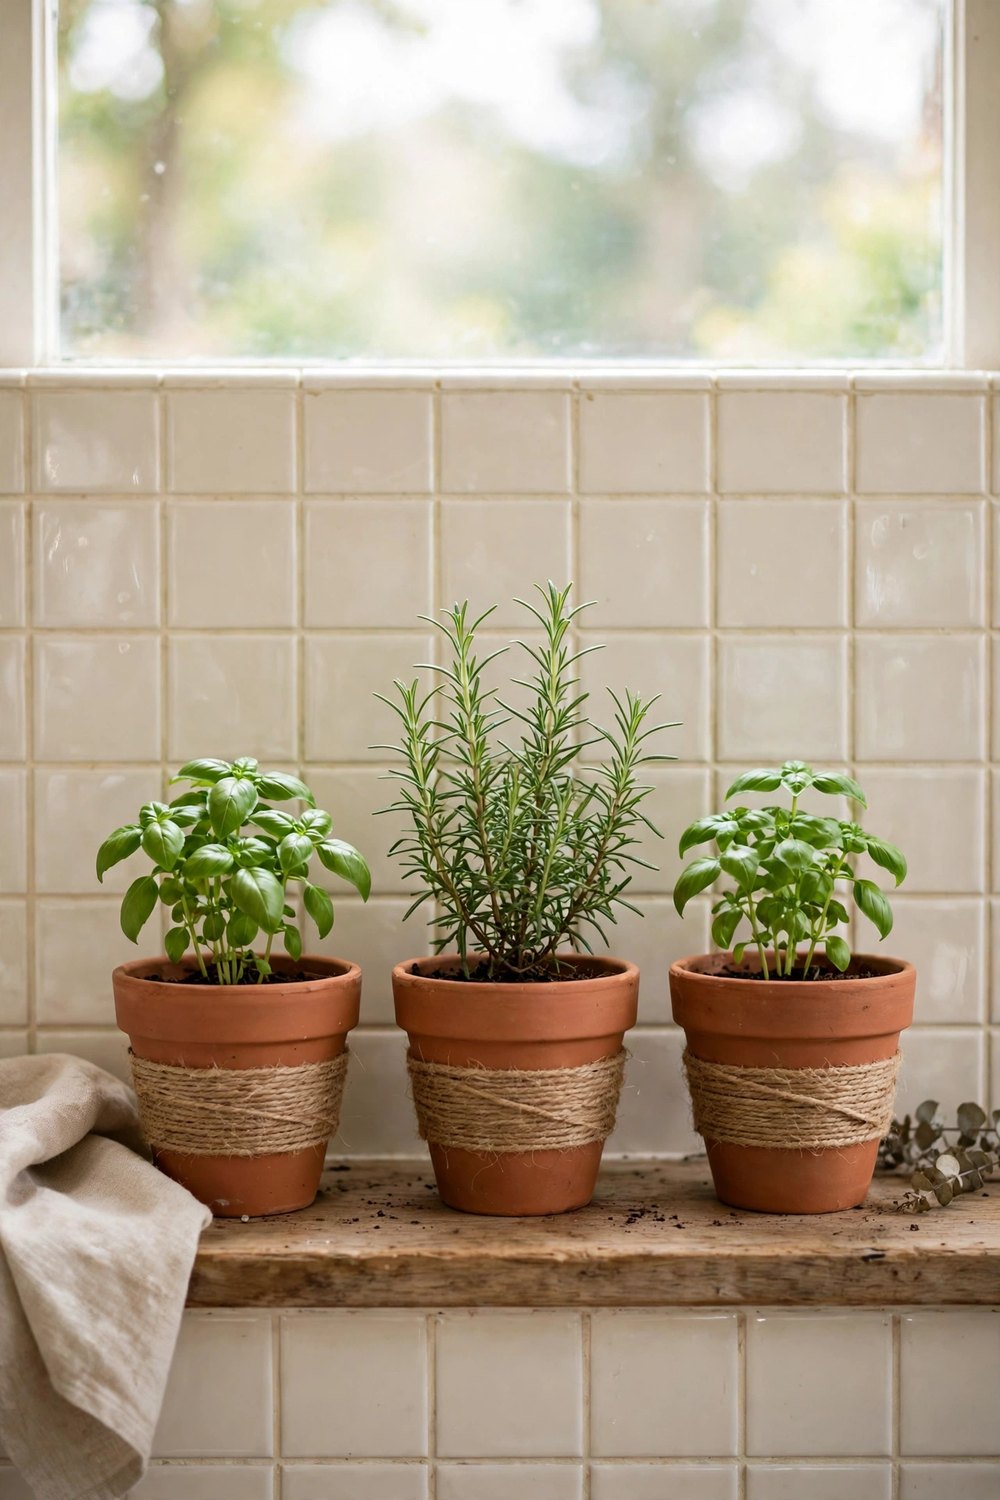
Plain terracotta pots look instantly collected when they wear a band of jute. Glue and wrap twine around the rim, the middle, or the whole pot, leaving the saucer bare for contrast. Group three wrapped pots with herbs on the kitchen windowsill or trailing plants on a shelf, and the mix of clay and fiber feels warm and handmade. Each pot takes about ten minutes, and a single spool of twine covers a whole windowsill garden.
5. Hang Baskets on the Wall as Storage and Art
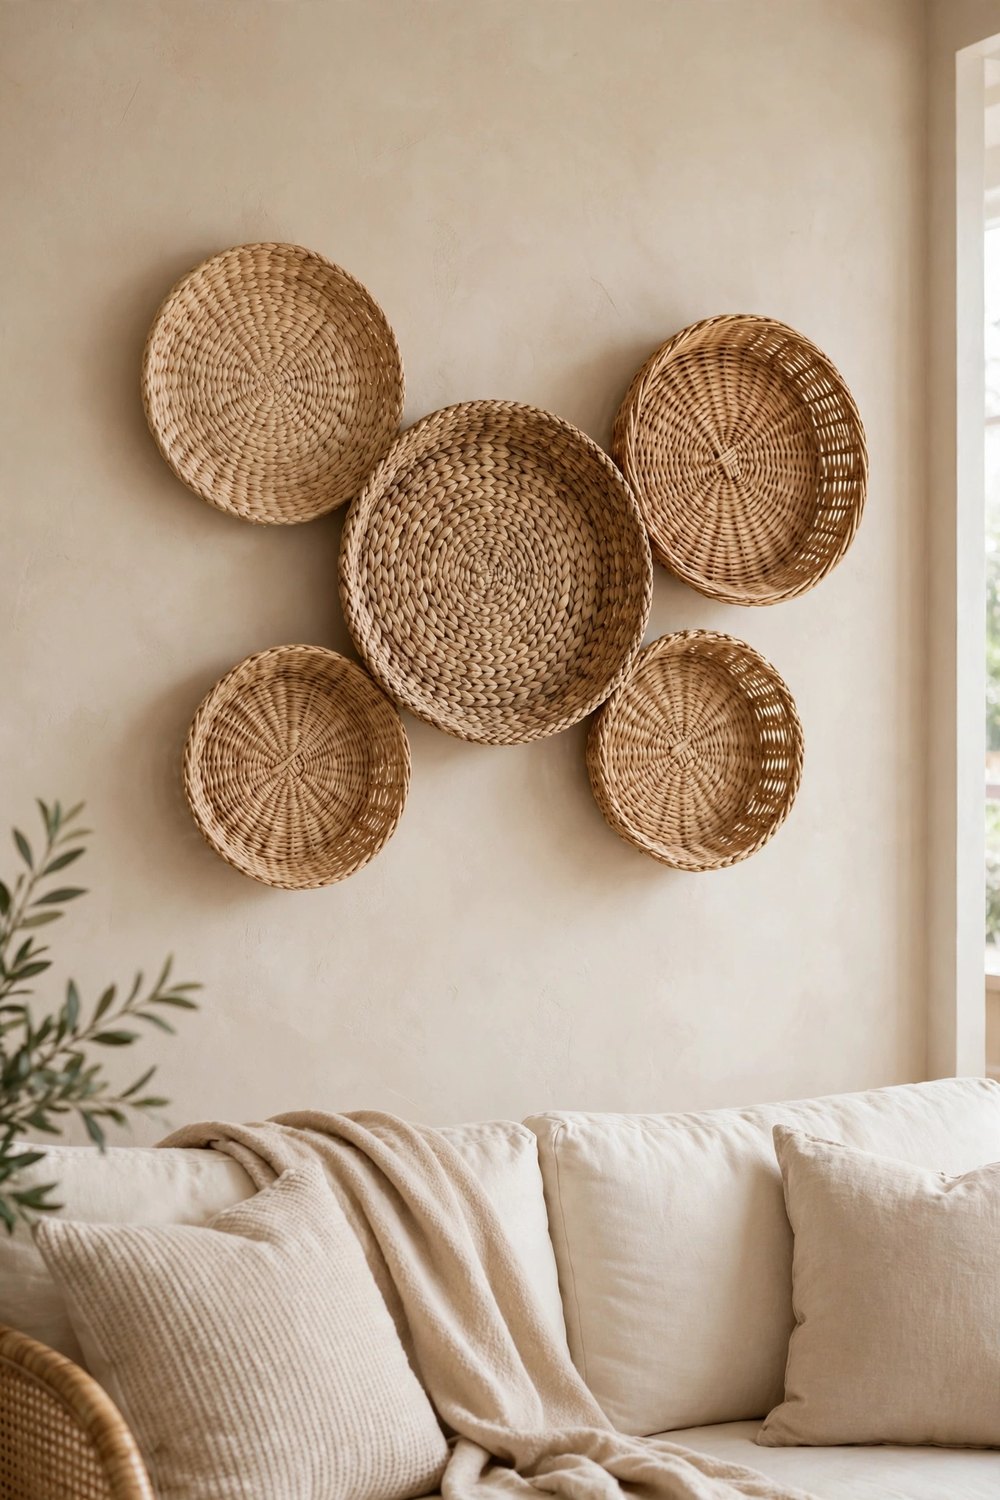
A shallow woven basket hung on the wall is both sculpture and storage. Arrange a cluster of three to five baskets in mixed sizes above a sofa or along a hallway, using small nails or picture hooks through the weave at the back. In the entryway, one deeper basket by the door catches keys, sunglasses, and mail so surfaces stay clear. Thrift stores are full of baskets for a dollar or two, which makes this the cheapest gallery wall you will ever hang.
6. Braid a Simple Jute Table Runner
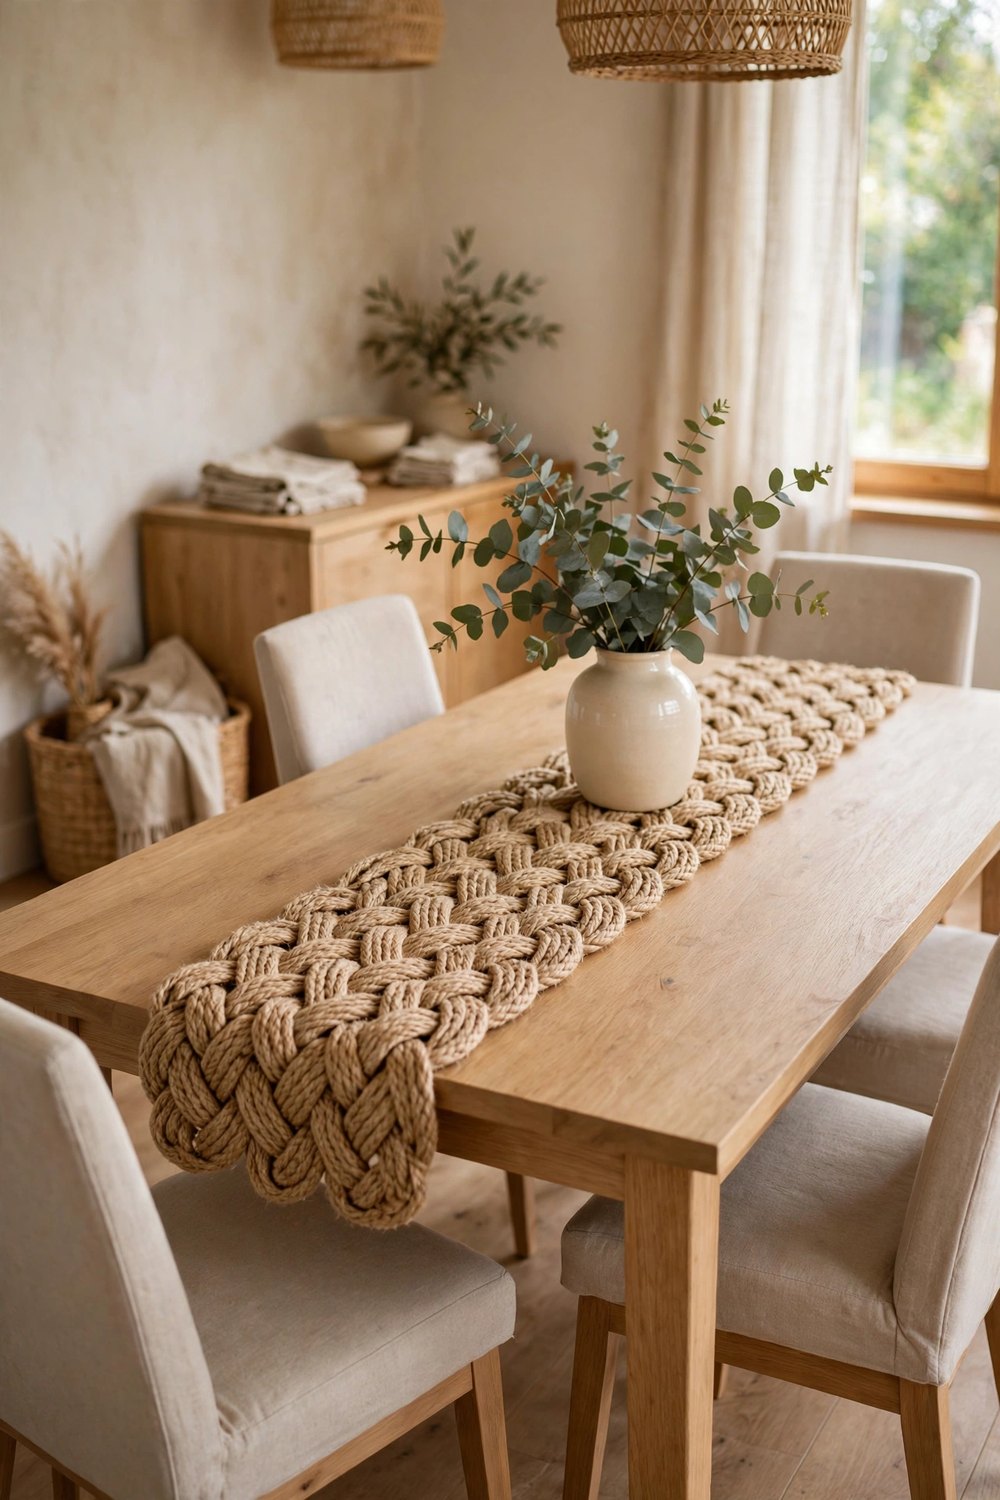
Three long strands of jute rope braided together make a runner with real farmhouse soul. Cut the rope to a little more than twice your table length, tie the strands together at one end, and braid loosely so the runner lies flat and relaxed. Secure both ends with wrapped twine whipping instead of knots for a clean finish. It protects the wood, anchors a centerpiece beautifully, and the whole project costs a few dollars and zero sewing skills.
7. Turn a Cardboard Box into a Lined Storage Basket
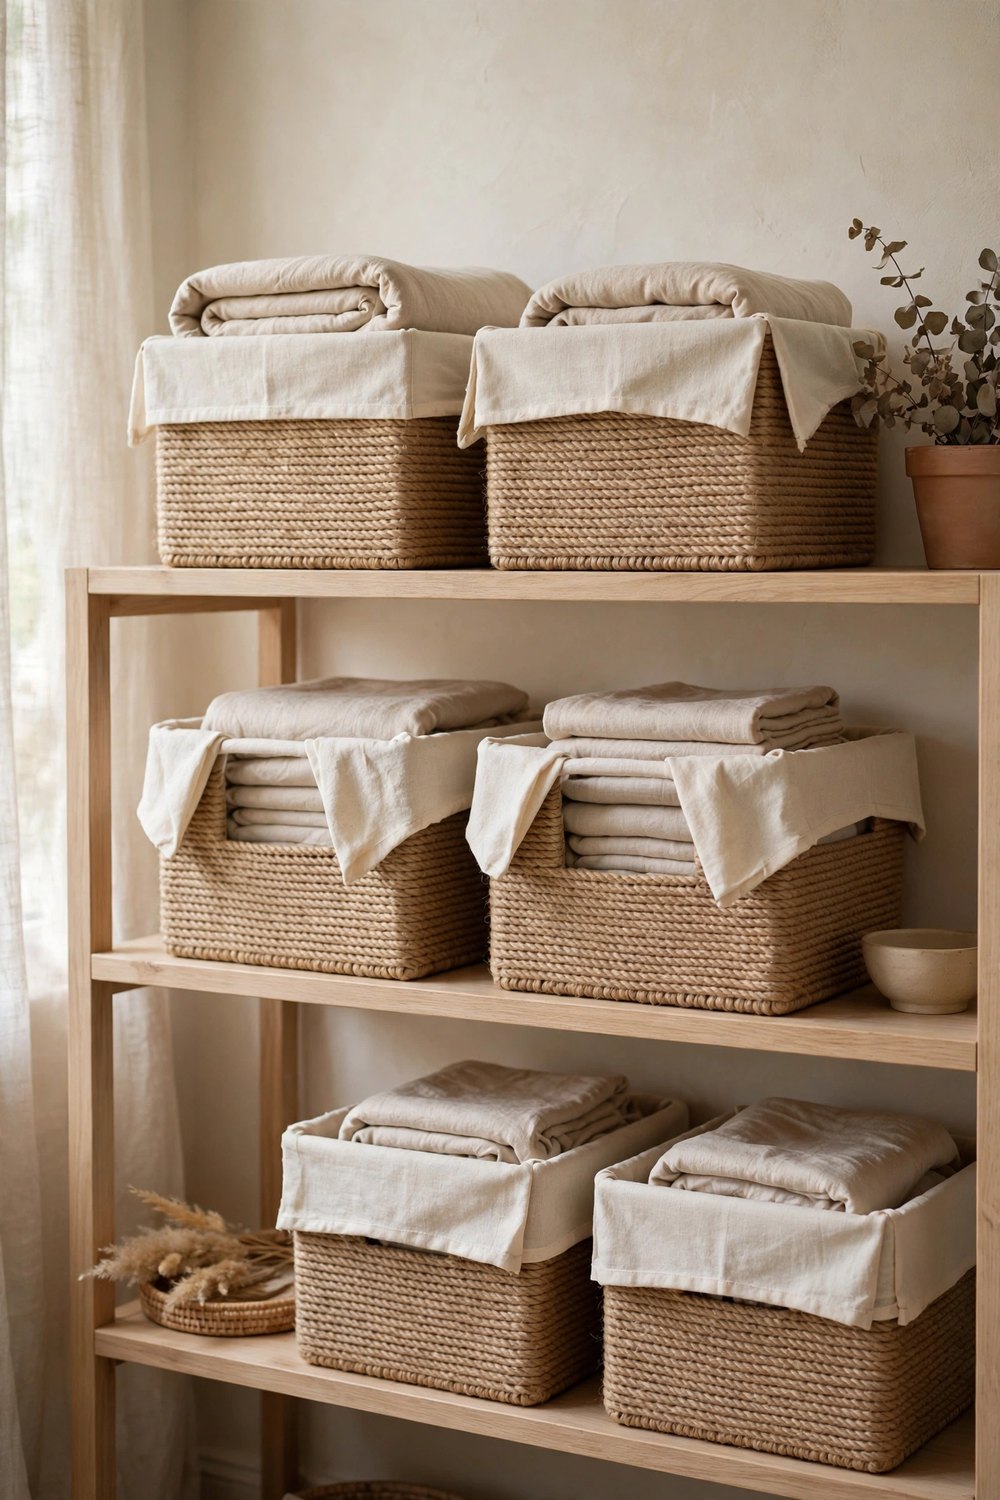
Sturdy cardboard boxes are free storage baskets waiting for a disguise. Trim the flaps off a box, wrap the outside in rope or cover it in jute fabric with hot glue, then drop in a simple liner made from an old pillowcase or a rectangle of linen folded over the top edge. The result hides remotes, chargers, and clutter on shelves while looking like woven seagrass. Make two or three in the same rope so a whole shelf reads calm and matching.
8. Knot an Easy Rope Plant Hanger
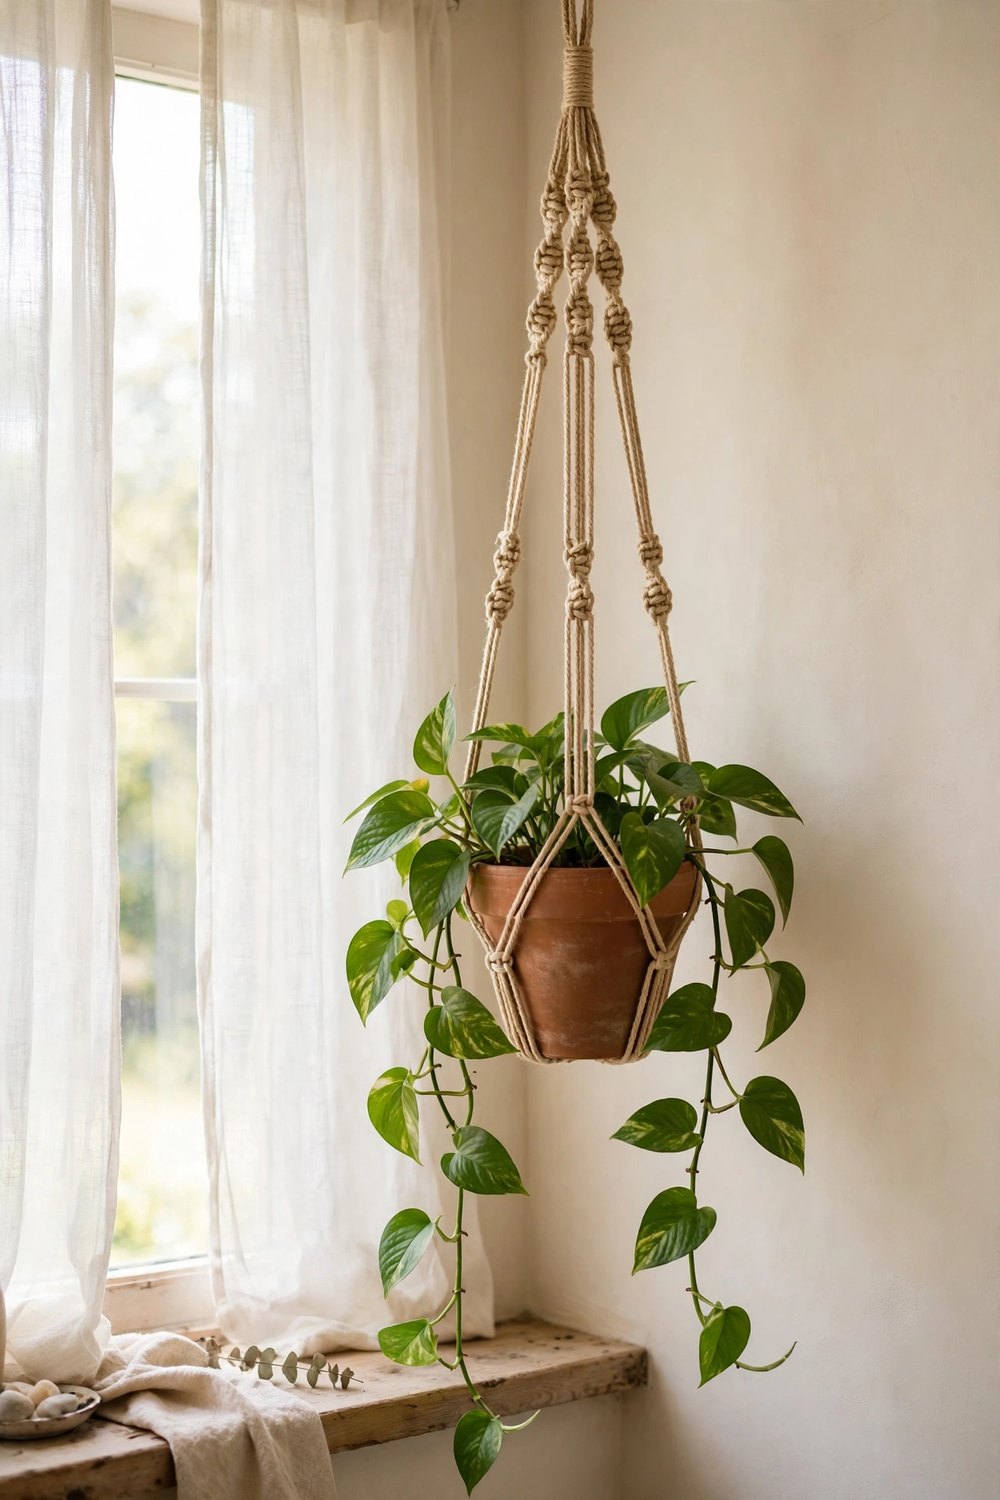
You do not need real macramé skills to hang a plant — four lengths of rope and a few simple knots will do it. Cut the ropes about three times the drop you want, gather and knot them together at the bottom, then tie pairs of knots at two heights to form a net cradle for the pot. Slip the pot in, adjust until it sits level, and hang the bundle from a ceiling hook or curtain rod. It costs almost nothing and gives trailing plants the light and drama they deserve.
9. Rope-Wrap a Plain Lamp Base
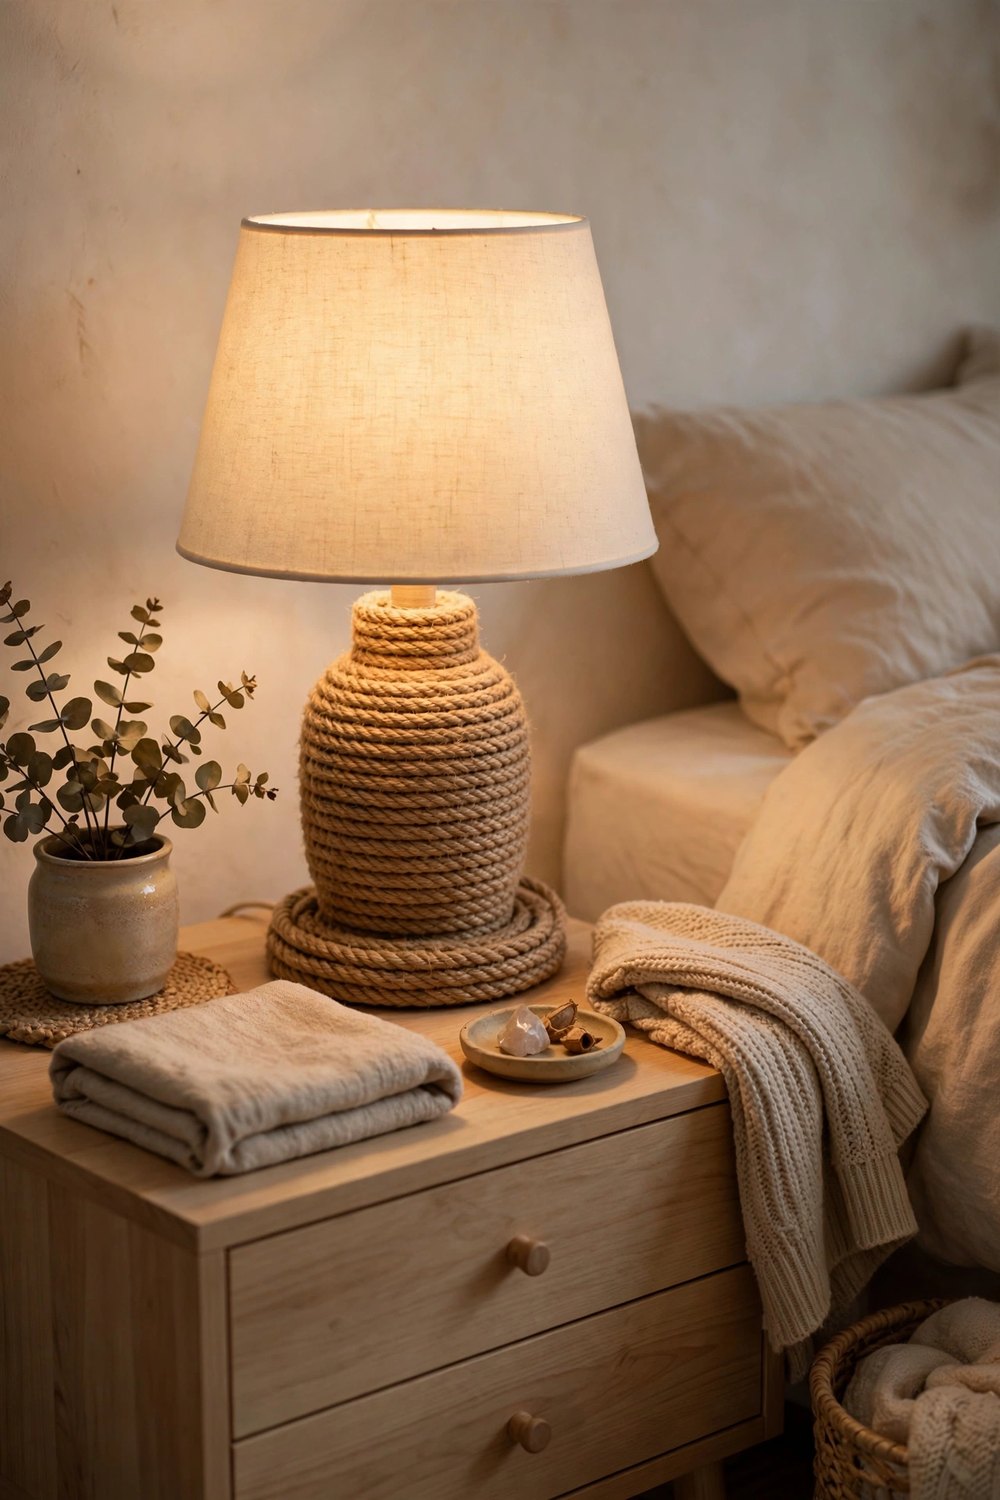
A boring lamp base gets a coastal, textured upgrade with the same wrap-and-glue method as the vase. Start at the bottom of the base and coil rope upward, gluing every few inches and keeping the rows tight so the original finish disappears completely. Pair it with a plain linen shade and the lamp suddenly looks like a designer piece from a beach-house catalog. One medium lamp uses about half a standard rope coil, so a thrifted lamp plus rope stays well under twenty dollars.
10. Coil Rope Coasters and a Fruit Bowl
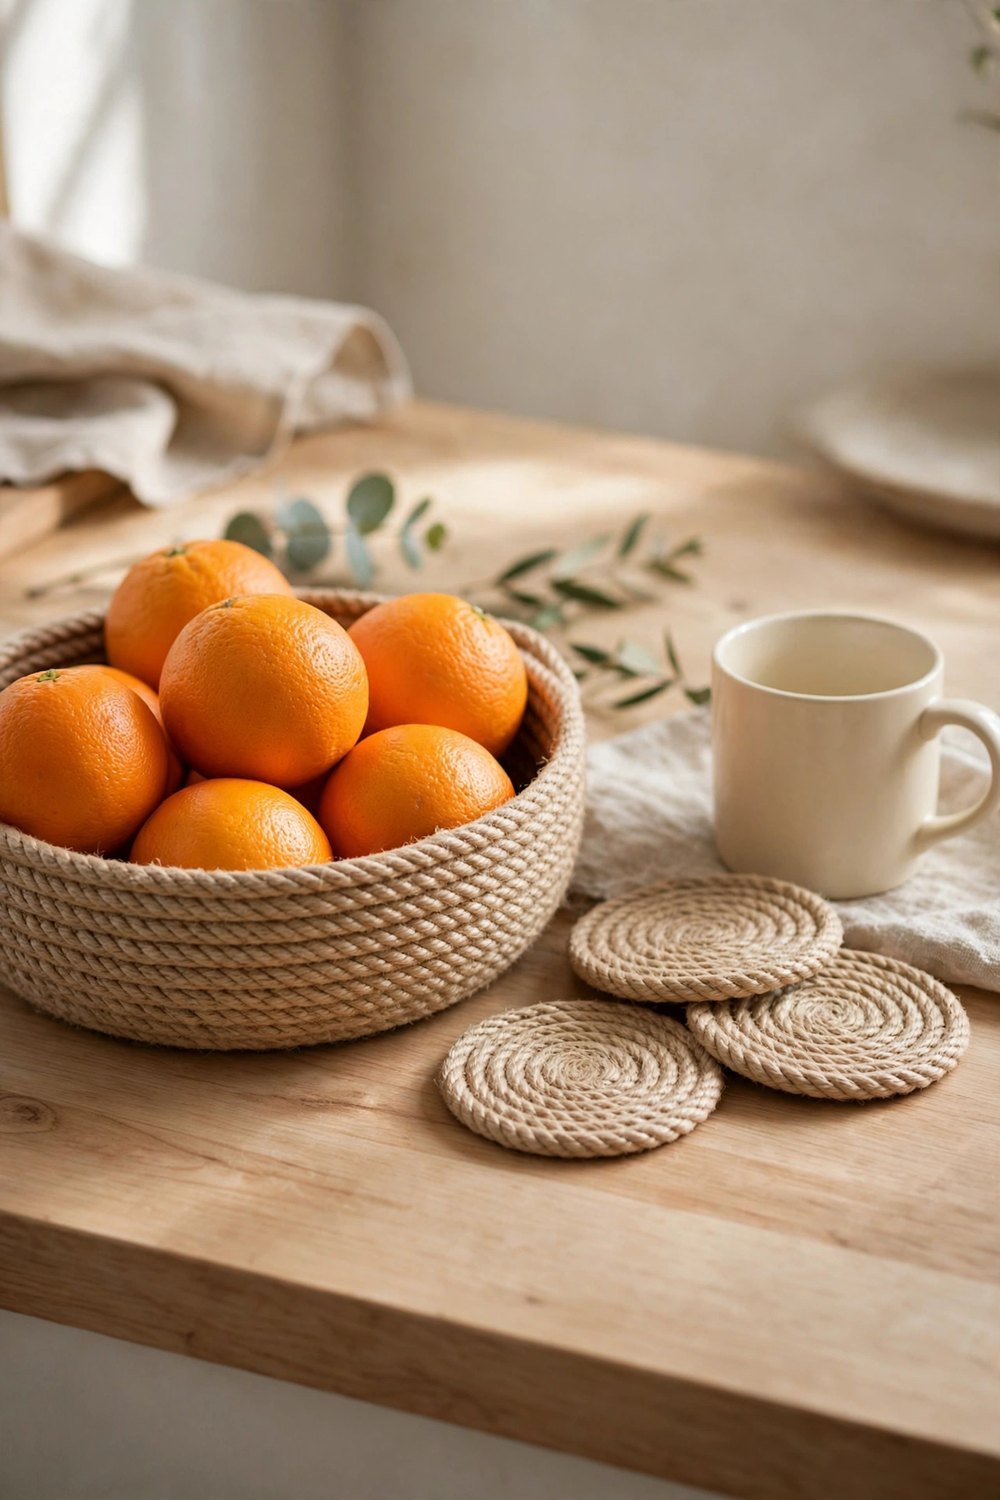
Once you can coil flat, you can coil upward into a bowl. Start with a flat spiral base, then begin angling each new row slightly up and inward, gluing as you climb, until the sides reach the height you want. Small, tight coils become a set of coasters in an afternoon, and the same technique makes a bread or fruit bowl with real handmade charm. Seal the finished bowl with a coat of clear matte craft glue so it shrugs off crumbs and moisture.
11. Dress Up Glass Jars with Twine and Lace
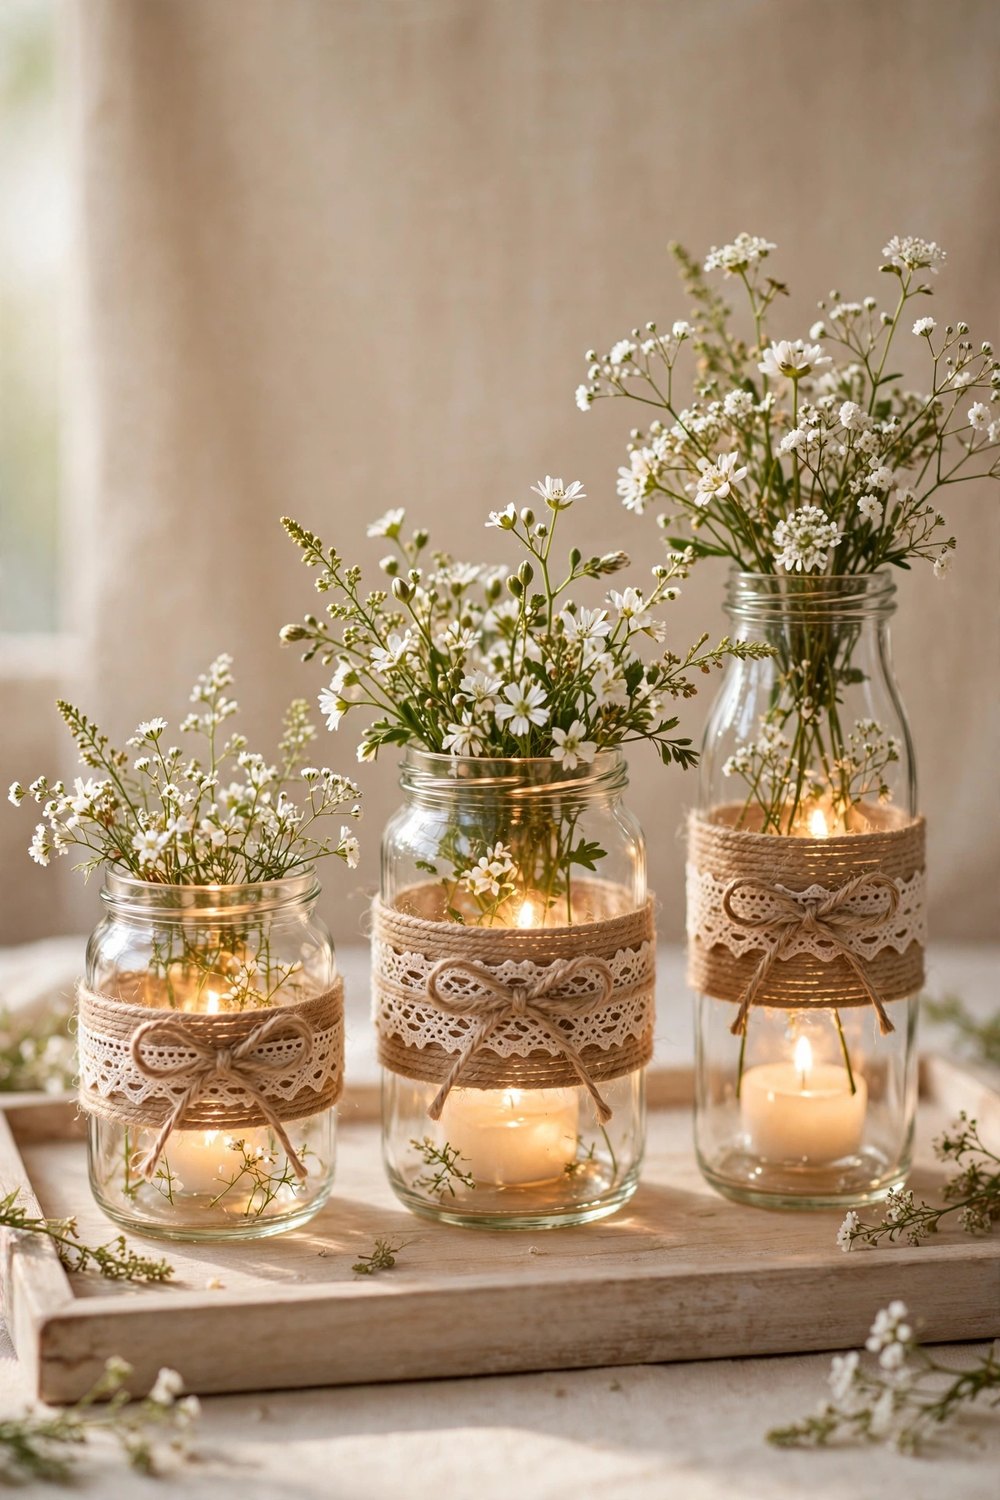
Plain glass jars become pretty vases and candle holders with a band of twine and a scrap of lace. Wrap the middle of the jar with twine, glue a strip of lace or burlap ribbon over it, and finish with a small bow at the front. Group three jars of different heights on a tray with tea lights or wildflowers and you have a centerpiece that costs pocket change. It is also a lovely handmade gift — fill one with bath salts or homemade jam and tie the bow a little tighter.
12. Make a Rope-Wrapped Mirror Frame
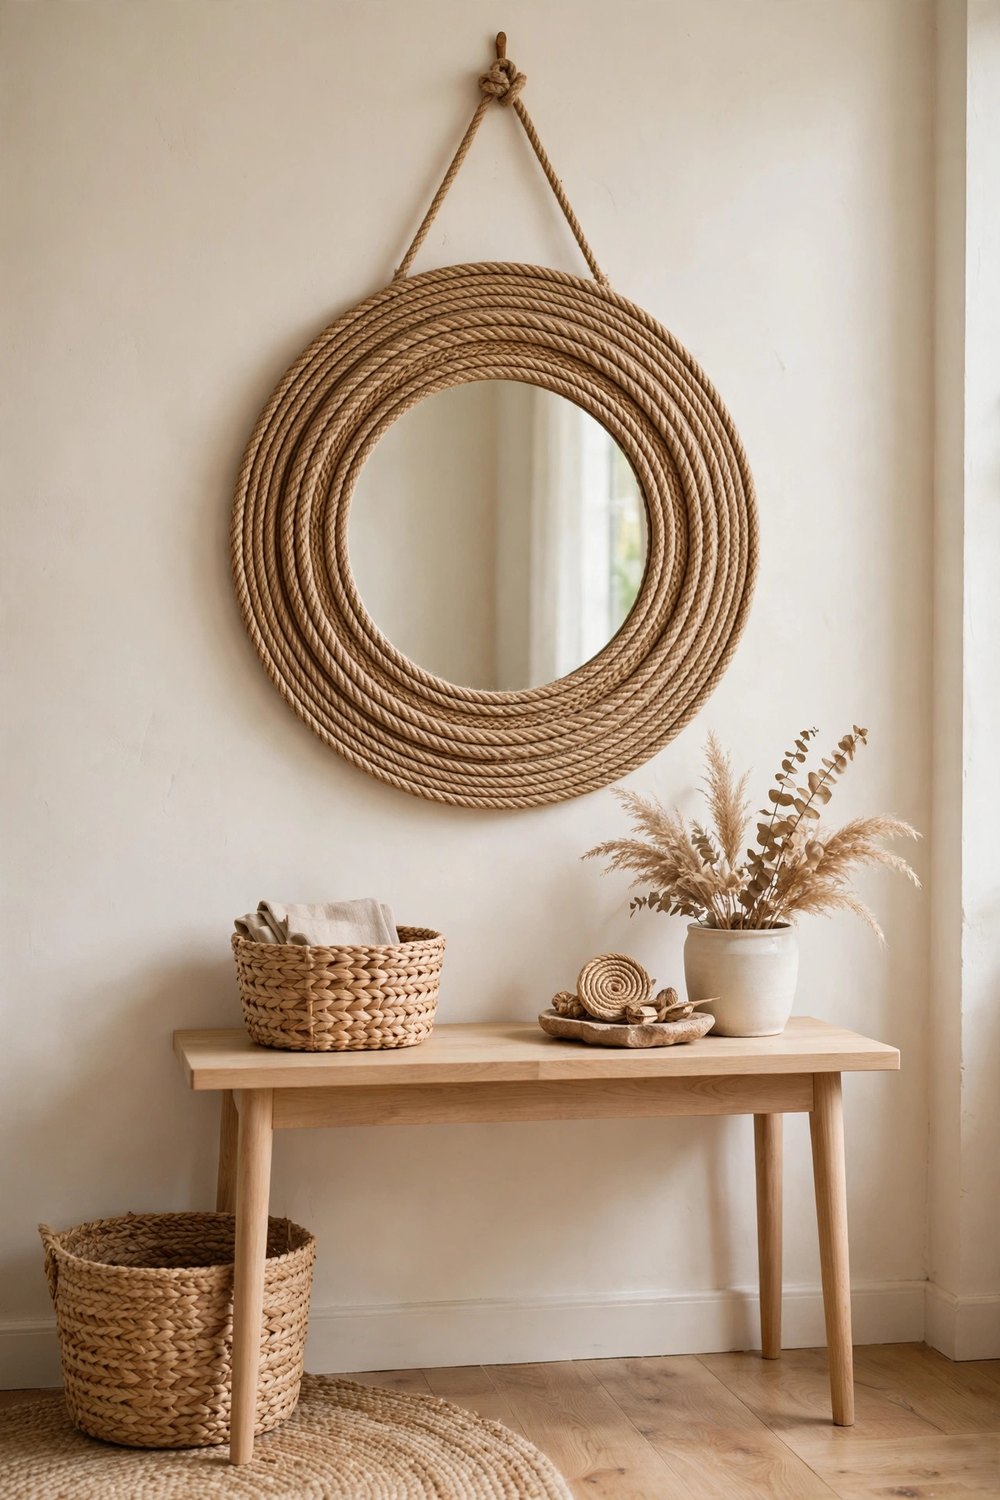
A plain round mirror turns into a sunburst-style statement when its frame is wrapped in rope. Glue rope in concentric rings around a cheap round mirror or an old picture frame, working from the outer edge inward until every bit of the old finish is covered. Add a loop of rope at the top for hanging and the piece feels equal parts coastal and crafted. Hung above a mantel or in an entryway, it brings the same warm texture to the wall that baskets bring to shelves — all for the cost of the rope.
Rope and jute have a way of making a house feel touched by hands instead of machines, and every project on this list proves you do not need fancy tools to get that feeling — just glue, patience, and a few quiet hours. Start with a coiled trivet or a wrapped vase, and let one small success talk you into the basket. Save this list to your Pinterest board so it is ready before your next craft weekend — and follow DecorNesti for a new cozy project list every week.






Leave a Reply