
Almost every home has one. A dresser that is solid and useful but a little tired, a side table in a shade nobody would choose today, or a chair with good bones and fabric from another decade. The lovely secret is that most of these pieces do not need replacing at all. They just need a weekend, a small plan, and one or two honest changes.
A makeover does not have to mean stripping a piece back to bare wood and starting over. More often, it is the simple moves that change everything, a calm coat of paint, new handles you actually enjoy touching, or legs that lift a heavy piece off the floor and make it look lighter. Start with the piece you walk past every day and wish looked better, because that one usually rewards you the most.
Below are 19 DIY furniture makeover ideas grouped by the kind of change they make, from paint to hardware to fabric and paper finishes. Pick one idea for your first piece, finish it fully, and let that small win carry you to the next.
Paint Makeovers
Paint is usually the fastest route from dated to loved, because color is the first thing your eye reads on a piece of furniture. The good news is that furniture paint is forgiving, and the prep is simpler than most people fear. A clean surface, a light sand, and a primer where it counts will carry almost any piece.
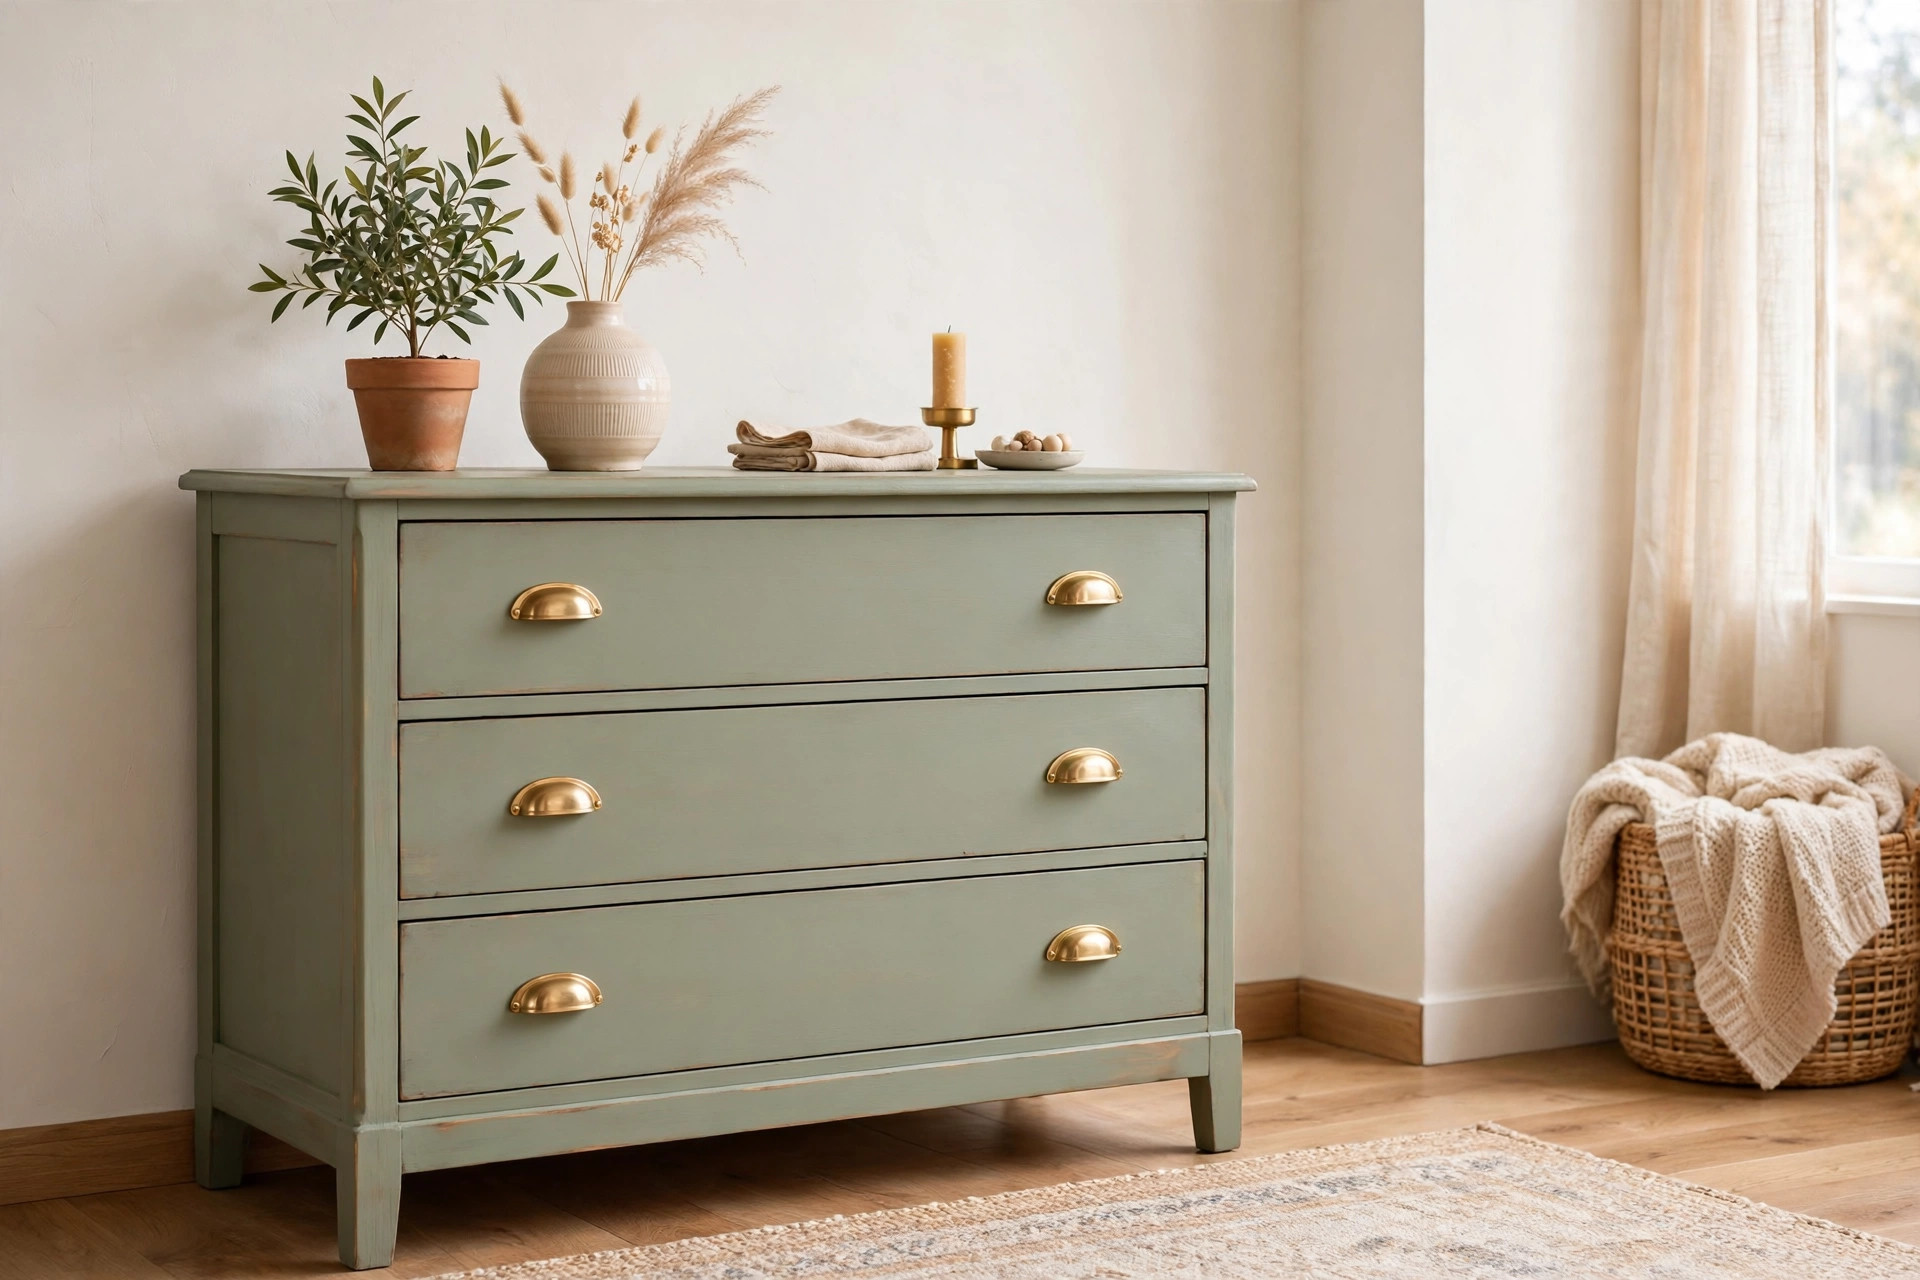
Paint a tired dresser in soft sage green. Sage suits old wood beautifully because it feels calm and current without shouting for attention. Clean the piece well, sand lightly until the surface feels smooth, then use a primer if the old finish is dark or shiny. Two thin coats usually cover better than one thick one, and a small foam roller helps you avoid brush marks on the flat fronts.
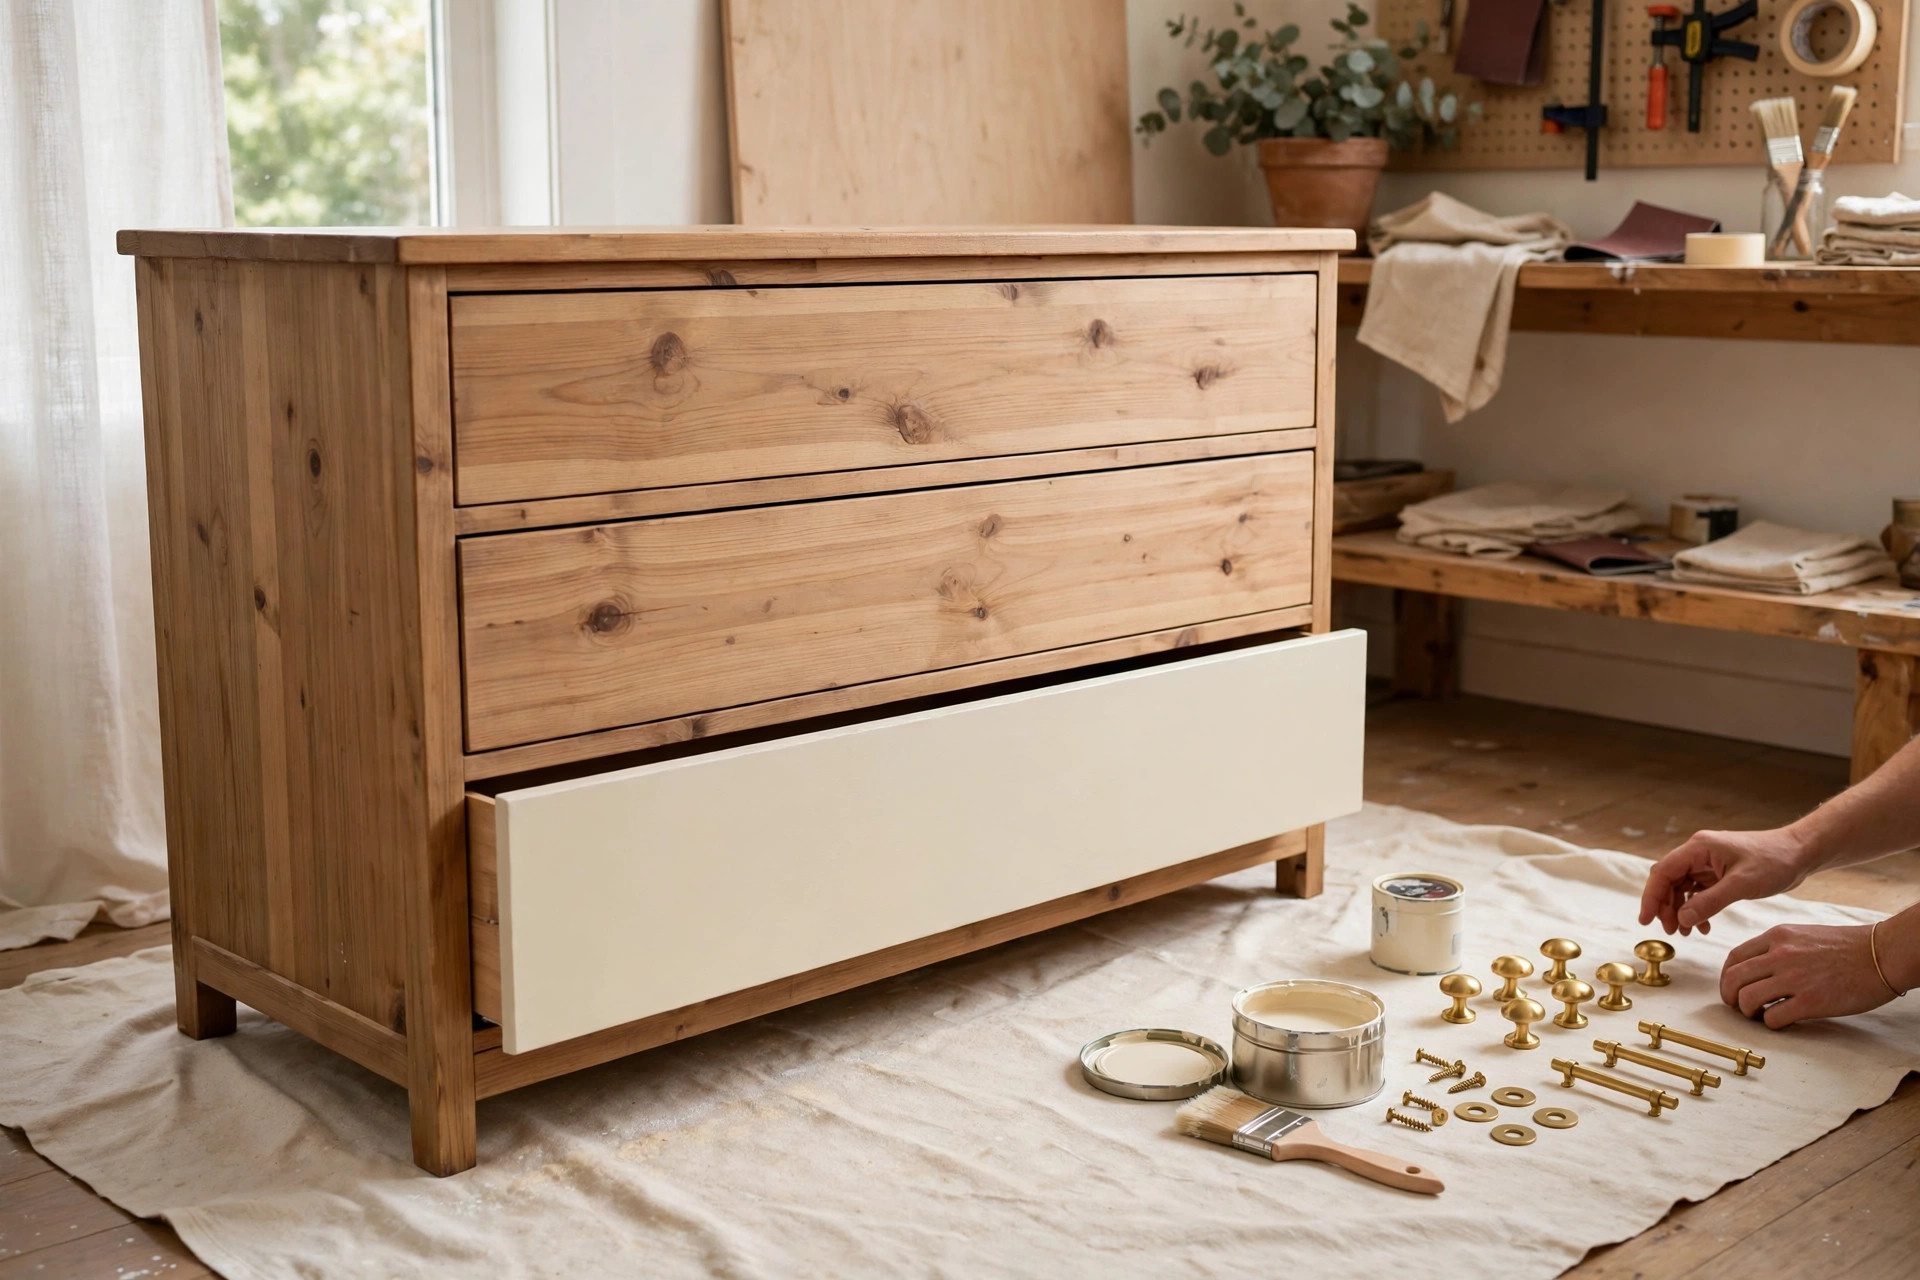
Try a warm white refresh on dark wood. Heavy dark furniture can make a whole room feel smaller, and warm white paint lightens it in a single weekend. Because dark stain can bleed through pale paint, a stain blocking primer is worth the small extra step here. The result typically looks airy rather than stark, especially with the original wood top left showing.
Leave the top natural and paint only the base. This two tone finish gives you the best of both worlds, a fresh painted body with the warmth of real wood on the surface you touch most. Tape a clean line where the top meets the base, sand and seal the wood with a clear matte finish, and paint below it in a soft contrasting shade. It works especially well on dining tables, dressers, and sideboards.
Use black paint for one dramatic piece. A single black sideboard, bookcase, or bedside table can anchor a pale room in a way nothing else quite does. Matte or satin finishes usually look richer than gloss and hide small imperfections more kindly. Keep the rest of the styling light around it, and swap the hardware to brass or wood so the details still show.
Color block a plain bookcase or cabinet. Paint the inside back panel a deeper shade than the outside, and the whole piece suddenly has depth. It is a gentle way to try a bolder color, because most of it hides behind books and ceramics anyway. Soft clay, muted blue, and deep green all sit happily inside a warm white shell.
Refresh kitchen or bathroom cabinets with the same method. Cabinets are just furniture fixed to a wall, and they respond to the same clean, sand, prime, and paint routine. Take the doors off and label them as you go, because refitting is much calmer when every door knows its home. Painting the lowers only, and leaving the uppers pale, keeps the room feeling balanced.
Distress the edges lightly for a loved, vintage feel. Once your paint has dried fully, rub the corners and edges gently with fine sandpaper until a hint of wood peeks through. A little goes a long way, so step back often and stop earlier than you think you should. This finish suits farmhouse and cottage style pieces, and it hides future knocks gracefully because small marks just blend in.
Hardware, Legs and Small Upgrades
If paint is the big gesture, hardware is the jewelry. Handles, knobs, and legs are quick to change, usually with nothing more than a screwdriver, and they can shift a piece from plain to considered in under an hour. Measure the distance between the screw holes before you order anything, because that one detail decides whether the swap is easy or annoying.
Handles and knobs
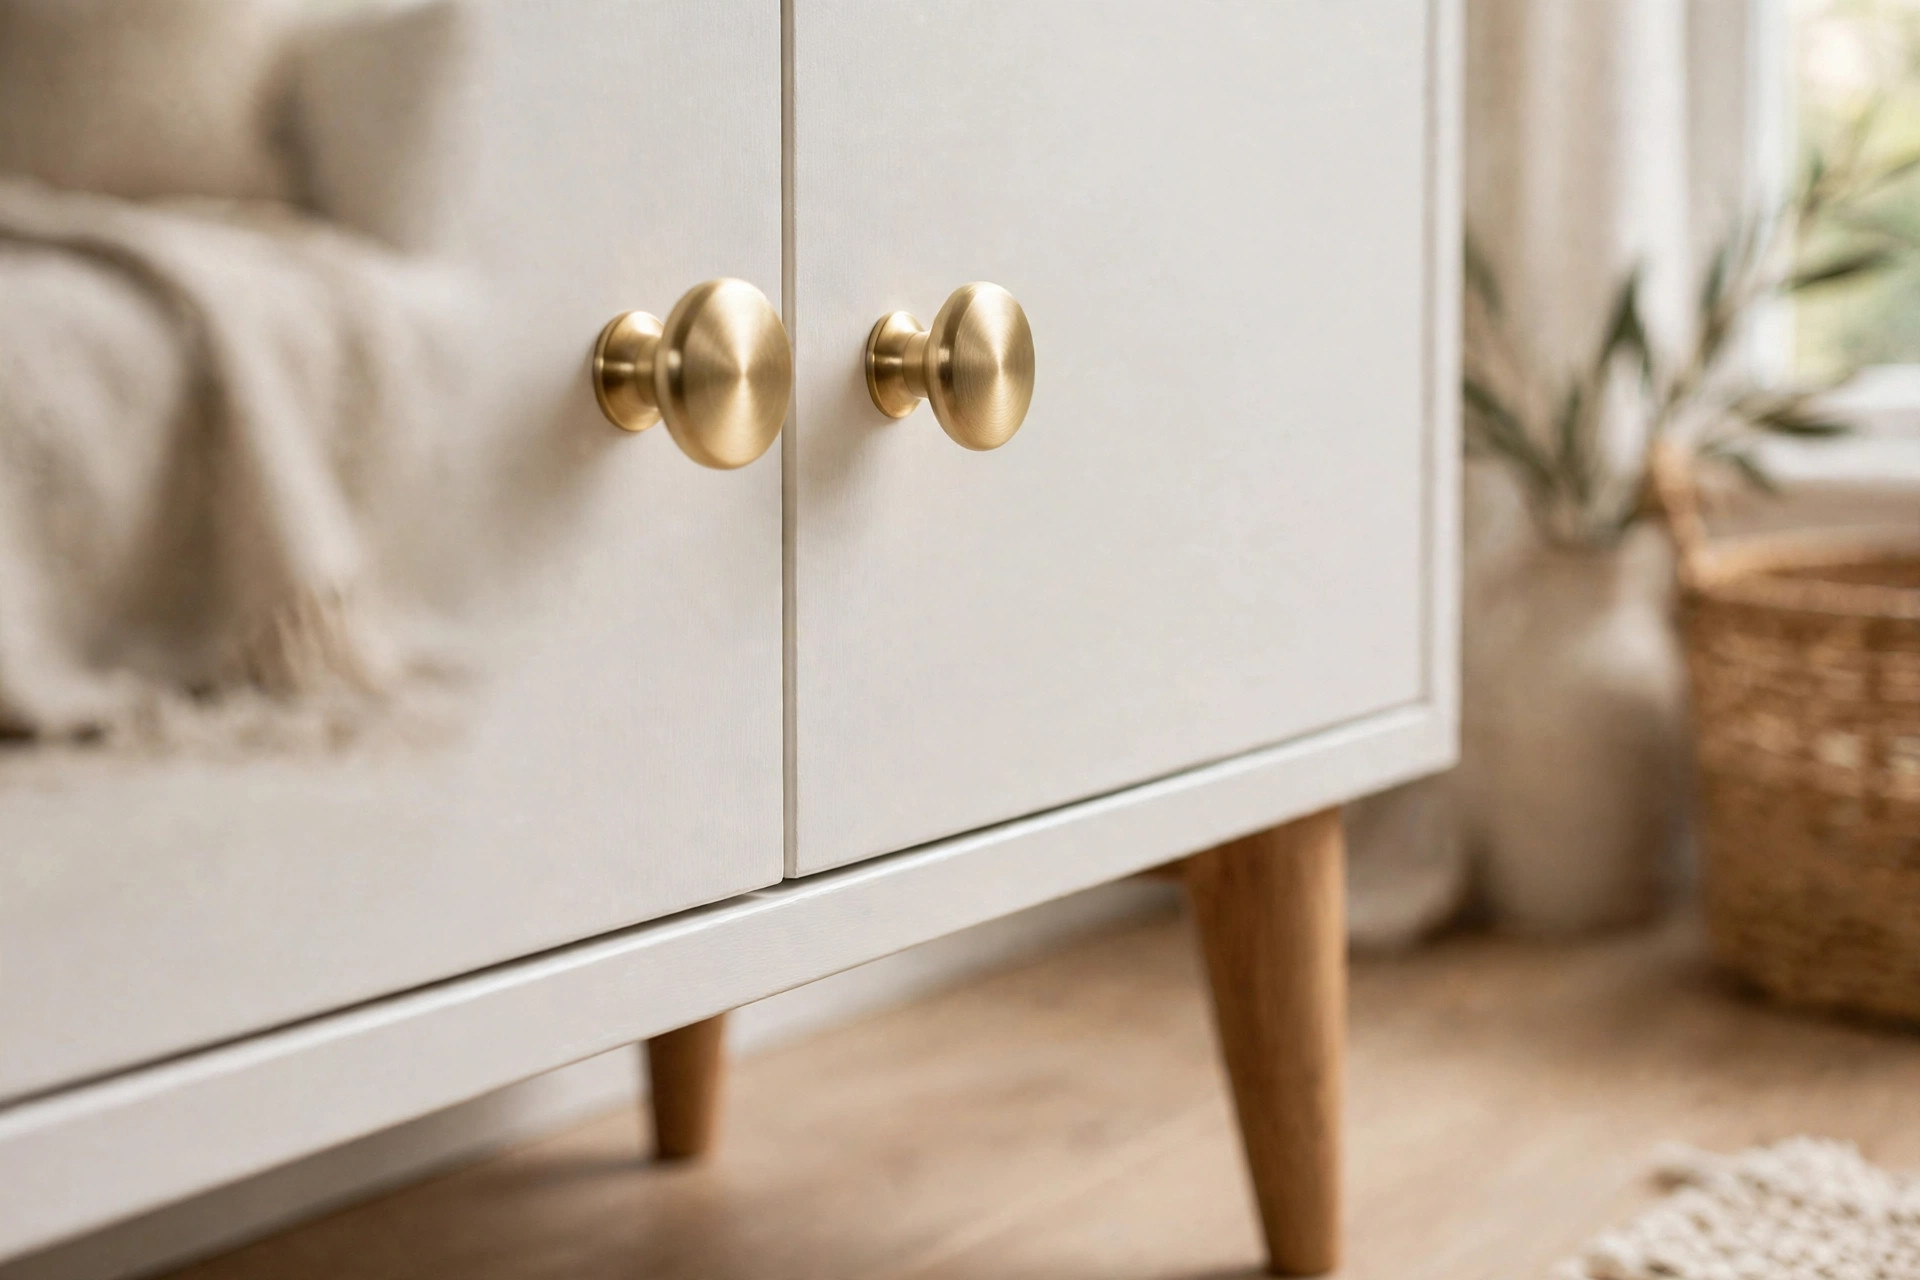
Swap dated handles for brushed brass pulls. Warm metal against painted wood is one of those combinations that rarely misses. Choose one finish and repeat it across the whole piece so it reads as a set, and keep the old screws until the new ones are fitted, just in case the lengths differ. Wipe the area around the old handles first, since outlines of the originals often show.
Try wooden knobs for a softer, quieter look. Round wood knobs suit Scandinavian and cottage style pieces, and they feel lovely in the hand. You can leave them natural, stain them to match a wood top, or paint them the same color as the piece for a calm, tonal effect. They are usually the friendliest option for a child bedroom dresser too.
Fill and move hardware holes for a cleaner layout. If the perfect new handles have a different spacing, do not settle for almost right. Fill the old holes with wood filler, let it dry fully, sand it flush, and drill fresh holes where the new hardware looks best. It adds half an hour and usually makes the finished piece look properly made rather than adjusted.
Legs and trim
Add tapered legs to a heavy, boxy piece. Dressers and sideboards that sit flat on the floor often look heavier than they are. Raising one on short tapered wood legs lightens the whole silhouette and lets light pass underneath. Straight mounting plates screw into the base corners, and the legs twist in by hand, so it is typically an easy afternoon change.
Fit small caster wheels to a side table or cabinet. Wheels give a piece flexibility, which is lovely for a craft cabinet, a bar cart, or a printer stand that needs to move for cleaning. Choose locking casters for anything that holds drinks or a laptop, so it stays put in daily use. The slightly industrial note suits wood and black painted pieces especially well.
Add simple trim to flat drawer fronts or doors. Thin wood molding strips, glued and pinned in a rectangle on a plain front, create the look of a framed panel for very little effort. Mitre the corners if you feel confident, or use simple square joins painted over, which usually disappear once the color is on. This is the trick that makes flat pack furniture look far more expensive than it was.
Fabric, Paper and Surface Finishes
Not every makeover needs paint at all. Sometimes the frame of a piece is lovely and only the surface feels wrong, a worn seat, a scratched top, or drawer fronts that have seen better decades. Fabric, paper, and a few forgiving finishes can rescue those surfaces with tools most homes already own.
Reupholster a dining chair seat in fresh linen. Most dining chair seats unscrew from underneath, which makes this one of the friendliest first projects. Remove the old fabric, cut new cloth a few inches wider than the pad on every side, and staple it underneath, pulling gently and evenly as you work around. Natural linen, a soft stripe, or a washable weave usually suits everyday chairs best.
Line drawers with pretty paper. Opening a drawer to a clean patterned lining makes an old dresser feel cared for every single day. Measure each base, cut wallpaper offcuts or sturdy wrapping paper to fit, and fix it with a thin layer of glue or double sided tape at the corners. It is also a kind way to cover stained drawer bottoms you could not quite scrub clean.
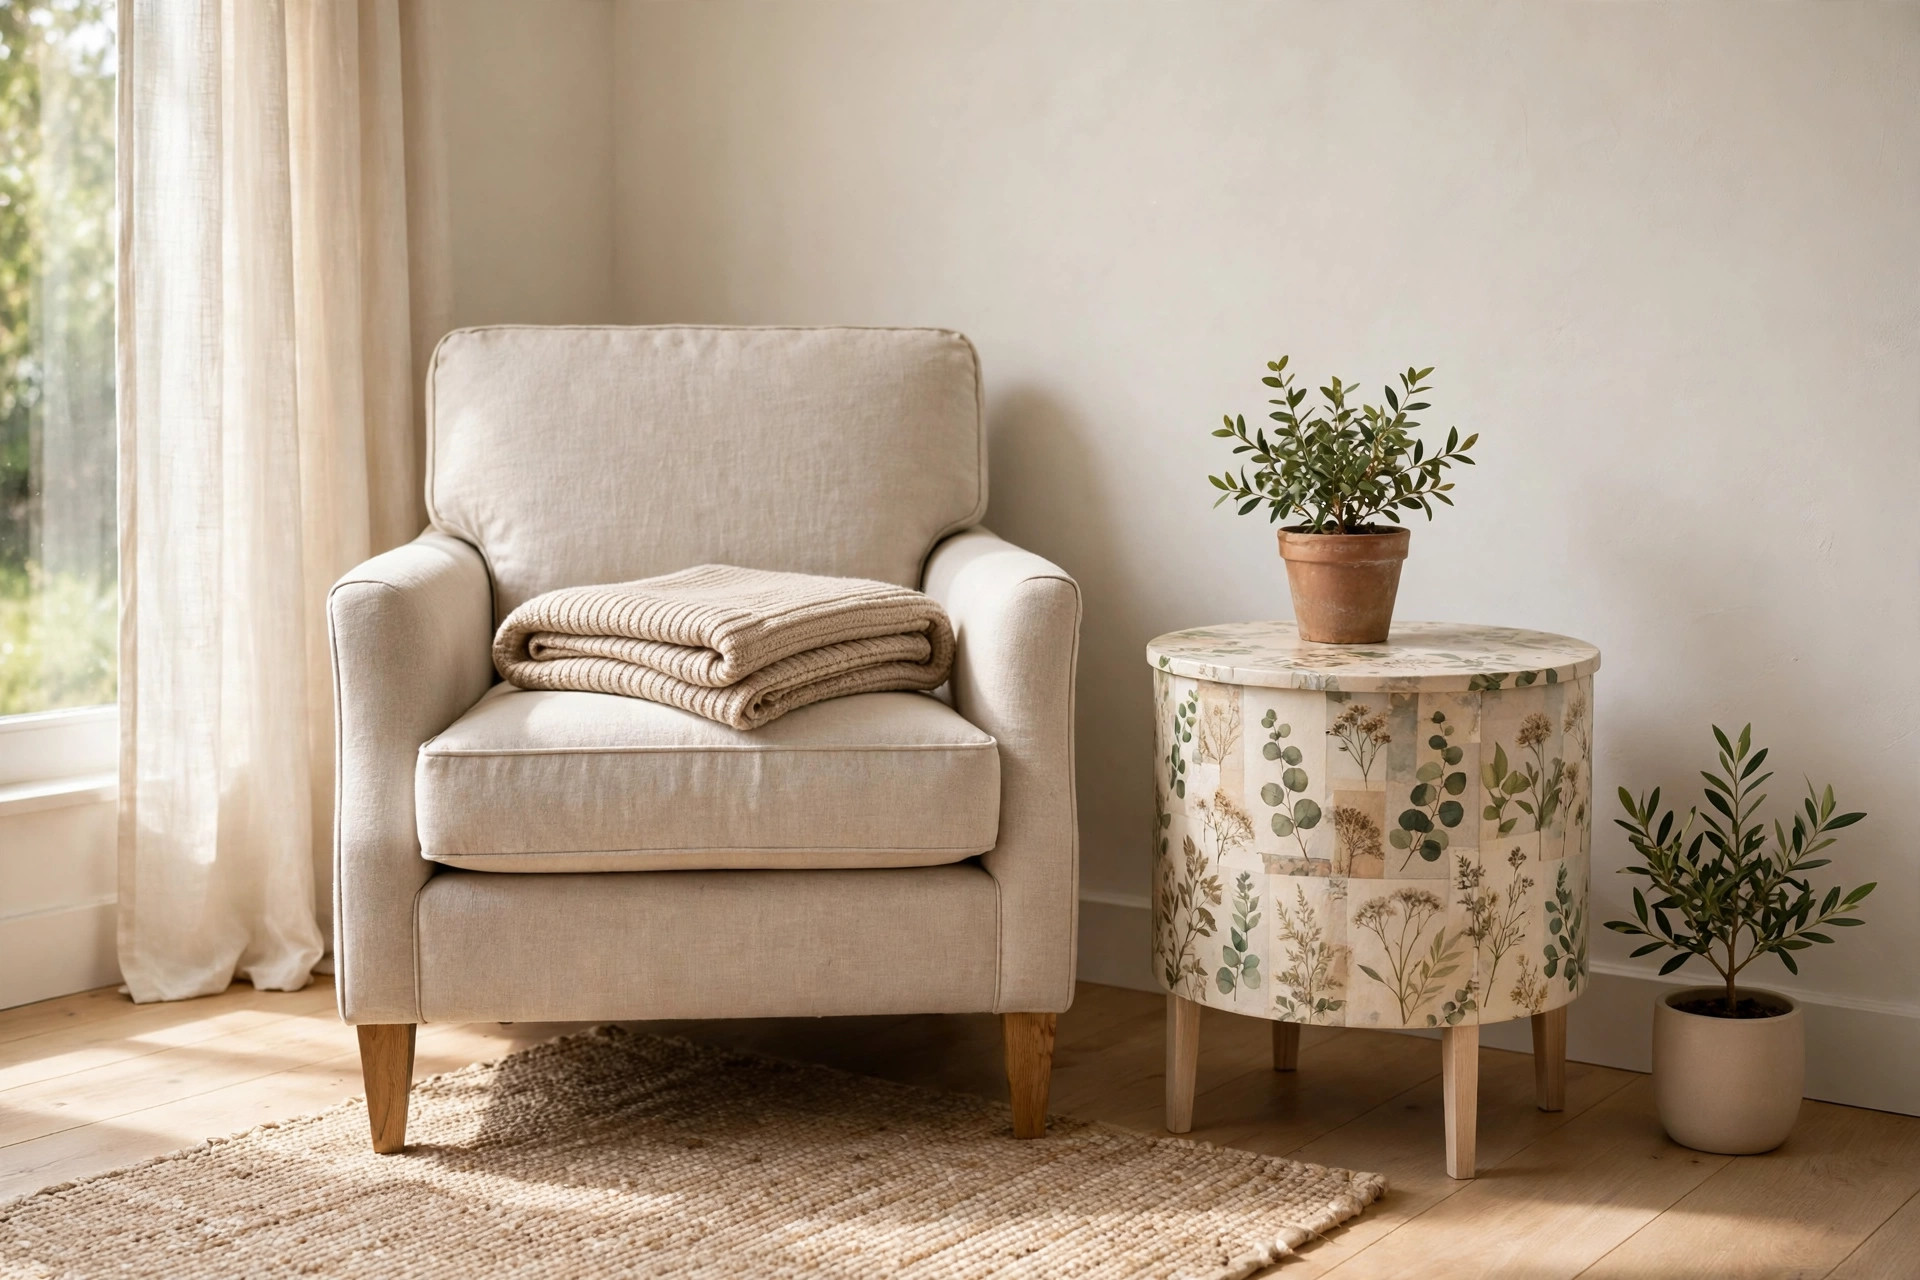
Decoupage a small side table or tray. Botanical prints, maps, or leftover wallpaper can turn a plain table top into the most charming thing in the room. Seal the paper with a clear craft sealer in several thin coats, letting each one dry, so spills wipe off without harm. Small pieces are the right place to try this, because the scale keeps it sweet rather than overwhelming.
Apply peel and stick paper to drawer fronts or a cabinet back. Removable paper in a wood, stone, or soft patterned finish can cover drawer fronts, shelf edges, or the inside back of a bookcase in an afternoon. Smooth it down slowly from one edge with a cloth to push out bubbles as you go. Because it peels away later, it is a forgiving choice for renters and the happily indecisive.
Refresh a wood top with oil or wax instead of paint. If the top of a piece has good grain hiding under a tired finish, sanding it back and feeding it with furniture oil or wax can be the whole makeover. The wood usually deepens in color and feels smooth rather than coated. It pairs beautifully with a painted base, and small marks can be sanded and oiled again whenever they appear.
Stencil a subtle pattern on a plain top or door. A soft, tone on tone stencil adds pattern without the commitment of a bold color. Use a shade only slightly deeper than your base paint, tape the stencil flat, and dab the paint on with a nearly dry brush so it does not creep underneath. One motif repeated calmly across a table top or wardrobe door usually looks far more expensive than it costs.
The best first makeover is rarely the biggest piece you own. Start with a bedside table or a small chair, enjoy how quickly it changes, and let your confidence grow from there. Most of these ideas ask for patience more than skill, and every finished piece makes the next one feel easier. Your home does not need new furniture nearly as often as it needs a fresh look at the furniture it already has.


Leave a Reply