
20 Tinsel Garland Ideas That Bring Back the Shine
Tinsel has a way of sneaking back into our hearts every few years, and honestly, it never really left the attic box. Those fine metallic strands usually remind people of grandparents, crowded trees, and photos where everything sparkled a little too much in the flash. Lately the shine is back on mantels, staircases, and dining tables, and it looks fresher than you might expect. The trick is not using less of it. The trick is giving it a clear job in each spot so it reads as a choice, not a tangle.
If you have written tinsel off as messy or old fashioned, you are not alone, and you are also not stuck with the look you remember. Modern strands come in soft champagne, icy white, deep gold, and full rainbow mixes, and they behave very differently depending on how you drape them. Loose swags feel romantic, tight twists feel tailored, and straight falls feel almost like a curtain of light. Typically one strong tinsel moment per room is enough to set the mood, and the rest of your decor can stay calm around it.
Below you will find twenty ways to bring the shine back, grouped from classic tree and mantel looks through doorways, playful backdrops, and small finishing touches. Most of them use one or two packs of garland, a few pins or clips, and things you probably already own. Pick the two or three that suit your home, and let the rest wait for next year. Your tree skirt does not need to sparkle too, unless you want it to.
In This Article
- Swag Silver Tinsel Across the Mantel
- Wrap the Tree in Classic Gold Strands
- Mix Tinsel With Baubles on the Tree
- Finish the Tree With a Tinsel Halo Topper
- Weave Tinsel Through a Garland of Greens
- Twist Tinsel Into a Sparkling Wreath
- Frame the Front Doorway With Shine
- Swag Tinsel Along the Staircase Banister
- Outline Windows With Frosty Strands
- Drape Tinsel Over the Chandelier
- Drape Rainbow Tinsel for a Retro Pop
- Hang a Tinsel Curtain Photo Backdrop
- Create a Tinsel Ceiling Canopy
- Hang Vertical Tinsel Falls in Corners
- Style Tinsel Around Mirrors for Glow
- Run Tinsel Down the Dining Table
- Build a Tinsel Centerpiece With Candles
- Layer Tinsel Behind Village Displays
- Let Icicle Tinsel Fall From Shelves
- Tuck Tinsel Into Gift Wrap and Bows
Classic Shine for the Tree and Mantel
Start where tinsel has always lived, on the tree and across the fireplace. These first five ideas keep the traditional feeling but tidy up the execution, so the shine looks deliberate and the whole room feels pulled together.

1. Swag Silver Tinsel Across the Mantel
If your mantel usually carries whatever the tree did not need, silver tinsel can flip that habit in about ten minutes. Start with a plain green garland as your base, then loop the tinsel over it in deep, even swags that dip a little lower in the middle. The metallic strands usually catch lamplight and firelight far better than matte ribbon, so even a simple fireplace corner starts to feel properly dressed. Pin each swag at both corners and once in the center so the curve holds its shape overnight. You can tuck a few white baubles into the dips or leave the silver completely on its own for a cleaner vintage look. Typically the thinner strands read softer and more nostalgic, while chunkier ropes feel bolder and more playful. Either way, step back before you finish and check that the dips line up, because uneven loops tend to draw the eye first.

2. Wrap the Tree in Classic Gold Strands
Gold tinsel on the tree is the look most of us picture first, and it still works when you give it a little structure. Work from the top down and wind the garland in a slow spiral, keeping each loop a similar distance from the one above it. Push some sections deeper into the branches and let others sit right on the tips, because that mix of depth is what makes the tree look full rather than striped. Warm white lights usually flatter gold the most, since cooler lights can make it read a bit brassy. If your tree is tall, you will probably need two or three strands joined end to end, and the joins hide easily inside the branches. Add your ornaments after the tinsel, not before, so nothing gets buried. Typically a gold wrapped tree needs very little else, just a simple topper and a skirt to catch the sparkle at the base.

3. Mix Tinsel With Baubles on the Tree
Tinsel and baubles are natural partners, but the order you add them changes everything. Drape the tinsel first in loose horizontal waves, then hang your baubles right at the points where the strands dip and rise. The ornaments anchor the waves visually, and the tinsel fills every gap between them so the tree rarely shows bare patches. A limited palette usually works best here, maybe red and gold, or blush and silver, because the shine already adds plenty of energy. Try clustering three baubles at a few of the dip points instead of spreading singles everywhere, since clusters look gathered on purpose. Step across the room every few minutes while you work, because tinsel can bunch in ways you only notice from a distance. Typically this layered approach suits fuller trees best, though a slim tree benefits too, since the strands add width without adding weight or cost.

4. Finish the Tree With a Tinsel Halo Topper
If a star or angel does not suit your tree this year, a soft halo of tinsel makes a surprisingly elegant topper. Coil a short length of garland into a loose ring, fluff the strands outward with your fingers, and settle it over the top branch at a slight tilt. The ring catches light from every side, so the top of the tree glows instead of ending in a hard point. Gold and champagne tones usually read the most refined, while silver feels icier and suits blue or white schemes. You can wire a few tiny baubles into the ring if it feels too plain, or weave in a short strand of warm lights for extra lift. Keep the coil light and airy rather than tight, because a dense ball can look heavy and pull the top branch sideways. Typically this takes five minutes, and it stores flat in a bag afterward, which your future self will appreciate.

5. Weave Tinsel Through a Garland of Greens
A plain green garland is a lovely base, but on its own it can disappear against a dark wall or a busy room. Weaving tinsel through it in a loose over and under pattern adds light without covering the greenery completely. Work along the back of the garland first if you want just a hint of shimmer, or bring the tinsel right to the front for a fuller gleam. Mixing two greens with one metallic tone usually keeps the look grounded, and pinecones or berries tucked in afterward stop it feeling too uniform. This approach works on mantels, yes, but also on headboards, bookcase tops, and the edge of a buffet. Because the tinsel is woven rather than draped, it tends to stay put even in busy hallways where loose swags would get brushed. Typically one tinsel strand livens a full length of greens, so this is one of the most budget friendly ideas in the whole list.
Entryways, Stairs, and Gathering Spots
Once the tree is sorted, carry a little of that same shine into the places guests actually move through. Doorways, banisters, windows, and the dining room light all take tinsel well, and none of these ideas needs more than a few clips or a roll of clear tape.

6. Twist Tinsel Into a Sparkling Wreath
A tinsel wreath is one of the fastest ways to make a front door feel festive, and it weighs almost nothing on its hanger. Start with a plain wire or foam wreath form and wind the garland around it in tight, overlapping turns until no base shows through. Two passes usually give a full, plush finish, and you can fluff the strands outward once the whole ring is covered. Silver reads like frost, gold feels warm and traditional, and mixed metallics give a cheerful, slightly retro door. Add a single velvet bow at the bottom if you like, though the shine honestly carries the wreath on its own. Because tinsel sheds less outdoors than many natural options, it typically holds up well on a sheltered porch through the whole season. Hang it a touch higher than you think it needs, since the fluffy strands settle downward over the first few days.
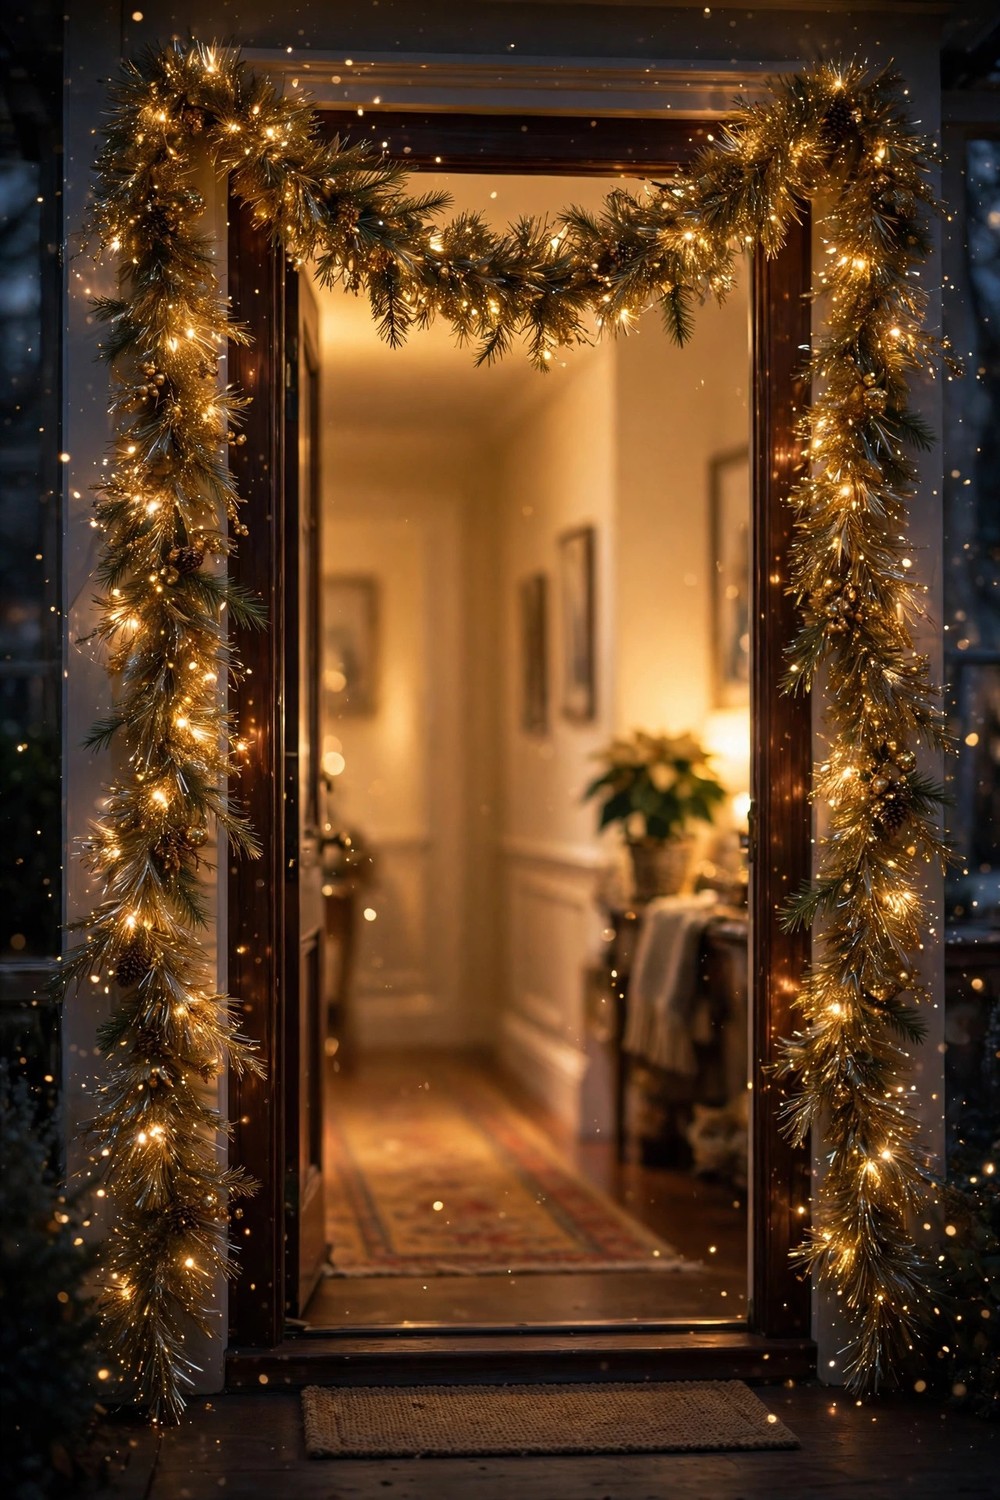
7. Frame the Front Doorway With Shine
Framing the inside of your front doorway turns an everyday threshold into a proper entrance for the season. Run a tinsel garland up one side, across the top, and down the other, fixing it with small clear hooks so the paint stays safe. A single straight run looks tailored, while a gentle swag across the top feels softer and more welcoming. If your hallway is narrow, one strand is usually plenty, because two can start to crowd the space and catch on coats. Carry the same color onto the wreath or the nearest garland and the entry will read as one planned moment instead of scattered sparkle. Guests tend to notice this spot first, so it earns its keep at parties and on school mornings alike. Typically a doorway frame takes a single standard garland with a little left over, which you can save for the gift wrap idea later in this list.
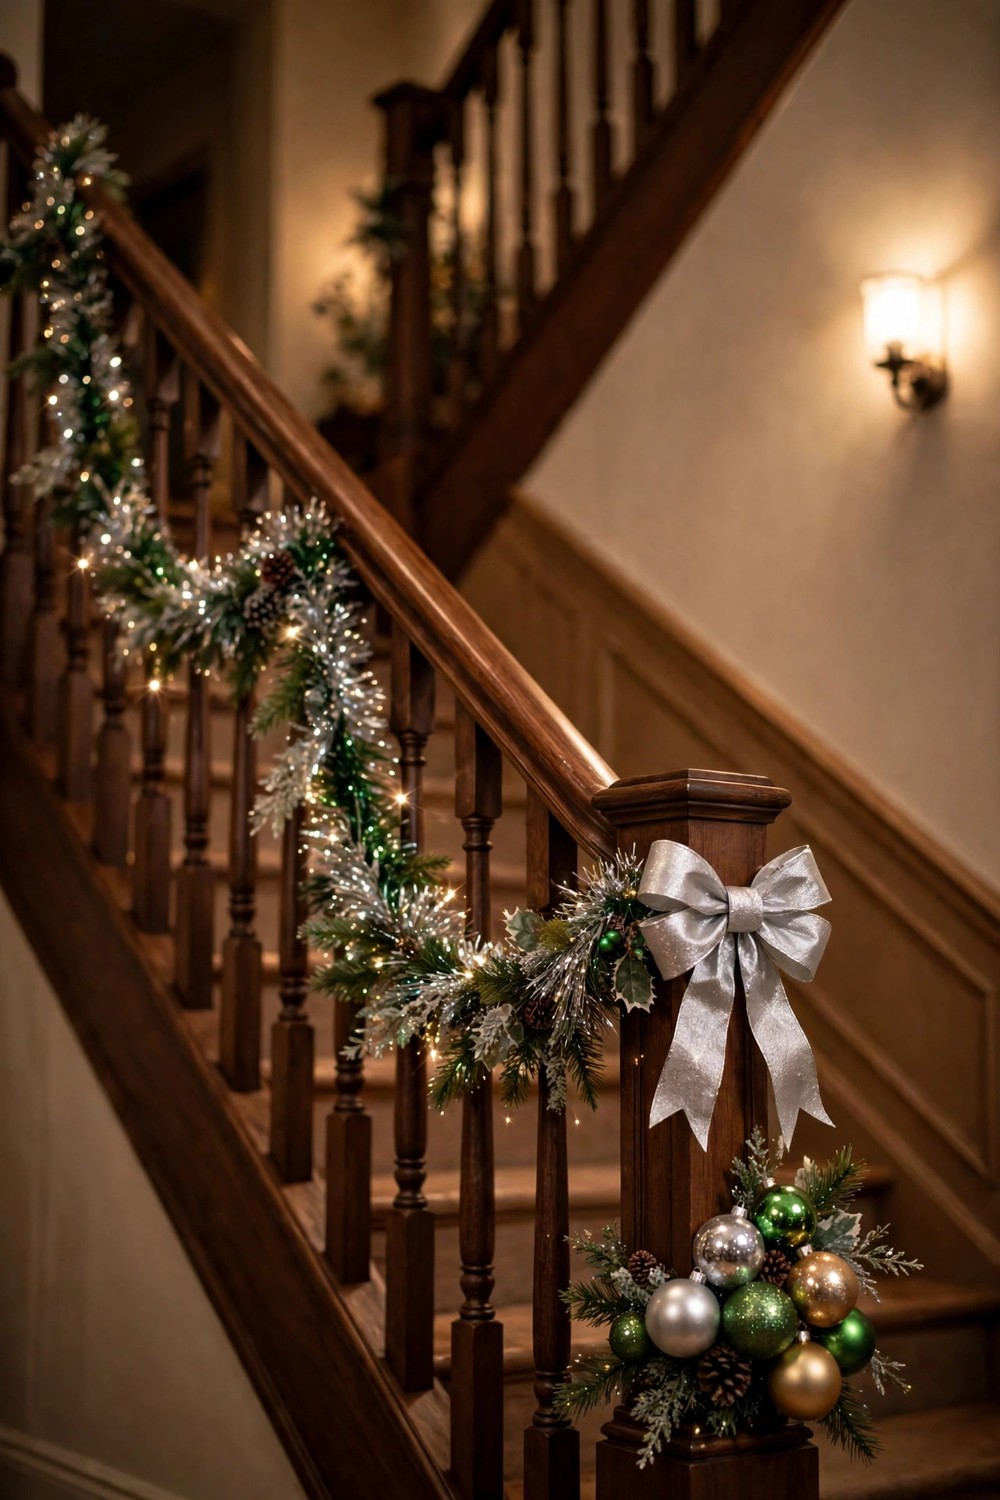
8. Swag Tinsel Along the Staircase Banister
A staircase is basically a display shelf that moves, and tinsel swags make the most of its long diagonal line. Anchor the garland at the newel post, let it dip gracefully between every few balusters, and fix each high point with a short twist of wire or a ribbon tie. Keep the dips even and not too deep, because very long loops tend to catch sleeves as people pass with laundry baskets and mugs. Weaving the tinsel over a green garland gives the banister more body, though a single metallic strand on dark wood can look striking on its own. Lights are optional here. The strands usually pick up enough glow from the hall and the tree to shimmer without any wiring at all. Typically the bottom post is the place to finish with a flourish, maybe a bow or a cluster of baubles, since that is the spot everyone sees from the front door.
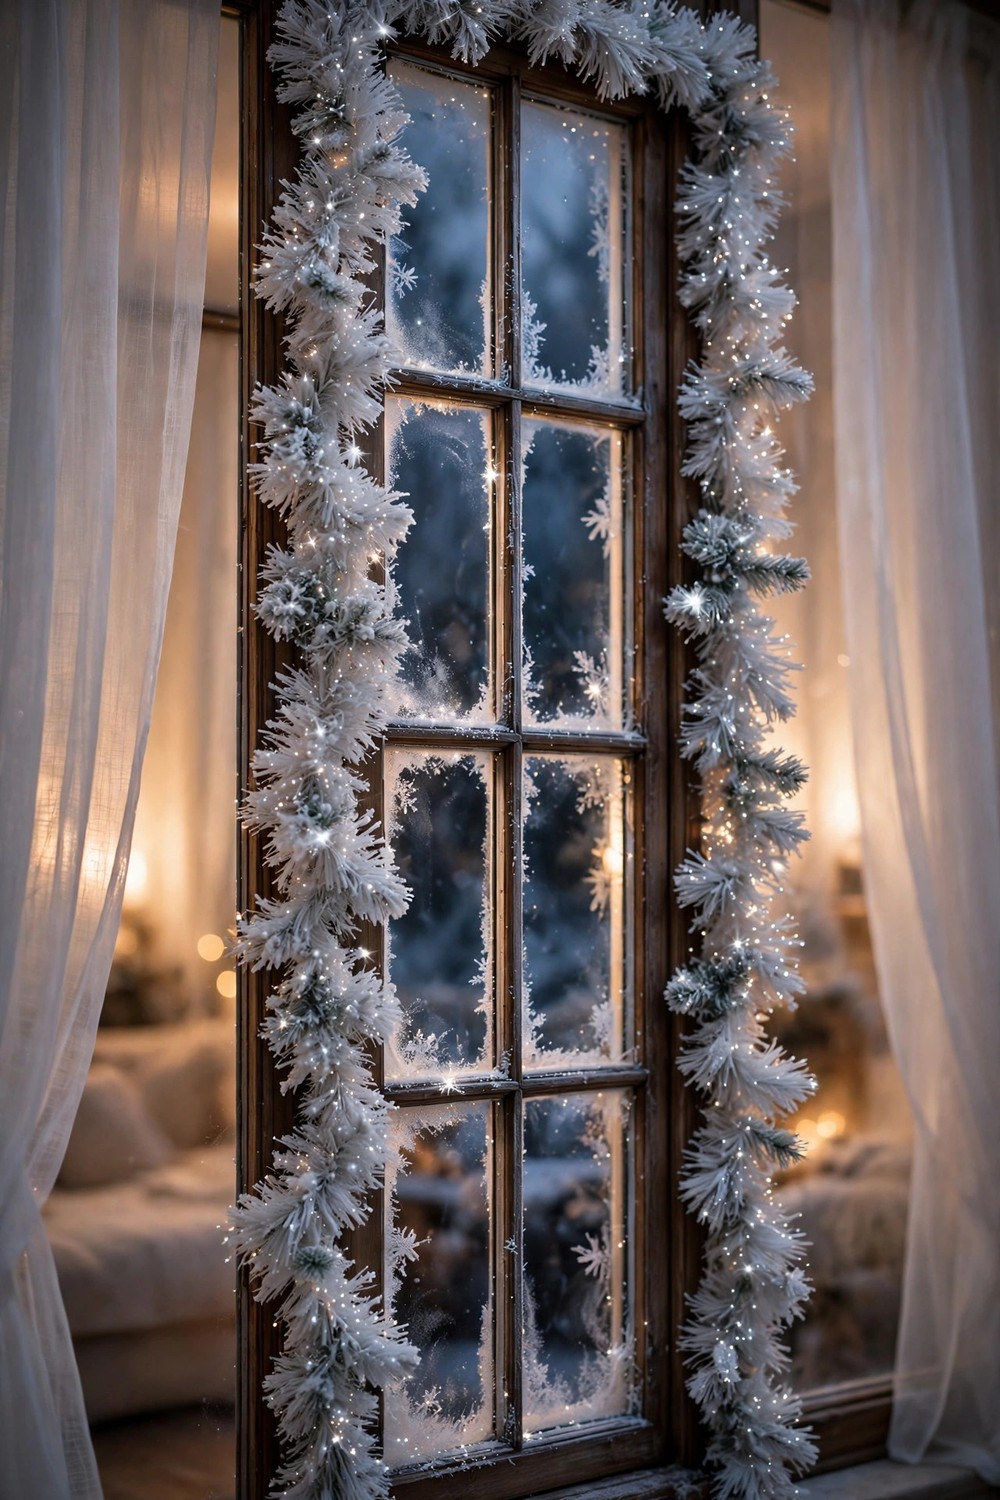
9. Outline Windows With Frosty Strands
Windows are easy to forget once the tree is up, yet a simple tinsel outline makes them part of the display, especially after dark. White or pale silver strands usually give the prettiest frost effect, reading like a line of ice around the glass. Fix the garland just inside the frame with small clear clips, and keep it clear of any latch or handle so the window still opens for fresh air. During the day the strands catch low winter sun, and at night they reflect the room lights back at you, which makes the whole window feel wider. If you have a bay window, one continuous run across all three sections ties the shape together beautifully. Curtains can stay open or closed behind it, though sheers tend to soften the sparkle in a nice way. Typically this is a ten minute job per window, and the payoff lasts from breakfast through to the last film of the night.

10. Drape Tinsel Over the Chandelier
The dining room chandelier is prime tinsel territory, because anything that hangs above the table gets admired all evening. Drape short lengths of garland between the arms so the strands hang in soft loops, and keep every strand well clear of hot bulbs, using cool LED bulbs if your fixture takes them. The tinsel moves slightly whenever the room warms up or a door opens, and that tiny movement makes candlelight and glassware sparkle even more. Gold usually suits a formal dining room, while silver keeps things crisp and wintry. Less is more here, since a heavy hand can make the fixture look tangled rather than dressed. You can echo the same tone on the table runner later and the whole room will feel coordinated without matching exactly. Typically two short strands are enough for a standard chandelier, so this is a kind use for garland left over from the tree.
Playful Retro and Photo Ready Ideas
Now for the fun end of the list. These ideas lean into color, movement, and a little bit of theater, from rainbow strands to a full photo backdrop. They suit parties, family photo days, and anyone whose Christmas style leans joyful rather than quiet.

11. Drape Rainbow Tinsel for a Retro Pop
Rainbow tinsel is unapologetically cheerful, and that is exactly the point. The mixed strands reference every mid century tree you have ever seen in an old family album, and they bring that energy straight back. Give rainbow garland one clear stage rather than spreading it everywhere, maybe a single mantel swag, a bar cart, or the top of a sideboard. Against white walls and simple furniture it reads as a deliberate color statement, and kids usually claim it as their favorite spot in the house. Pair it with plain white lights so the colors stay true, since warm amber bulbs can muddy the blues and greens. If a full rainbow run feels like a lot, twist one rainbow strand together with a silver one to calm it slightly. Typically this look suits casual, happy rooms best, and it photographs brilliantly, which makes it a natural fit for the backdrop idea coming up next.

12. Hang a Tinsel Curtain Photo Backdrop
A wall of hanging tinsel strands makes the easiest party photo backdrop you will ever build. Tape or pin several garlands side by side along the top of a blank wall or across a doorway you are not using, and let the strands fall straight to the floor. The vertical lines catch light from every angle, so portraits taken in front of it glow without any fancy lighting at all. Silver and gold are the classic choices, though a mix of both usually hides gaps best and suits every outfit color. Leave a little floor space in front so people can stand comfortably without crushing the lowest strands. Add a small stool, a basket of props, or nothing at all, because the curtain does the decorating for you. Typically a backdrop like this goes up in fifteen minutes and comes down just as fast, and the garlands fold away flat for next year.
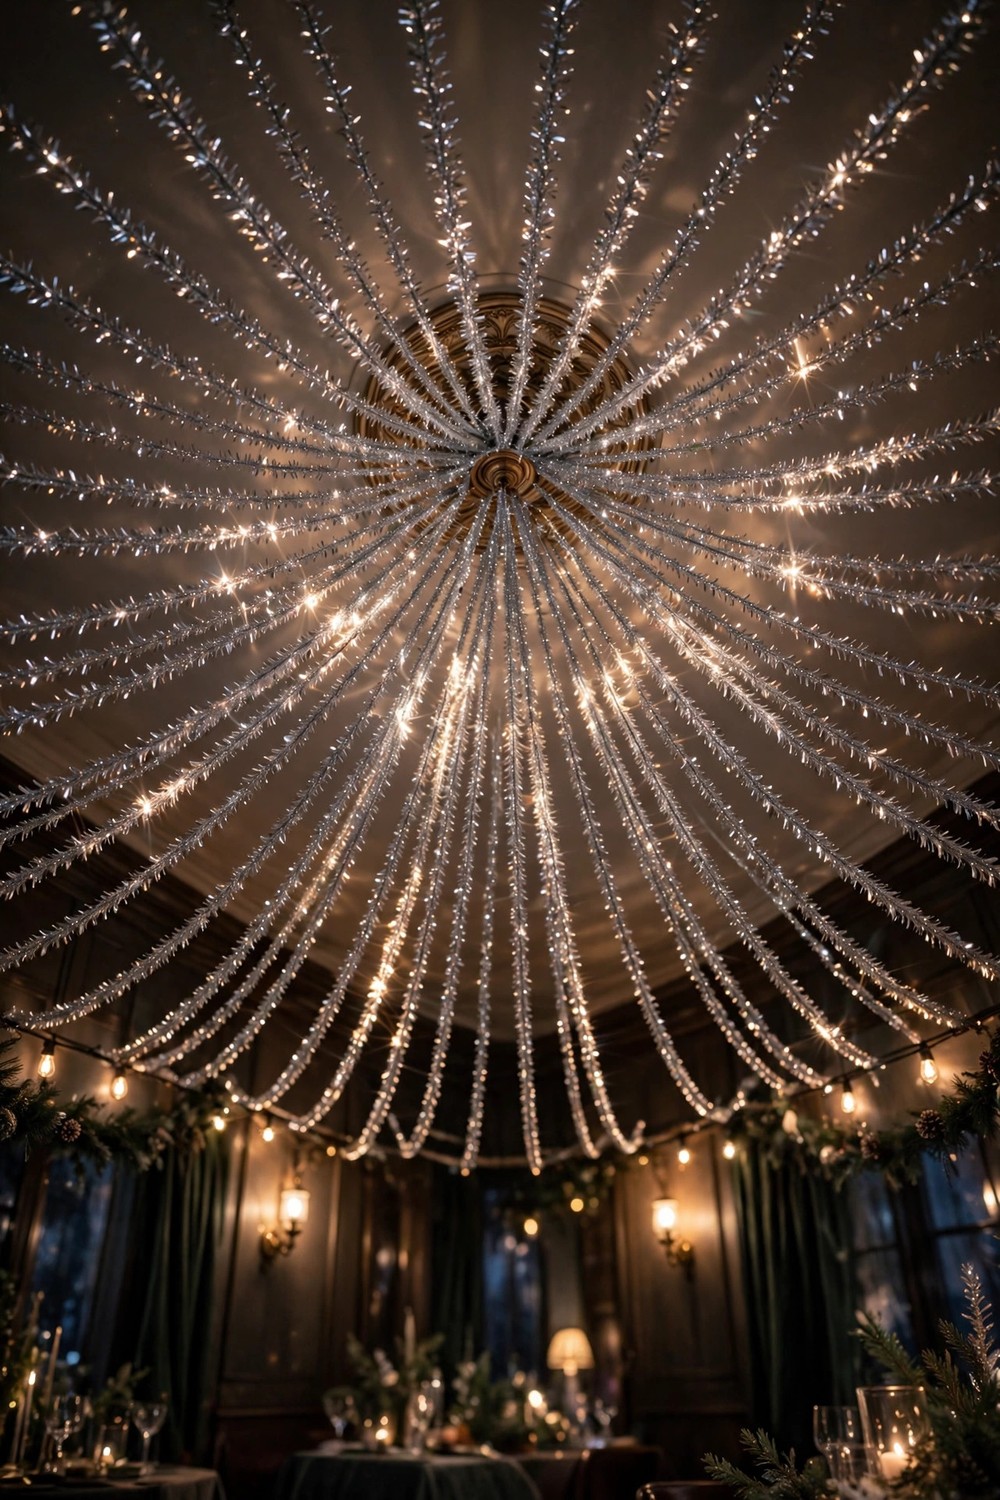
13. Create a Tinsel Ceiling Canopy
If you are hosting a party and want one big gesture, a tinsel canopy over the main room delivers it. Run strands from a central ceiling point out toward the corners, or stretch them in parallel lines across the room like a shimmering roof. Clear removable hooks hold the light garlands easily, and the strands sit high enough that nobody brushes them while moving around. The effect usually shows best in the evening, when lamplight hits the strands from below and the whole ceiling seems to ripple. Keep the colors to one family, perhaps all silver or all champagne, because mixed tones overhead can feel busy rather than magical. This is a temporary party trick rather than an all season look, and that is fine. Typically one evening is all it needs to be unforgettable, and taking it down the next day takes minutes.

14. Hang Vertical Tinsel Falls in Corners
Corners are the quiet spots every room has, and a vertical fall of tinsel wakes them up without taking any floor space. Fix a single garland at ceiling height in the corner and let it drop straight down, or hang two or three strands at slightly different lengths for a gentle cascade. The falling lines draw the eye upward, which usually makes the ceiling feel a little higher than it is. This works especially well beside a bookcase, next to the tree, or flanking a fireplace where the main decor already sits low. Silver falls read like icicles, while gold feels more like falling light. Keep the strands away from heat sources and from the swing of doors, and they will hang undisturbed all season. Typically a corner fall uses the garland you had left over and could not place, so it is a satisfying way to finish a pack rather than store a loose end.

15. Style Tinsel Around Mirrors for Glow
A mirror already doubles whatever light a room has, so framing one with tinsel doubles the sparkle too. Run a single strand around the frame or swag it loosely across the top, letting the ends trail a little down each side. The reflection repeats every strand, which means a modest amount of garland looks twice as lush as it really is. This trick usually shines in hallways and living rooms where mirrors sit near lamps or opposite the tree. Keep the glass itself clear so the mirror still does its job, and fix the garland to the frame rather than the wall for easy removal. If the mirror hangs over a mantel or console, echo one small tinsel touch on the surface below to link the two. Typically guests assume you used far more garland than you did, which makes this one of the most efficient ideas here.
Tables, Displays, and Finishing Touches
The last group is all about the small stages, the dining table, shelves, miniature villages, and the presents themselves. These touches take minutes each, and together they carry the shine into corners the tree never reaches.

16. Run Tinsel Down the Dining Table
A tinsel runner is the quickest way to make an ordinary weeknight table feel like a holiday table. Lay one garland straight down the center over a plain cloth or bare wood, and let it weave gently between candlesticks, a low bowl of fruit, or a row of small jars. The strands pick up candlelight beautifully and usually photograph far better than glittery confetti, which also means far less sweeping afterward. Keep place settings clear of the center line so plates and glasses sit steady, and trim any stray strands that wander toward the food. Gold on a white cloth feels classic, while silver on dark wood reads crisp and modern. If the table is long, join two garlands at the middle and hide the join under the centerpiece. Typically guests notice the runner before anything else on the table, so you can keep the rest of the setting simple.

17. Build a Tinsel Centerpiece With Candles
For a centerpiece with real presence and almost no cost, coil tinsel into a loose nest and settle your candles right into it. A shallow tray or a wide plate keeps the whole arrangement contained, and the metallic strands form a soft, glowing bed around the bases. Use flameless candles if the tinsel sits close, or keep real flames in tall glass holders with the tinsel kept well below the rim, since garland and open flame should never meet. Three candles at different heights usually look best, echoing the way the strands themselves rise and fall. Tuck in a few pinecones, baubles, or sprigs of greenery if the nest feels too plain, though plain gold with warm light is hard to beat. The arrangement typically takes ten minutes and can move from the dining table to a coffee table or sideboard whenever you need a quick lift. It also dismantles in seconds, which matters on busy evenings.

18. Layer Tinsel Behind Village Displays
Miniature villages look charming on a shelf, but a flat wall behind them can leave the little houses feeling stranded. A curtain of white or silver tinsel hung behind the display gives the scene a frosty, glowing backdrop that reads like falling snow or distant lights. Fix the strands along the back edge of the shelf or drape them from the shelf above, and let them fall just behind the rooftops. The tiny windows of the houses usually reflect in the strands, which makes the whole village seem lit and alive. Keep the tinsel clear of any wiring for the house lights, and leave a small gap so heat never builds up. If your village sits on a sideboard instead, a simple swag along the back edge does the same job in a lower key. Typically this one backdrop makes an old village set feel brand new, without buying a single extra house.

19. Let Icicle Tinsel Fall From Shelves
Bookcases and open shelves earn a place in the decorating too, and icicle style tinsel suits them perfectly. Drape short lengths along the front edge of a shelf and let the fine strands hang down like frozen drips over the books and objects below. The effect usually lands best on one or two shelves rather than the whole unit, because a full bookcase of icicles can start to feel heavy. Pale silver and white strands give the most convincing frost, and they sit comfortably beside everyday books without demanding a full restyle. Keep the strands short enough that they do not tangle with anything you pull off the shelf daily, and fix the top edge under a heavy book or a small clip. Typically this is a lovely treatment for a hallway console shelf or the top of a kitchen dresser, anywhere a little vertical sparkle can catch the light as people pass.

20. Tuck Tinsel Into Gift Wrap and Bows
The last idea uses the smallest scraps, so keep your trimmings when the big decorating is done. Short lengths of tinsel tucked under a ribbon or twisted into a bow turn plain wrapped parcels into little sparkling gifts before anyone even opens them. A few strands peeking out from under tape or a tag catch the tree lights and usually make the whole pile under the tree look more abundant. This is a kind job for garland ends that are too short for a swag but far too pretty to bin. Match the tinsel tone to your paper if you like a coordinated pile, or mix gold and silver freely for a cheerful jumble. Keep strands on the outside of the paper only, so nothing sharp or scratchy ends up against the gift itself. Typically a single leftover garland trims a whole stack of presents, which makes this the most thrifty finish on the list.
Bringing the Shine Home
Tinsel does not ask for a perfect house or a decorator eye. It asks for a clear spot, a few fixings, and a willingness to let things sparkle a bit more than usual. If you are new to it, start with the mantel swag or the tree spiral and live with the shine for a few days. You will quickly learn whether your home wants more of it or whether one strong moment is exactly right.
Whatever you choose, handle the strands gently when they come down in January and they will usually serve you for several seasons. Coil each garland loosely, store it flat in a bag away from damp, and label the bag so next December starts with a smile instead of a tangle. The shine, after all, is the easy part to bring back. Keeping it tidy is simply how you make sure it returns.






Leave a Reply