
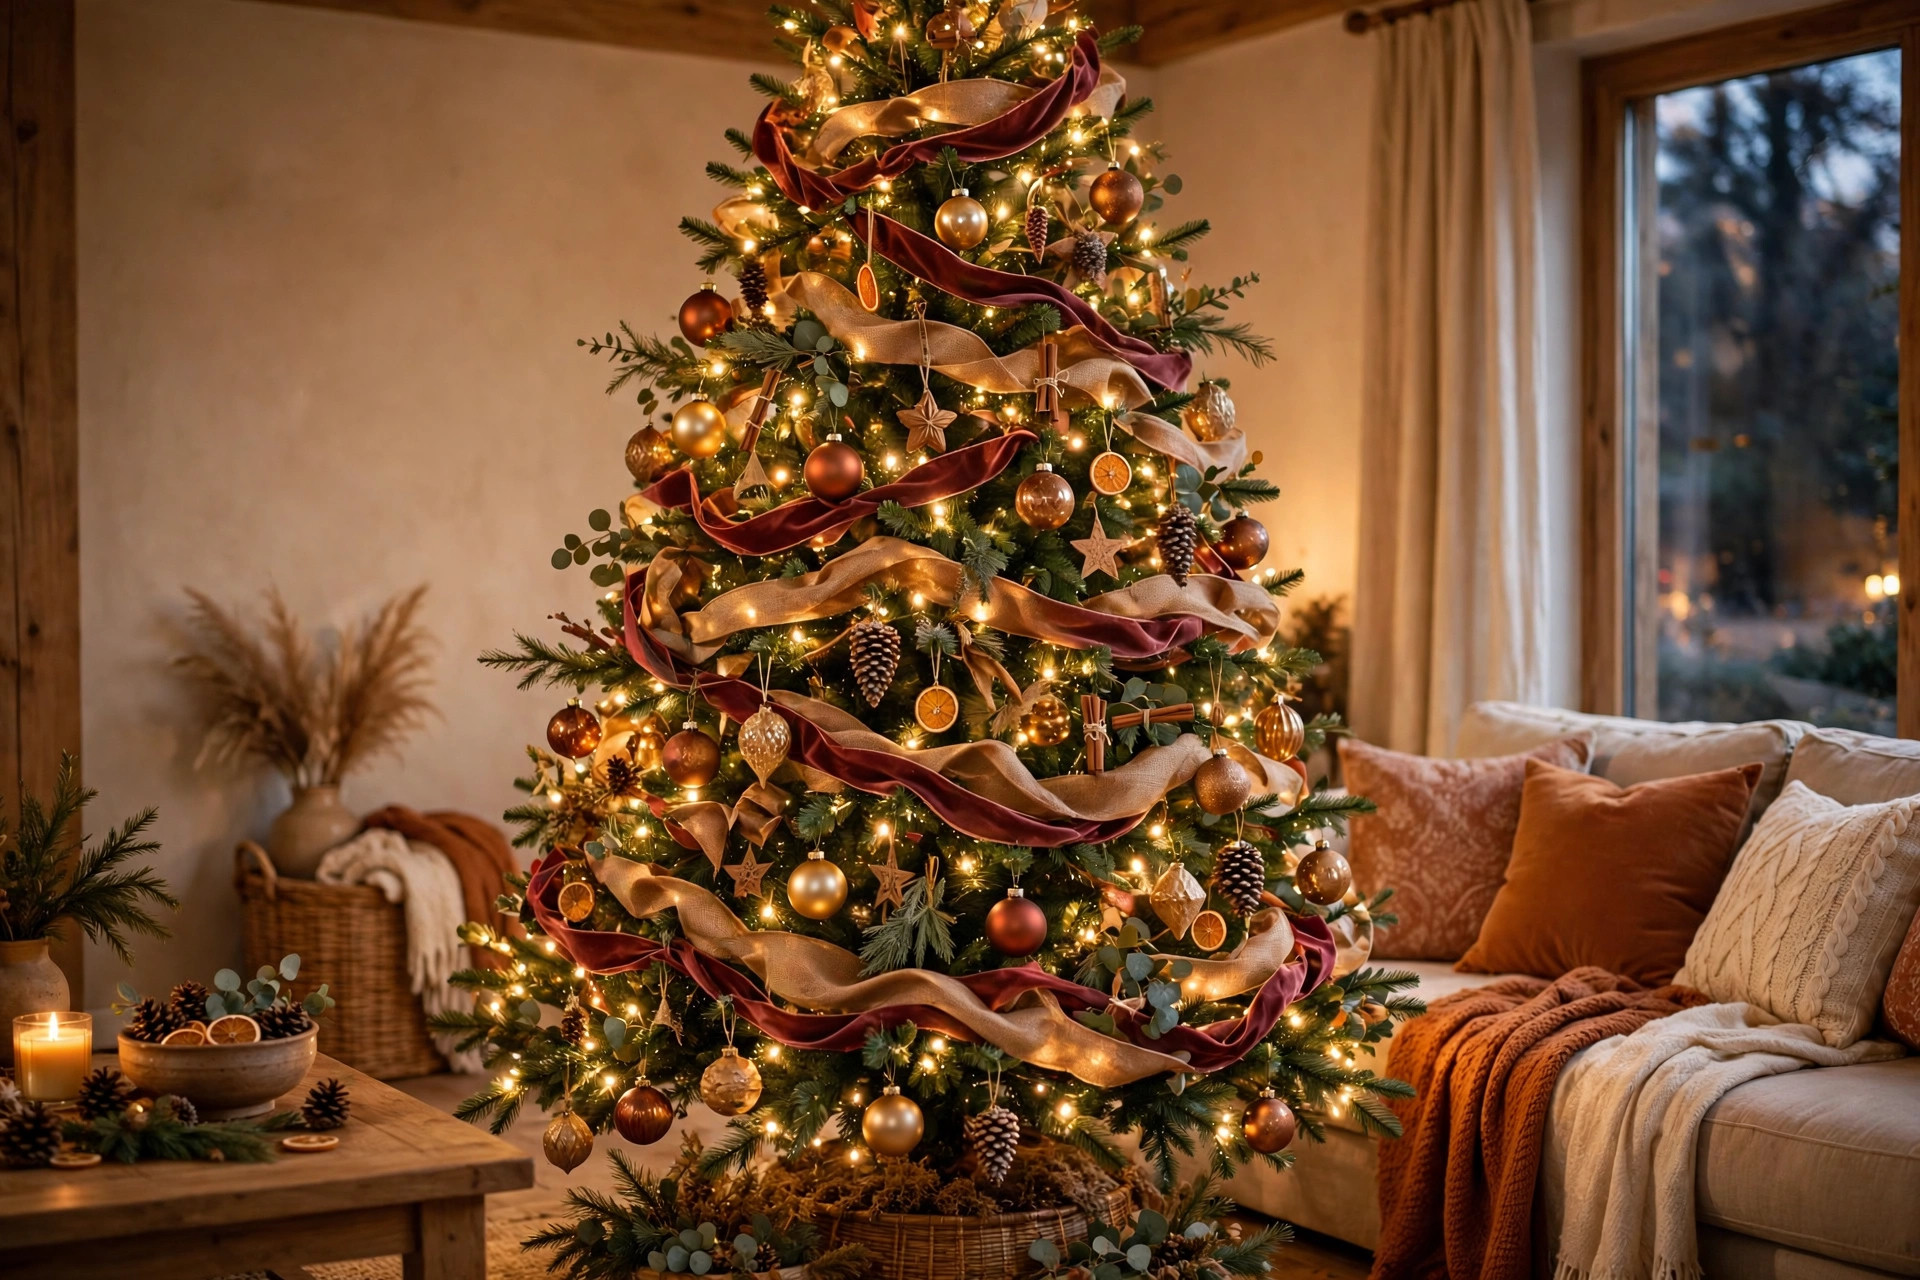
There’s a moment every year when the tree goes up, the boxes come out, and you stand there wondering where to even start. If that sounds familiar, you’re not alone, and the good news is that a beautiful tree usually isn’t about having more stuff. It’s about putting what you already love in a better order, and letting a few simple choices carry the whole look.
These christmas tree decorating ideas are built for real living rooms, not showroom sets. You’ll find a clear order to follow, from picking a style and layering ribbon to placing ornaments at different depths and finishing the base so it looks done from every angle. Mix the ideas that fit your home and skip the rest, because a tree that feels like you is always the prettiest one in the room.
One more thing before you start. Take a quick photo of last year’s tree if you have one, and notice what you loved and what bothered you. Usually that little check saves you from repeating the same crowded spot or bare patch, and it helps you shop your own boxes first before you buy a single new thing.
Pick Your Tree Style First
Choose one clear style before you open a single ornament box. A simple direction like cozy and traditional, soft and snowy, or glam with a little sparkle makes every later choice easier. When you know your style, you won’t keep second guessing each piece, and the tree typically comes together much faster. It also gives anyone helping you a simple guide to follow without a lot of questions.
Let your room tell you how full the tree should look. A busy room with patterned rugs and lots of furniture usually suits a calmer tree with breathing room between the decorations. A quiet, neutral room can happily handle a fuller tree, so don’t be afraid to layer a bit more there. If your room already has a lot going on, stepping the tree back a touch usually keeps the whole space feeling relaxed.
Decide on a flocked, green or snowy look and commit to it. A flocked tree already brings a soft white layer, so it needs fewer white ornaments and looks lovely with warm wood and cream. A classic green tree is more forgiving, and it lets almost any color story shine without a lot of fuss. Whatever you choose, repeat that feeling in a wreath or a garland nearby and the room will feel pulled together.
Pick a shape that fits your corner, not just your wishlist. A slim tree works beautifully in a tight apartment corner and still feels tall and elegant once it’s dressed. A wider tree needs a wider spot, so give it room to breathe and it will reward you every time you walk past. And if the spot feels awkward, moving the tree even a little can change the whole corner.
Ribbon, Garland and the Layering Order
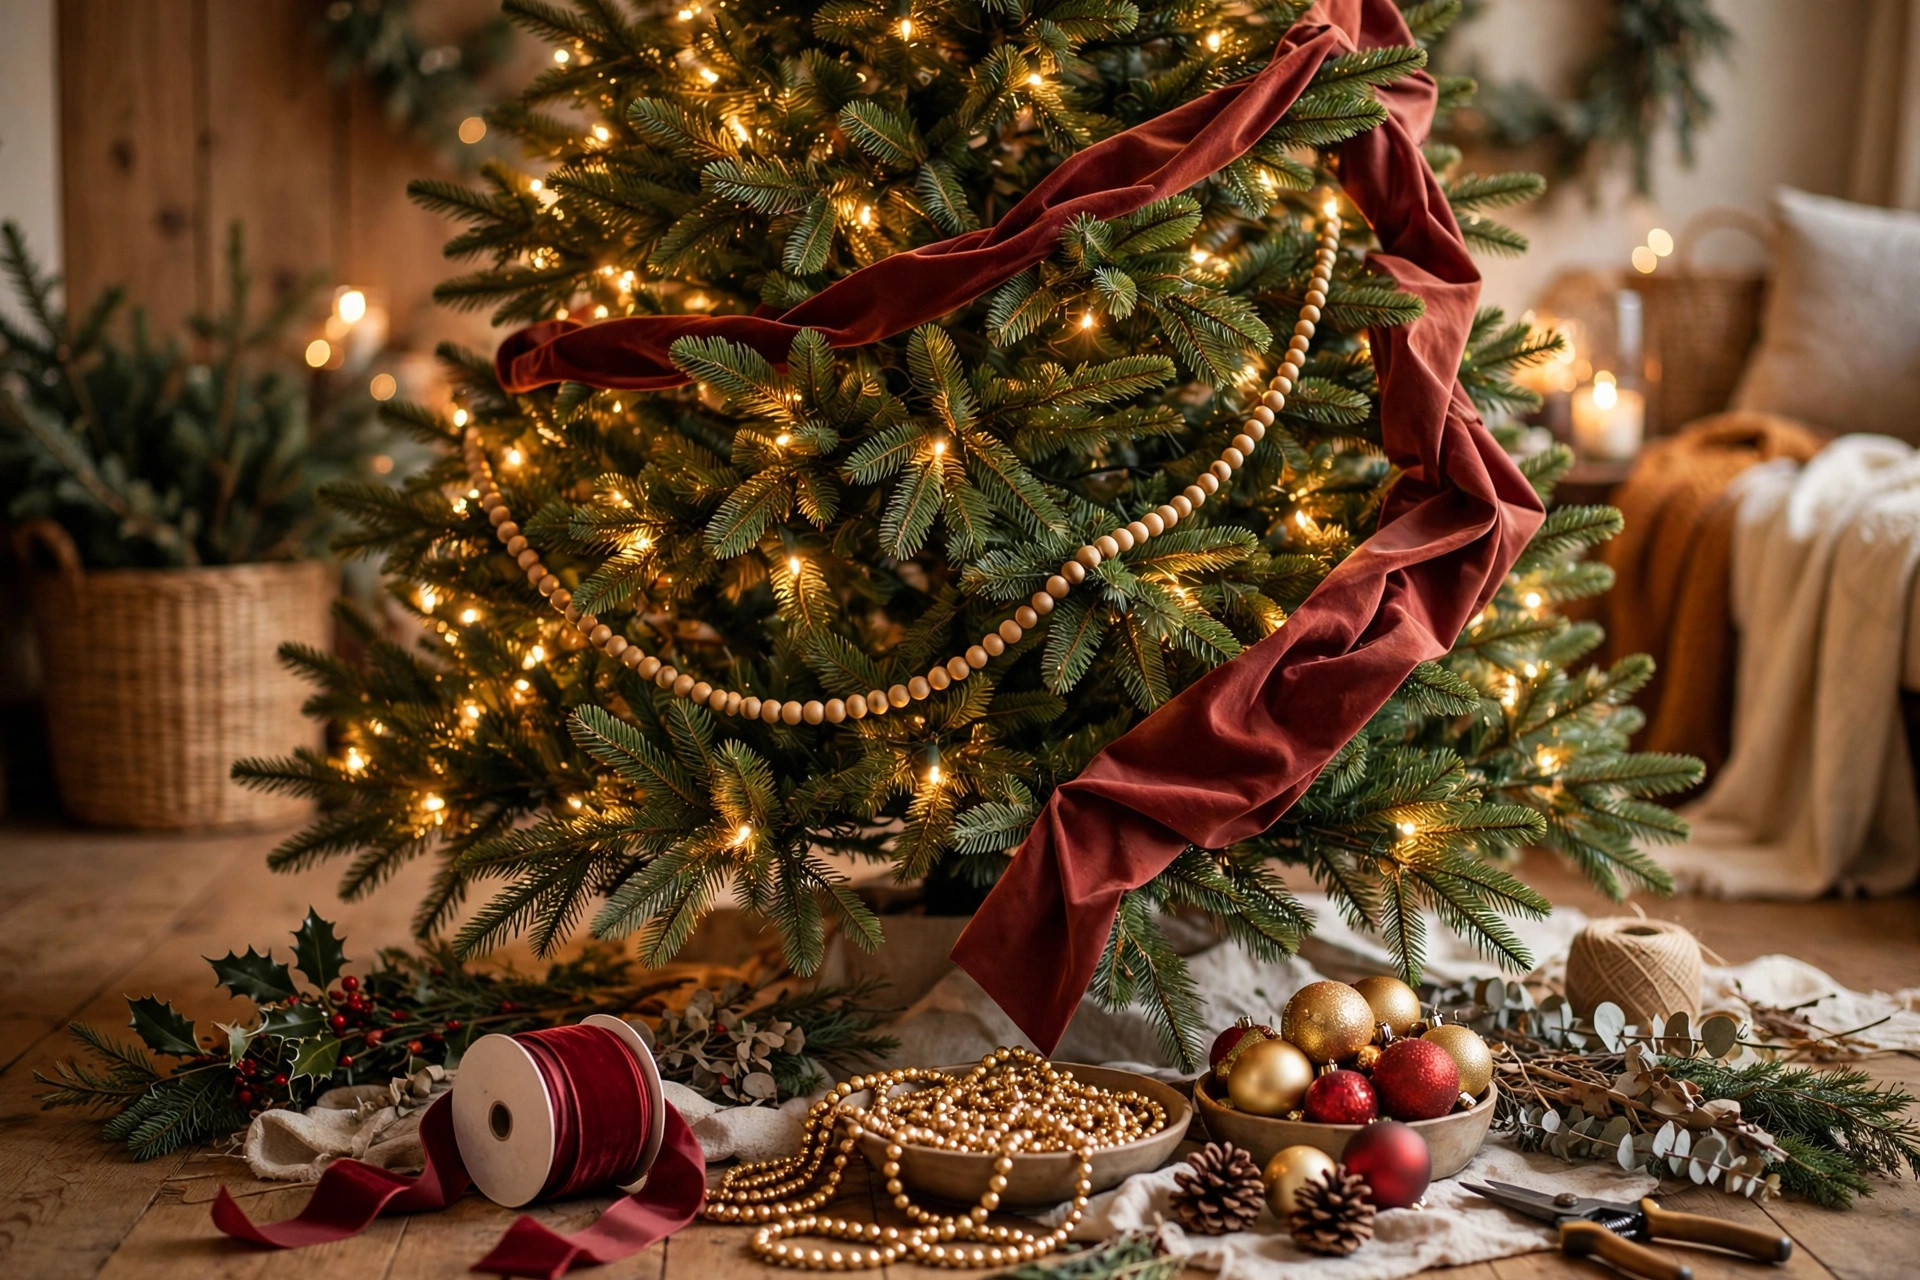
Start with ribbon before any ornaments go on. Ribbon is much harder to weave in once baubles are hanging, so this step really does belong early. Work from the top down and tuck the ribbon gently into the branches, then step back often so the flow looks natural and not too tidy. Wired ribbon holds its shape best here, and it is far more forgiving if you need to redo a section.
Try the waterfall method if you want a soft, romantic drape. Cut your ribbon into shorter lengths and let each piece cascade down the tree in loose waves. It usually uses less ribbon than wrapping the whole tree, and if one section looks off, you can fix just that piece without starting over. Shorter lengths are also easier to store without tangles, which you will thank yourself for next year.
Add garland after the ribbon, and keep it a little looser than you think. Beaded garland, wooden beads or a simple strand of cranberry style beads all add a lovely middle layer. Drape it in gentle swags rather than tight circles, because a relaxed drape typically reads as warm and welcoming. Try standing on the other side of the room, because garland that looks even up close can dip in the middle from afar.
The Stylist Sequence
Follow the simple order of lights, ribbon, garland, then ornaments. This is the sequence most home decorators swear by, and it stops you from having to undo good work later. Lights first, deep layers next, and the pretty finishing pieces last, so every layer gets its moment and nothing gets buried too soon. Writing the order on a sticky note sounds silly, but it keeps you calm when the room gets busy.
Leave your most delicate pieces for the very end of the sequence. Clip on birds, fine glass shapes and family keepsakes go on after the everyday ornaments are settled. That way they sit in the best spots, they catch the light, and they don’t get knocked while you’re still reaching deep into the branches. These are also the pieces guests ask about most, so give them a spot where they can be admired up close.
Ornament Placement Like a Pro
Hang your largest ornaments first and spread them out evenly. Big pieces set the rhythm of the whole tree, so place them in a loose zigzag pattern and step back between each few. If you cluster them by accident, the tree can look heavy on one side, and it’s much easier to fix that early. If one side starts to feel heavy, move a large piece to the emptier side before you add anything smaller.
Work in threes when you are grouping similar ornaments. A small cluster of three in the same color or finish instantly looks intentional, even when the pieces are simple. You don’t need to do this everywhere, just in a handful of spots, and the whole tree will feel more pulled together. If one group feels too tight, loosening it by just a finger width usually softens the whole effect.

Push some ornaments deep and let others sit right at the tips. Tucking a few shiny pieces close to the trunk catches the lights and gives the tree real depth. The delicate and detailed ones belong nearer the front, where guests can actually see them and where they can sparkle without getting lost. You will notice the tree looks fuller right away, even before you add anything new at all.
Save the lowest branches for sturdy, oversized pieces. The bottom of the tree is where pets, little hands and the vacuum all tend to visit first. Large, unbreakable ornaments down low look generous and full, and you’ll feel more relaxed knowing the fragile favorites are safely higher up. It is a practical spot for sturdy ornaments kids have made too, because they can reach them and feel included.
Tree Collars, Skirts and Toppers
Try a woven collar if you want a clean and finished base. A collar hides the stand in seconds and gives the tree a tidy, furniture like feel. It usually works best in a smaller space, because it doesn’t spread across the floor the way a skirt does, and it keeps gifts looking neat. Just be sure the collar is wide enough for the stand, and measure once before you bring it home.
Choose a soft skirt when your style leans cozy and traditional. A linen, velvet or faux fur skirt pools gently under the branches and makes the whole corner feel warm. Let it peek out beyond the lowest branches if you can, because that soft edge is part of the charm. A skirt is also a sweet spot for a few wrapped boxes early in the season, before the real gifts arrive.
Match your topper to the weight of your tree style. A full, glam tree can carry a bold star or a generous bow, while a slim, simple tree often looks better with something lighter. If the topper leans, shorten the top branch a little or add a bit of floral wire, and it’ll sit straight all season. If your tree is tall, a slightly larger topper usually balances it better than a tiny, delicate one would.
Consider a bow topper if a star feels a bit expected this year. A wide ribbon bow with long, flowing tails adds height and softness in one easy move. Tie it to echo the ribbon you used lower down, and the tree will feel designed from top to bottom without any extra shopping. Leave the tails at different lengths for a softer look, because perfectly matched tails can feel a little stiff.
Color Stories: Classic, Neutral and Jewel
Go classic with red, green and warm gold for a tree that never dates. This is the story most of us grew up with, and it still feels joyful the moment the lights come on. Keep the reds varied, from deep cranberry to brighter berry tones, and the mix will look rich rather than flat. Adding a touch of plaid ribbon or a berry sprig here and there can warm this story up even more.
Build a neutral tree with cream, champagne and natural wood. A calm palette like this suits a quiet living room and photographs beautifully in soft daylight. Texture does the heavy lifting here, so mix matte, shiny and natural finishes, or the tree can feel a little one note. Books, candles and a tray in the same tones nearby will help the tree feel settled into the room.
Try jewel tones if you want drama after dark. Emerald, sapphire and plum ornaments glow against green branches, especially with warm lights behind them. You don’t need many, because jewel colors carry a lot of weight, and a few well spaced pieces typically look more luxurious than a crowded tree. Keep one jewel color clearly in charge and let the others appear just a few times for balance.
Limit yourself to two main colors plus one metal. This little rule is the easiest way to make a tree look considered instead of chaotic. Pick your pair, choose gold, silver or champagne as your thread, and repeat that metal in the topper, the ribbon edge and a few ornaments for a calm, connected finish. That shared metal also makes mismatched ornaments from different years look like they were always meant to be together.
Finishing: Lights, Picks and Scent
Weave your lights deep, not just around the outside. Lights that sit only on the surface can leave the center of the tree looking dark and flat. Push a strand closer to the trunk and bring another out toward the tips, and you’ll get that lovely glow that seems to come from inside the tree. Warm white lights tend to flatter every color story, while cooler lights can make reds and creams look a bit sharp.
Add floral picks and sprays to fill the quiet gaps. Berry sprigs, pinecone picks, eucalyptus style stems and glittery branches all tuck in beautifully where the tree looks thin. Add them near the end, in small groups, and step back often, because a light hand here usually looks far more elegant. Step back after every handful you add, because picks fill space quickly and a crowded branch can lose its pretty shape.
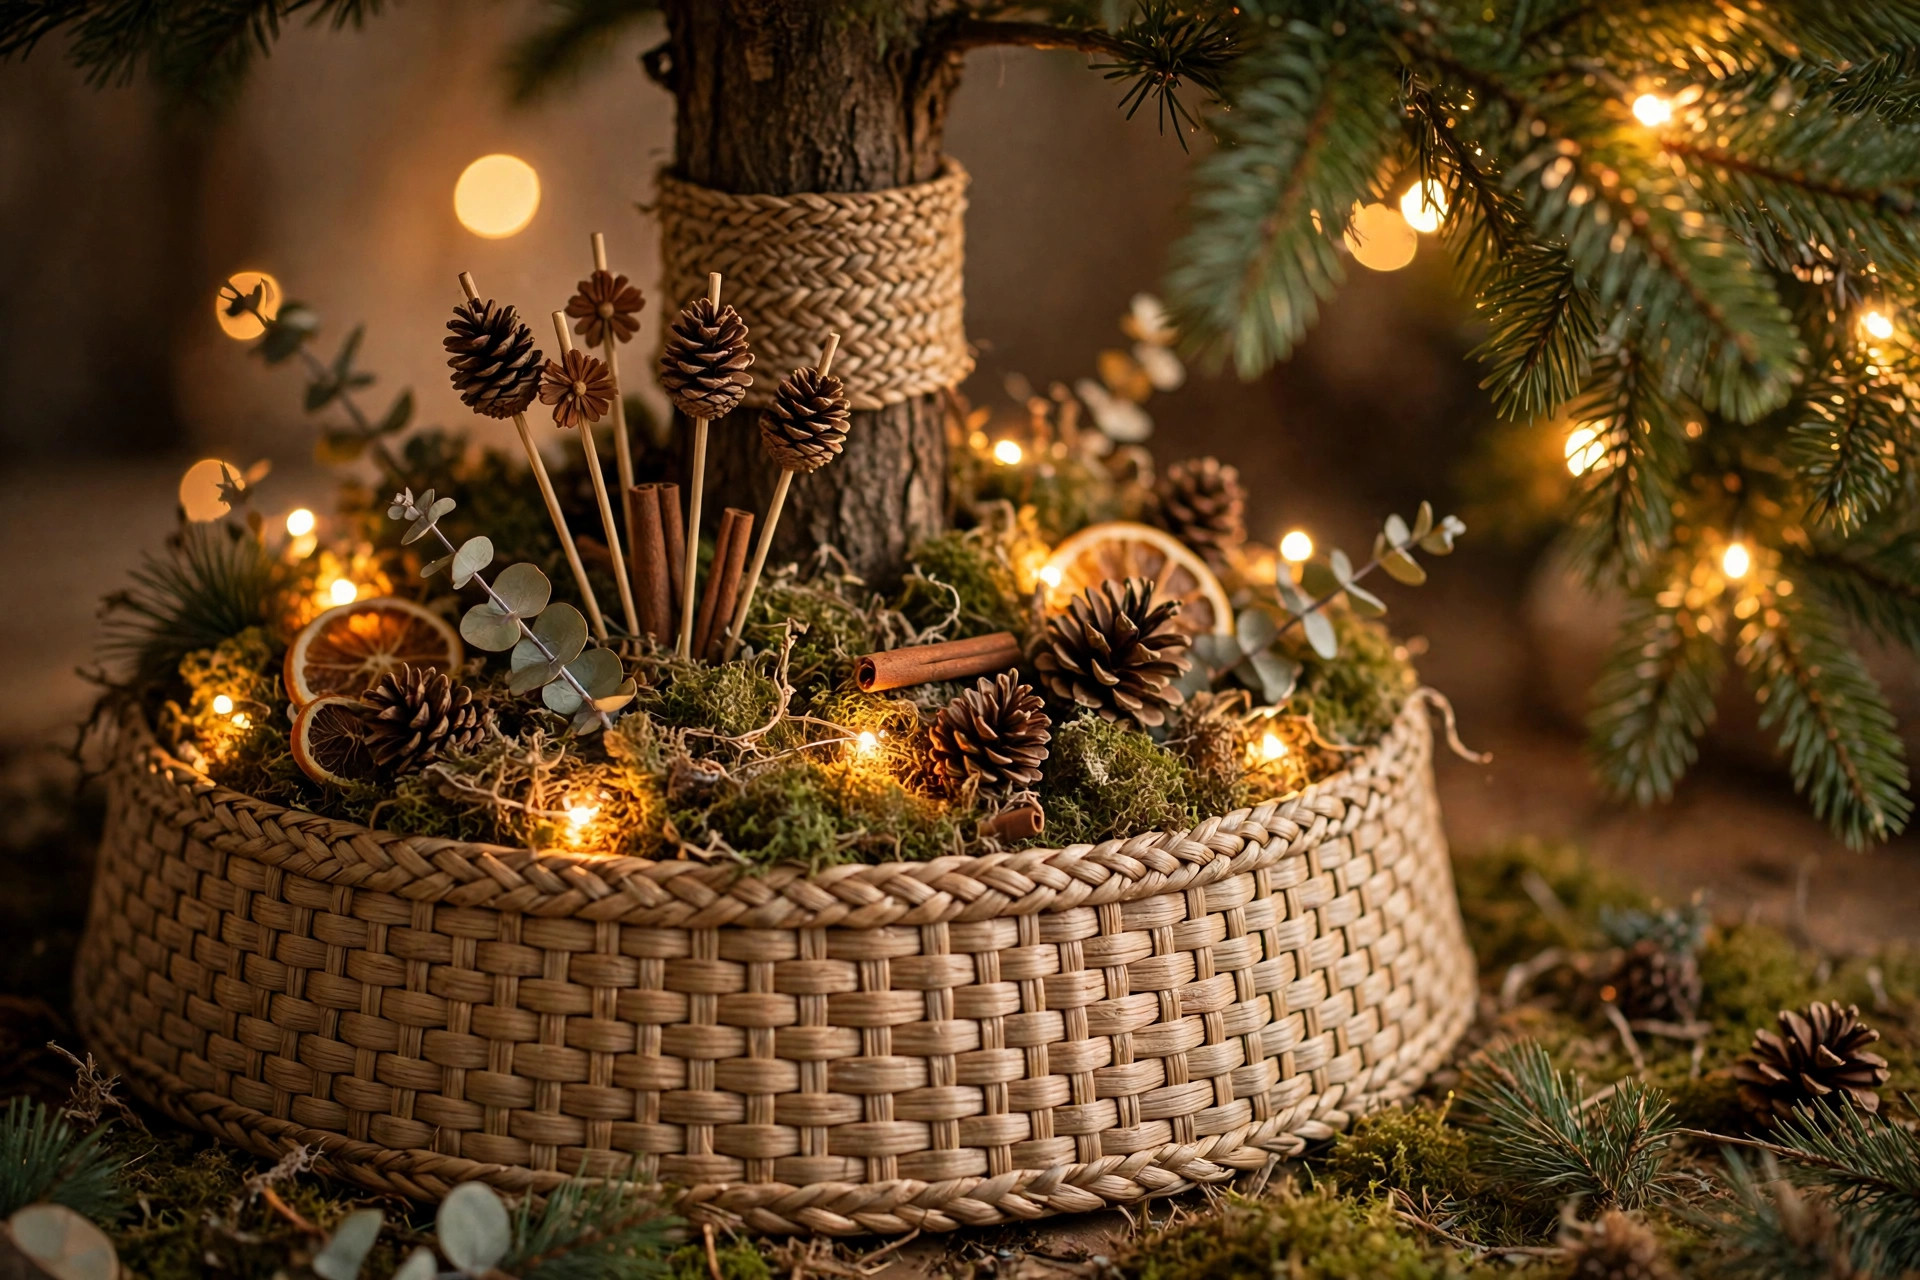
Bring in a gentle seasonal scent near, not on, the tree. A bowl of pinecones, a cinnamon scented candle on a nearby table or a simmer pot in the kitchen all add warmth without overwhelming the room. Real scent near a tree is usually safer than spraying branches, and guests tend to notice it the moment they walk in. That cozy scent layer is often what makes a room feel finished, even more than one more ornament ever could.
Do a final nighttime check before you call it done. Turn off the overhead lights, sit where your guests will sit, and look for dark patches, leaning pieces or one side that feels heavier. A five minute tweak at night makes a surprising difference, and it’s honestly the most satisfying step of the whole process. It is also the best time to notice if the topper is straight, because a small lean shows up clearly against the glow.
However you dress your tree this year, remember that it doesn’t have to be perfect to be beautiful. The ornaments with a story, the slightly wonky bow and the corner that glows when the room goes quiet are usually the parts you’ll remember most. So put the music on, take your time, and enjoy making a tree that feels warm, welcoming and completely yours.

Leave a Reply