
Somewhere in every home there is a pile of old hardcover books nobody reads anymore — dated encyclopedias, thrift-store finds with great bones and tired covers, the novels that did not survive the last declutter debate. A coat of paint turns that pile into one of the easiest decor pieces you will ever make: a styled book stack that works as a riser, a side table, a plant stand, and a quiet splash of color all at once. These ten ideas start with the classic neutral stack and wander into ombre fades, seasonal sets, and even a stack with a secret hiding place inside. Save your favorites, raid the bookshelf, and give those forgotten spines a second life.
In This Article
- 1. Paint Hardcover Books in Soft Neutral Tones
- 2. Stack Books into a Rustic Side Table
- 3. Ombre-Paint a Book Stack for a Gentle Color Fade
- 4. Use a Book Stack as a Plant Stand
- 5. Tie a Book Stack with Twine and a Dried Sprig
- 6. Hollow Out a Book Stack for Hidden Storage
- 7. Rest a Lamp on a Painted Book Stack Riser
- 8. Paint Seasonal Book Stacks for Fall and Christmas
- 9. Style a Book Stack Vignette on the Coffee Table
- 10. Turn a Tall Book Stack into a Doorstop with Personality
1. Paint Hardcover Books in Soft Neutral Tones
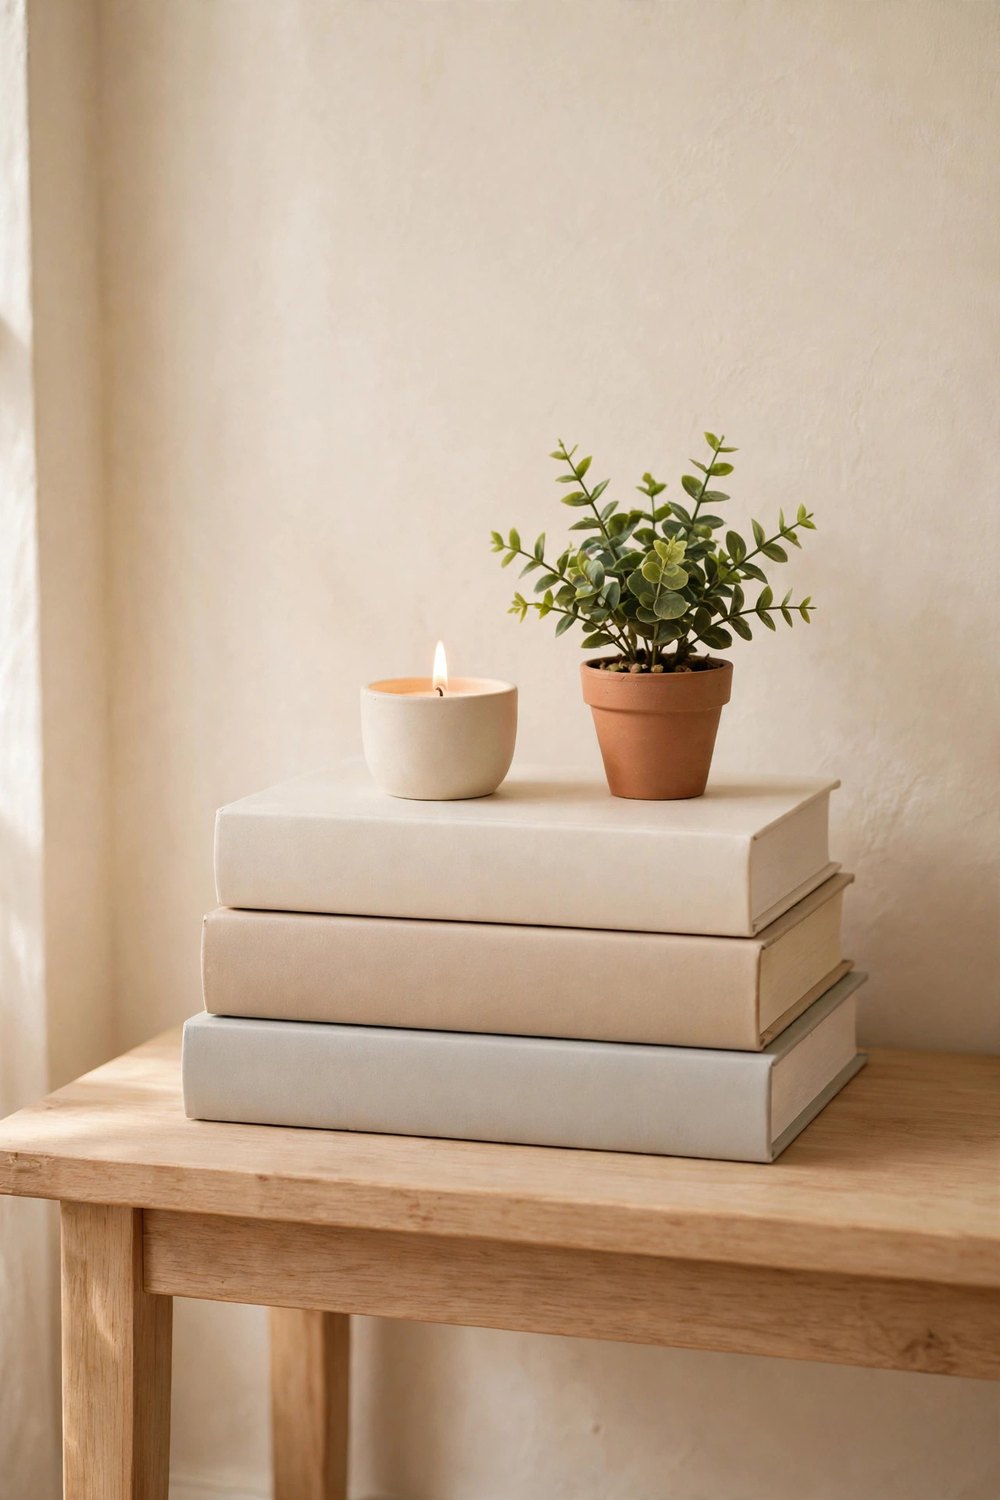
This is the stack that started the whole trend, and it is still the most useful one. Choose three or four hardcover books of similar size, remove any loose dust jackets, and paint the covers and spines in matte chalk paint — cream, warm white, soft beige, and pale stone are the classic palette. Two thin coats dry quickly and leave a calm, linen-like finish that suits almost any room. Stack them slightly offset on a shelf, console, or nightstand and top with a small plant or candle; the neutral books become a quiet pedestal that makes whatever sits on them look deliberate.
2. Stack Books into a Rustic Side Table
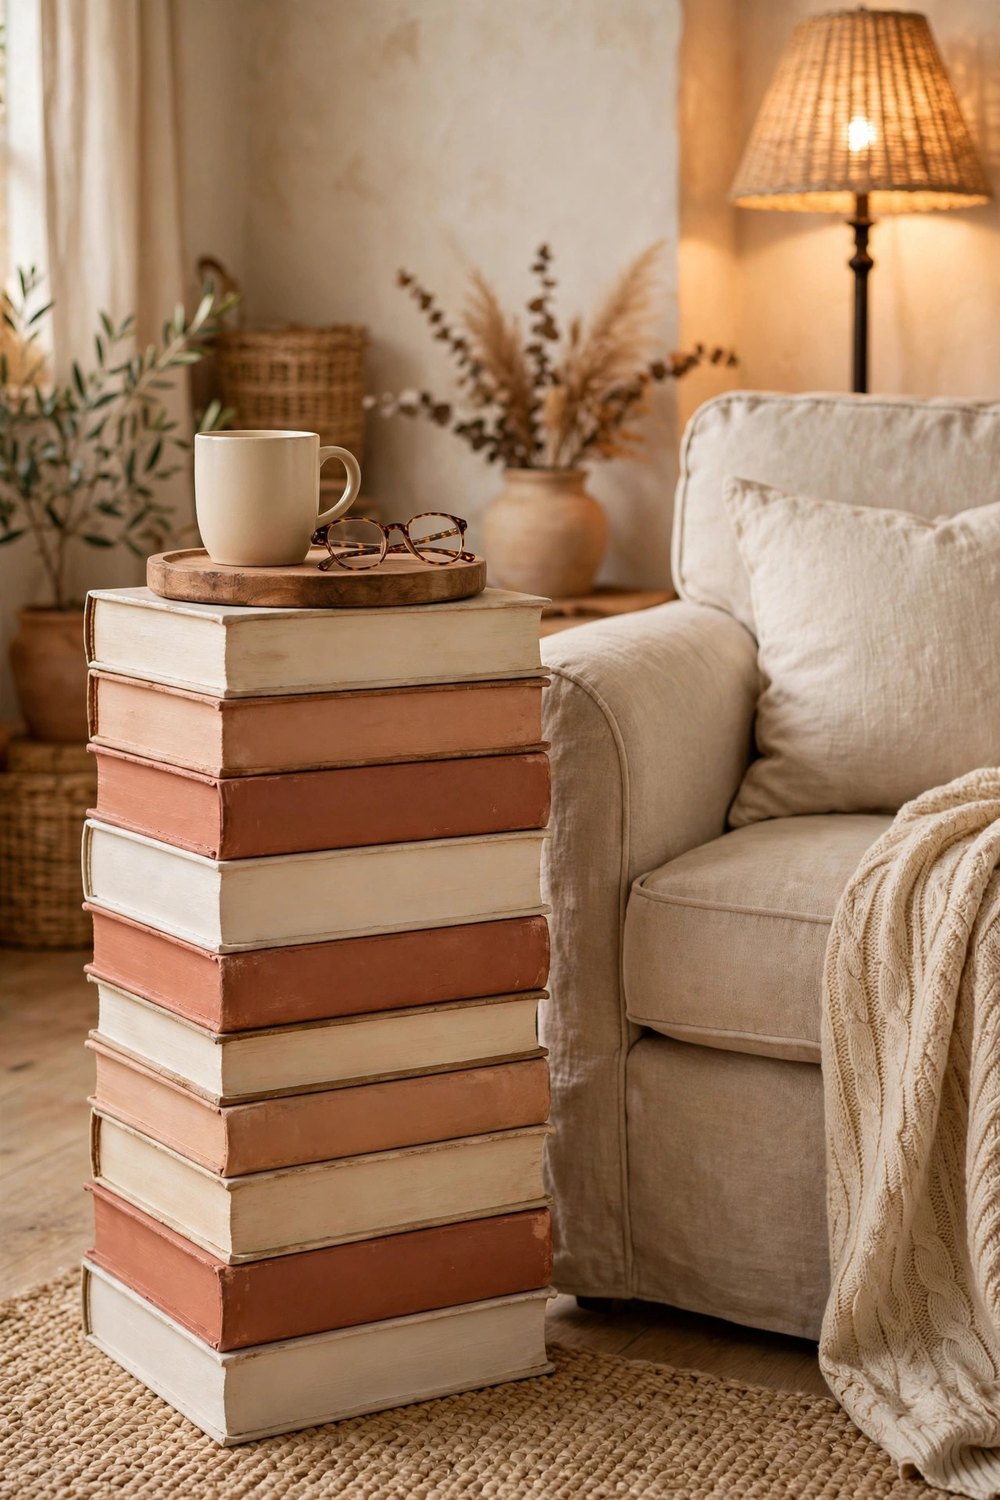
A tall stack of large books is a side table waiting to happen. Use your biggest, sturdiest hardcovers — coffee-table books and old atlases are perfect — and stack eight to twelve of them beside a reading chair, alternating the direction of the spines slightly for a relaxed, gathered look. Paint the whole stack in one warm tone, or leave the bottom books natural and paint only the top few, then set a flat tray or a round piece of wood on top to give mugs and glasses a steady surface. It costs nothing but paint, holds real weight, and guests always ask where you bought it.
3. Ombre-Paint a Book Stack for a Gentle Color Fade
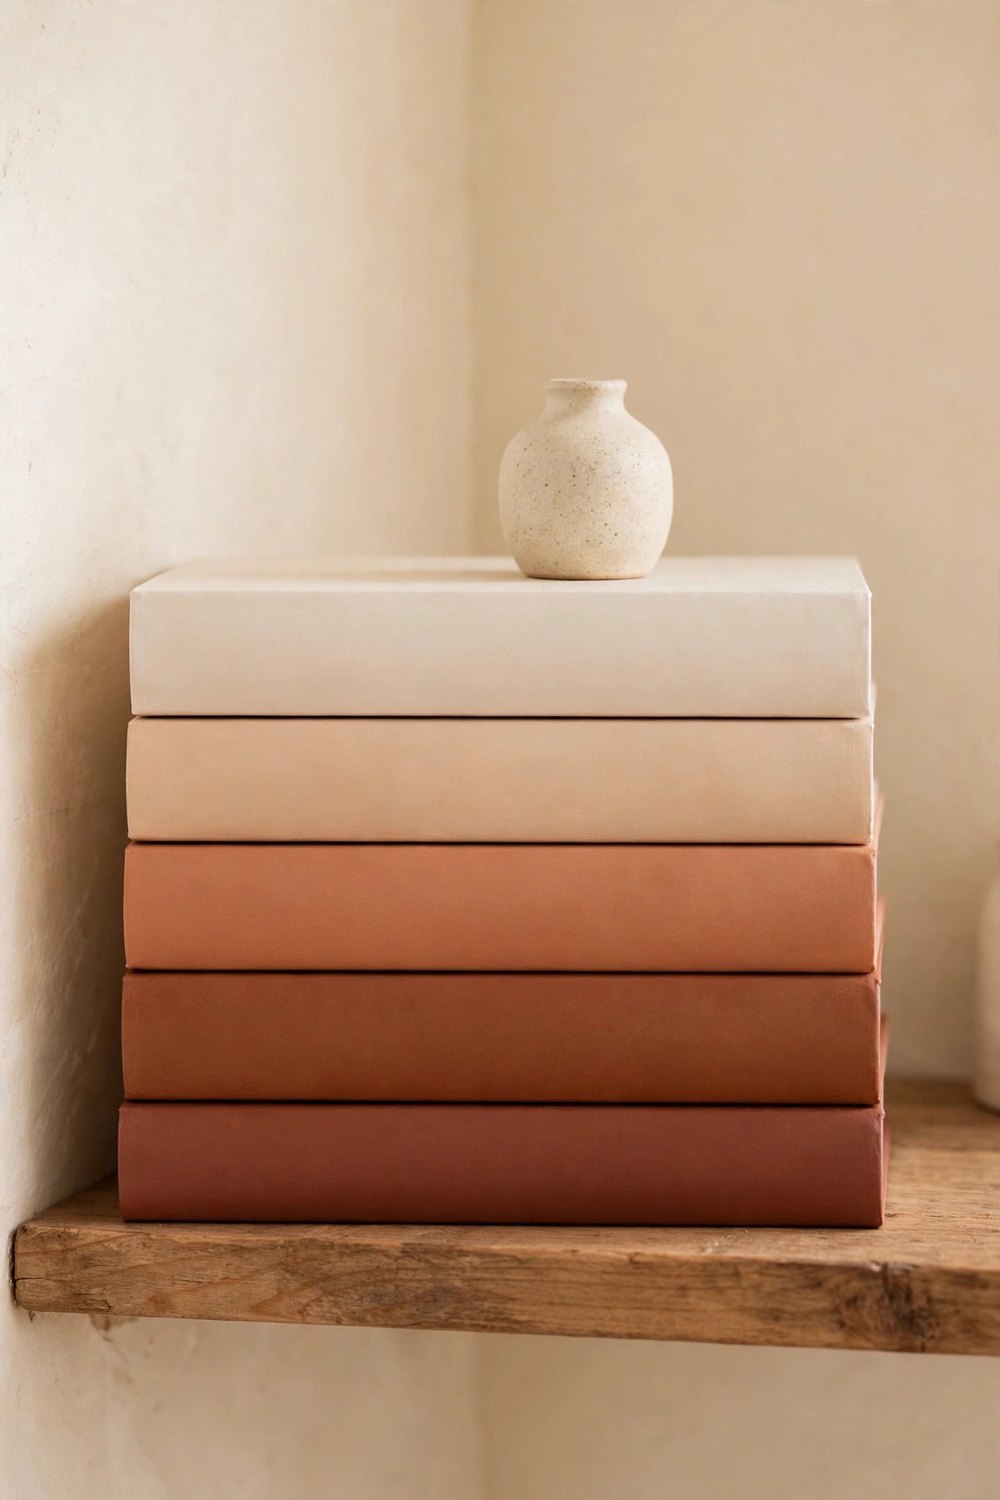
If one flat color feels too plain, let the stack fade. Paint the bottom book in the deepest shade — a muted clay, dusty blue, or sage — and lighten each book above it by mixing in a little more white, so the stack melts gently from dark at the base to almost-white at the top. Keep the books in strict size order, largest at the bottom, so the gradient reads as one smooth piece rather than separate books. An ombre stack is a lovely way to test a paint color in a room before committing to a whole wall or piece of furniture.
4. Use a Book Stack as a Plant Stand
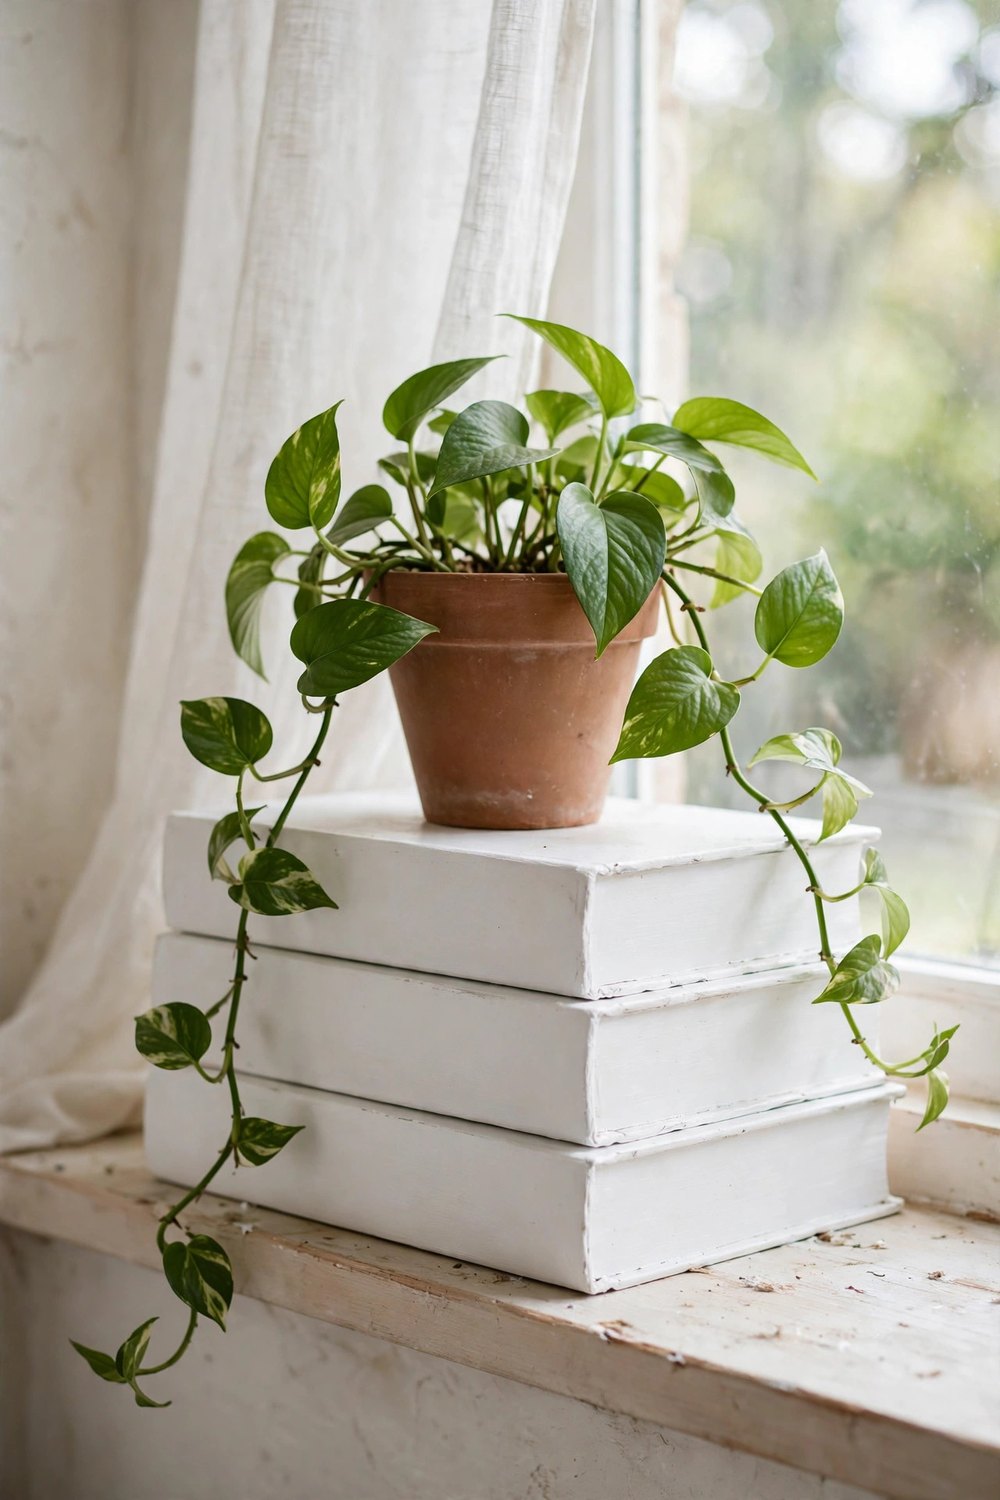
Plants look best at different heights, and a painted book stack is the prettiest riser you can make for free. Stack two or three books on a windowsill, shelf, or plant stand grouping and set a trailing pothos or a small fern on top, letting the leaves spill over the painted spines. Paint the books in a tone that suits the pot — white books under a terracotta pot is a combination that never fails. Seal the top book with a matte clear coat if you water often, and the stack will shrug off the occasional drip.
5. Tie a Book Stack with Twine and a Dried Sprig
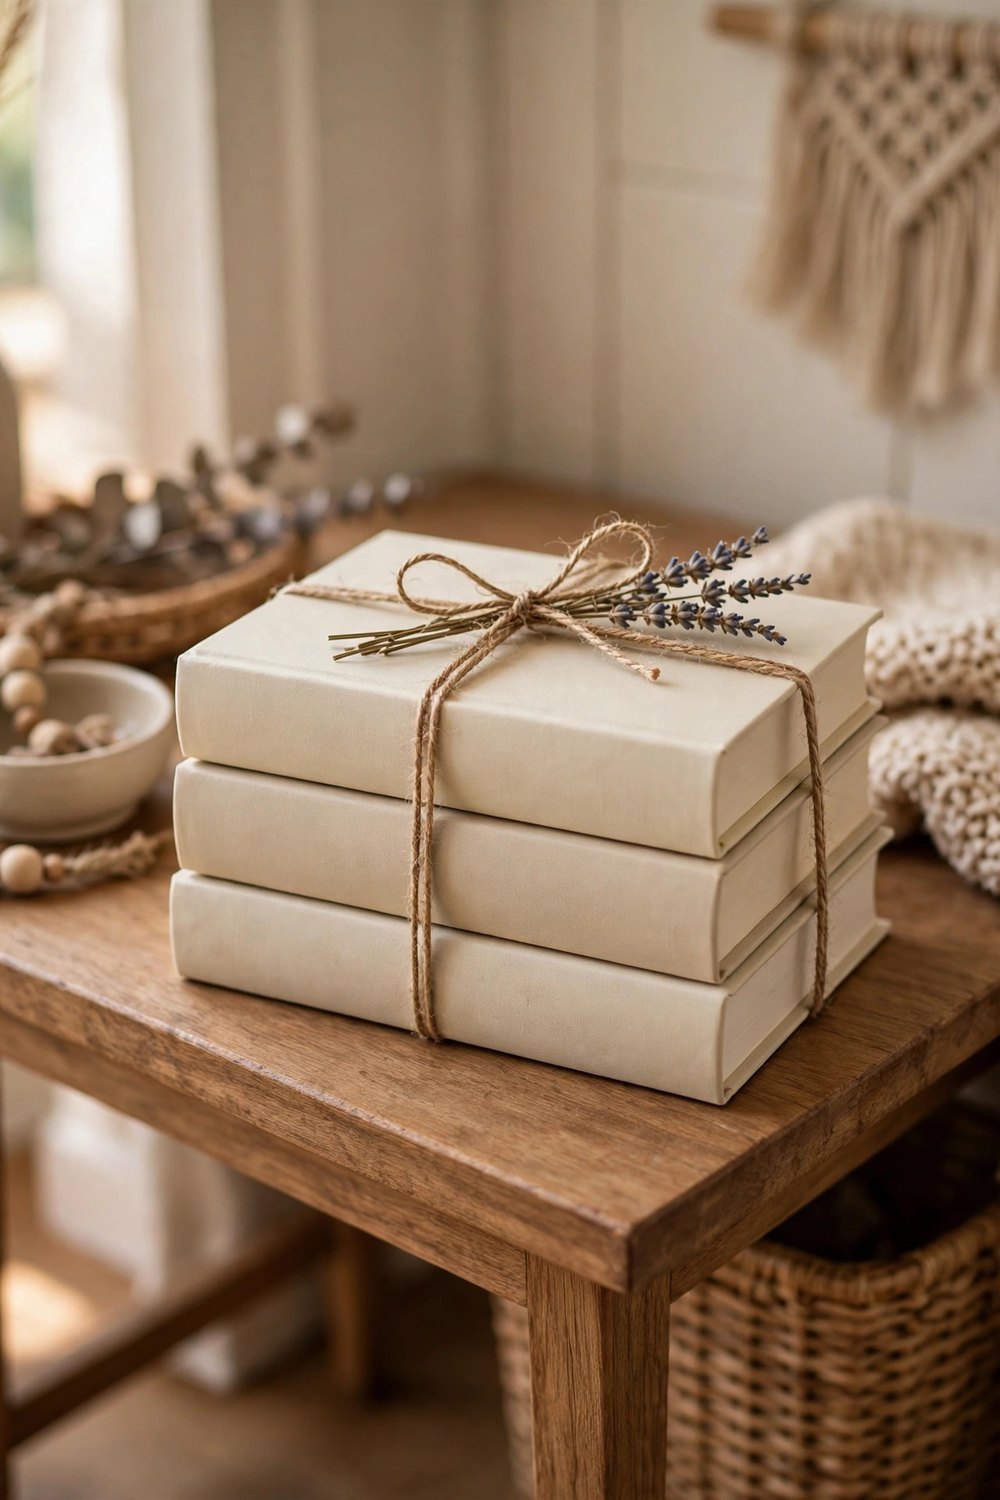
The gift-wrap finish turns a plain stack into a styled vignette in about two minutes. Paint three books in soft neutrals, stack them neatly, and wrap the whole bundle twice with natural jute twine, tying it in a simple bow or a flat knot on top. Tuck a sprig of dried lavender, eucalyptus, or a small wheat stem under the twine and the stack suddenly looks like something from a boutique shelf. This is the version to make for entryway consoles and guest-room nightstands, where one small, finished-looking piece does all the work.
6. Hollow Out a Book Stack for Hidden Storage
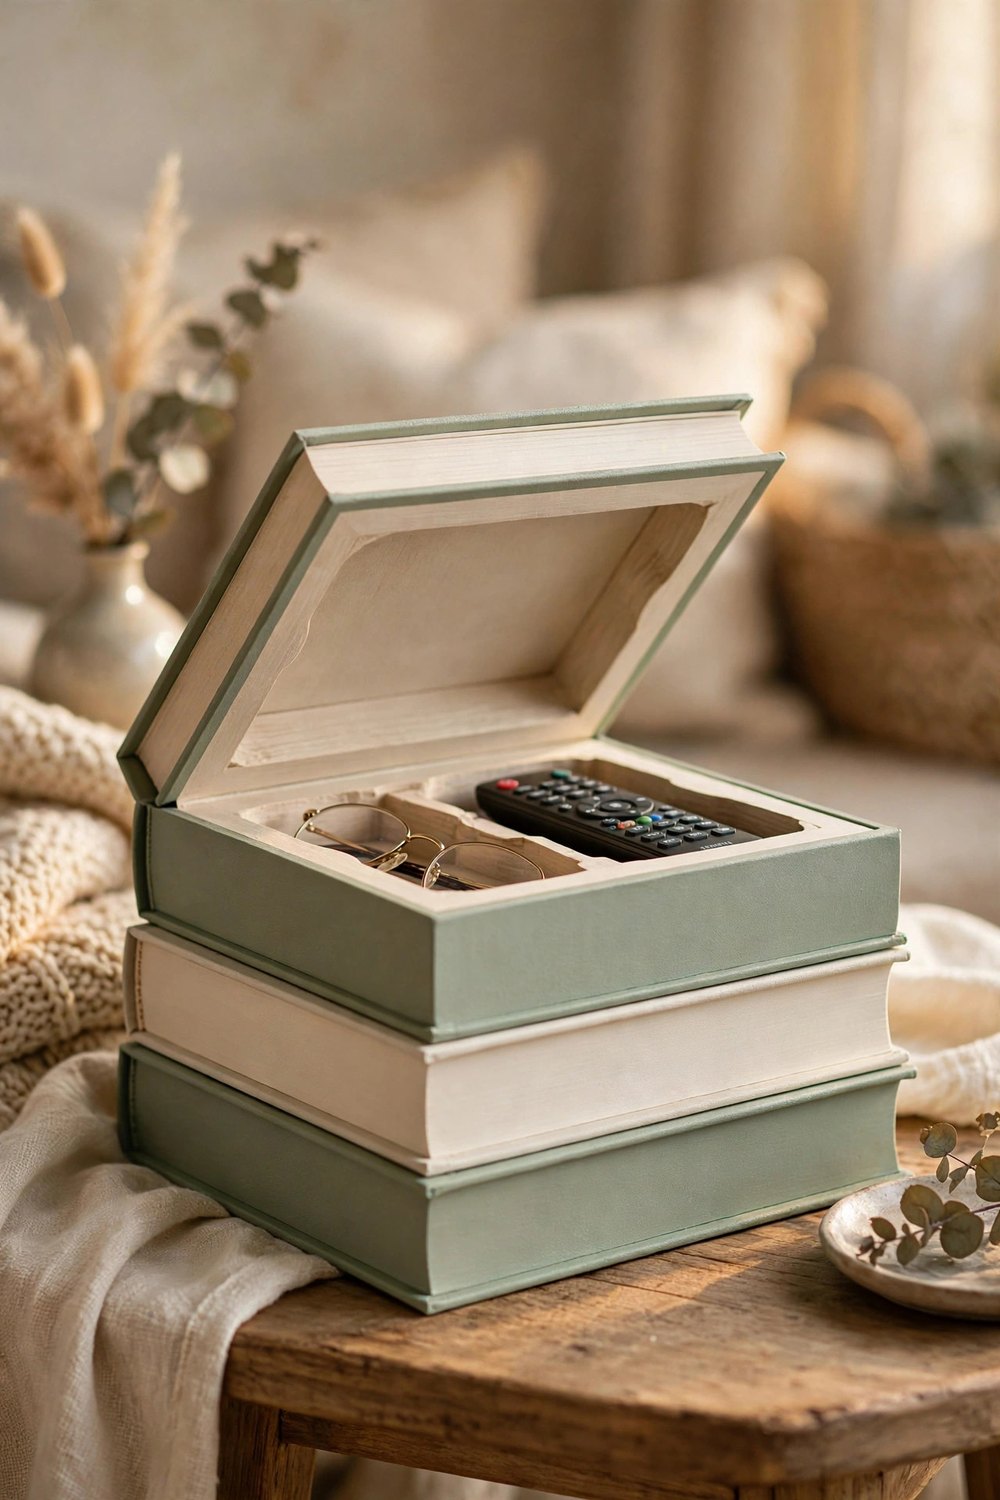
A painted stack can keep secrets. Glue three or four books together, then carefully cut a rectangular well into the pages of the middle books with a craft knife, working a few pages at a time, and line the inside with a scrap of fabric or pretty paper. Paint the outside as one calm unit and nobody will ever guess the stack opens — or lifts apart — to hide remotes, chargers, reading glasses, or the good chocolate. Keep the well modest and the books genuinely unwanted, and it becomes the most satisfying storage in the room.
7. Rest a Lamp on a Painted Book Stack Riser
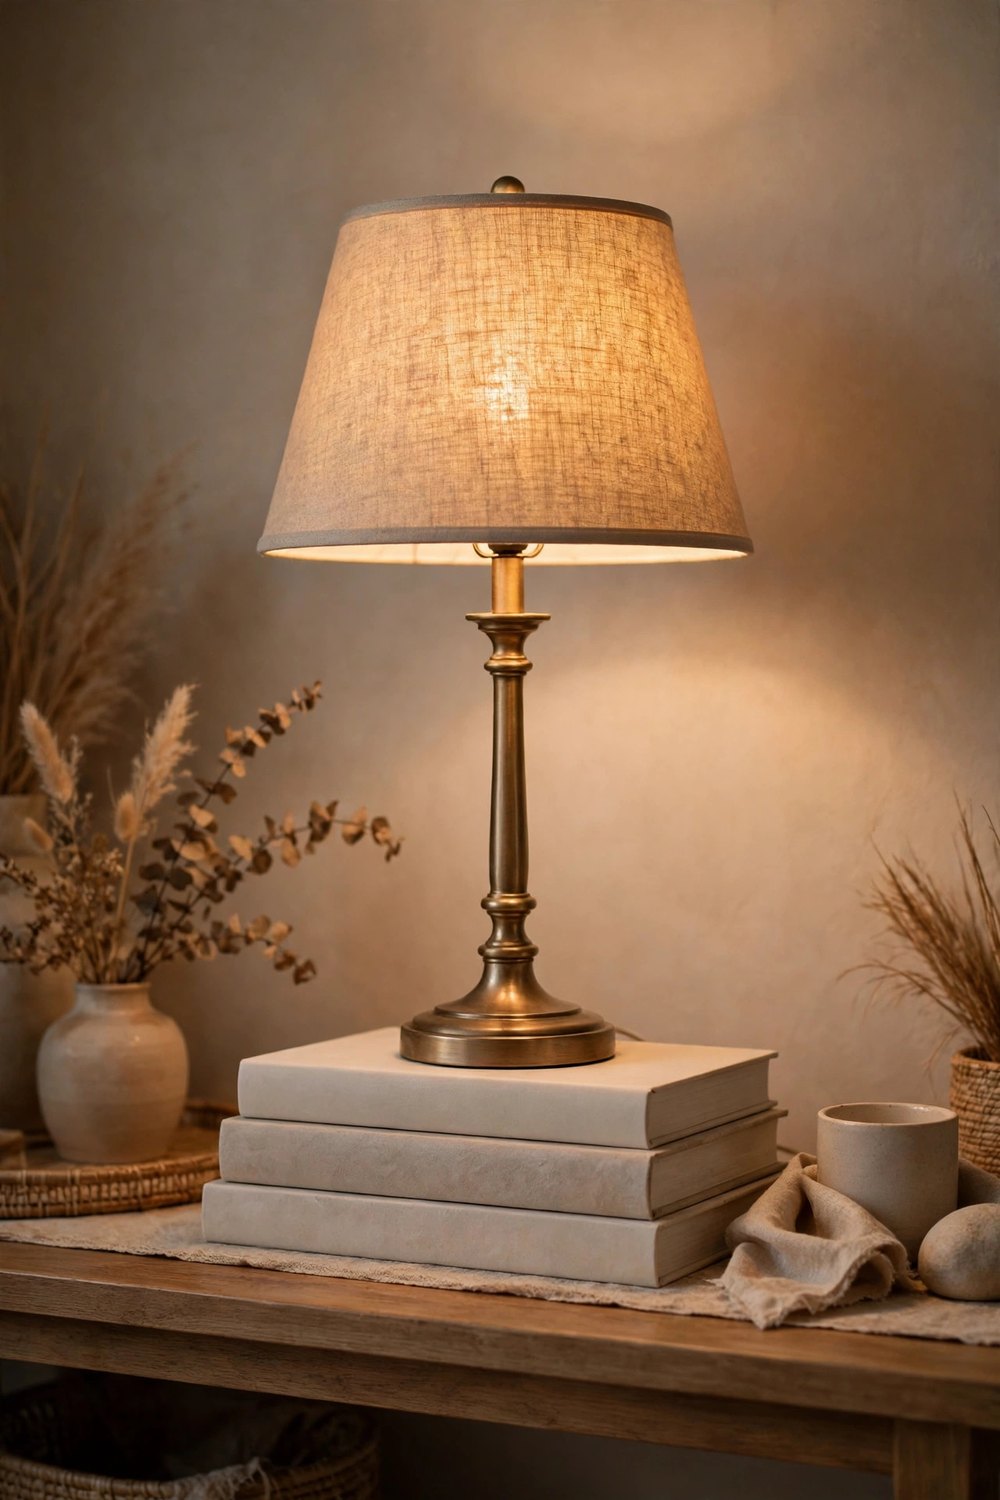
Lamps are often just a little too short for the spot they sit in, and a book stack is the classic fix. Slide two or three painted books under a table lamp on a console, desk, or nightstand to lift the shade to a better height and give the lamp a staged, layered base. Match the book colors to the lamp base or the wall behind it so the stack reads as part of the furniture rather than a prop. The extra few inches make a surprising difference to both the light and the look of the whole arrangement.
8. Paint Seasonal Book Stacks for Fall and Christmas

One stack per season keeps a shelf feeling current all year. Paint a set in warm rust, cream, and muted pumpkin for fall and top it with a tiny pumpkin or a pinecone; paint another in deep green, cream, and a touch of cranberry for Christmas and finish it with a sprig of faux berries or a small brass bell. Because the books are thrifted and the paint is cheap, a seasonal stack costs almost nothing and stores flat on a shelf between its moments. It is the fastest seasonal refresh there is — swap the stack, and the whole shelf changes mood.
9. Style a Book Stack Vignette on the Coffee Table
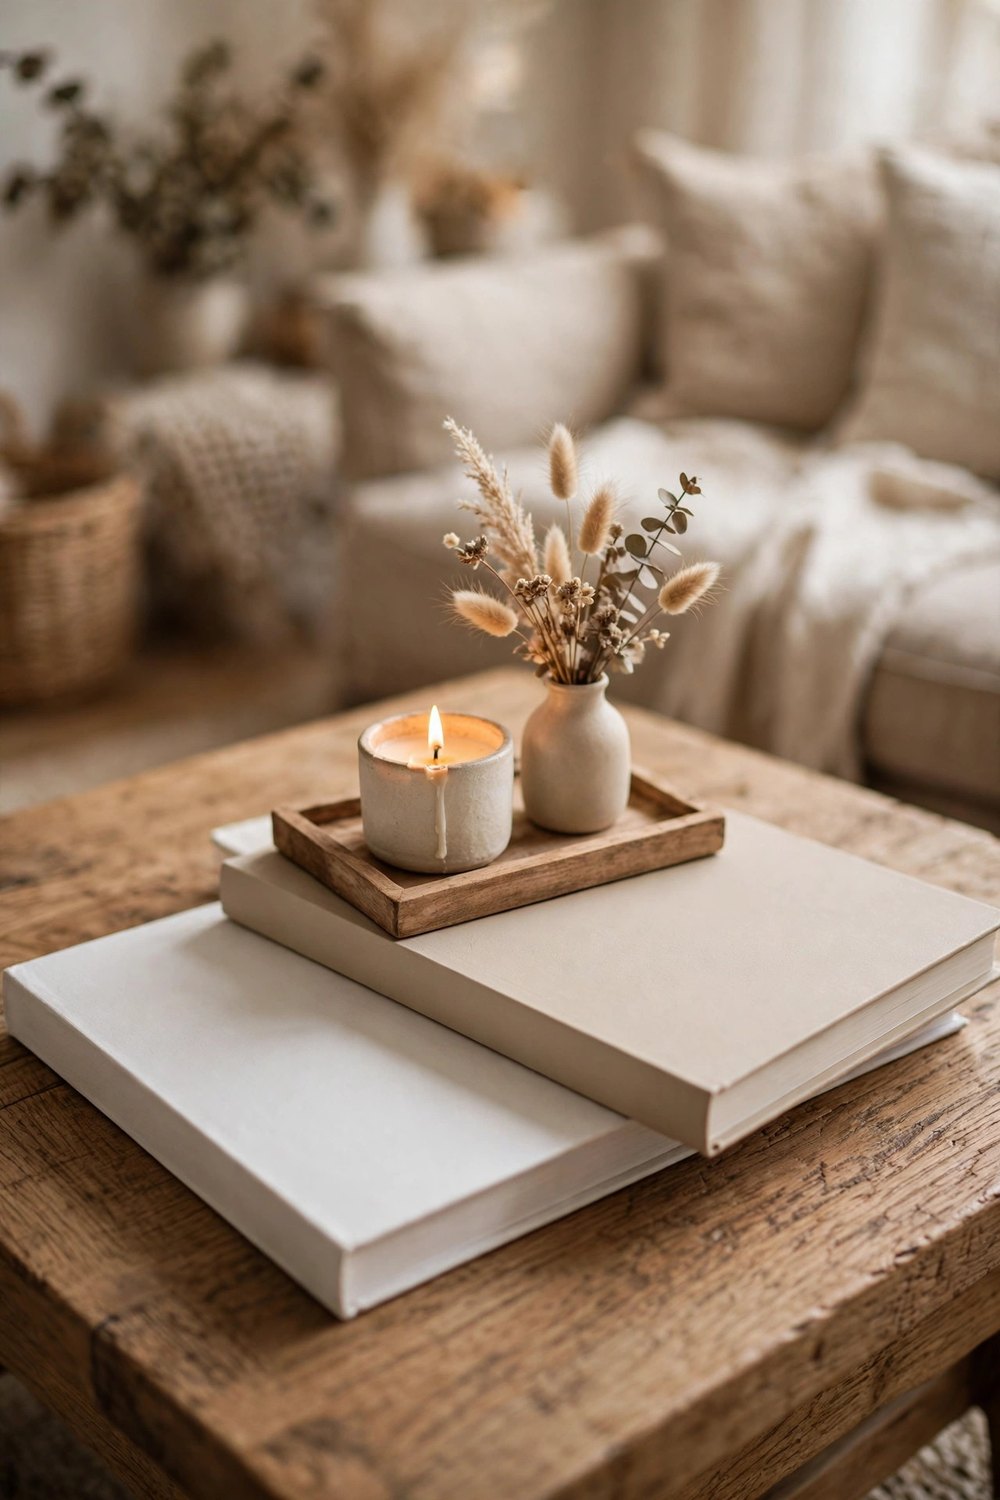
Every coffee table needs one anchor, and a painted book stack with beautiful things on top is the anchor stylists reach for first. Lay two or three large painted books flat in the center or at one end of the table, slightly rotated against each other, then build upward: a small tray or bowl, a candle, a tiny vase with fresh or dried stems. The painted covers keep the palette calm underneath whatever you place on top, and the stack lifts everything to a height that looks arranged rather than dropped. Restyle the top layer whenever the season or your mood changes; the books stay.
10. Turn a Tall Book Stack into a Doorstop with Personality
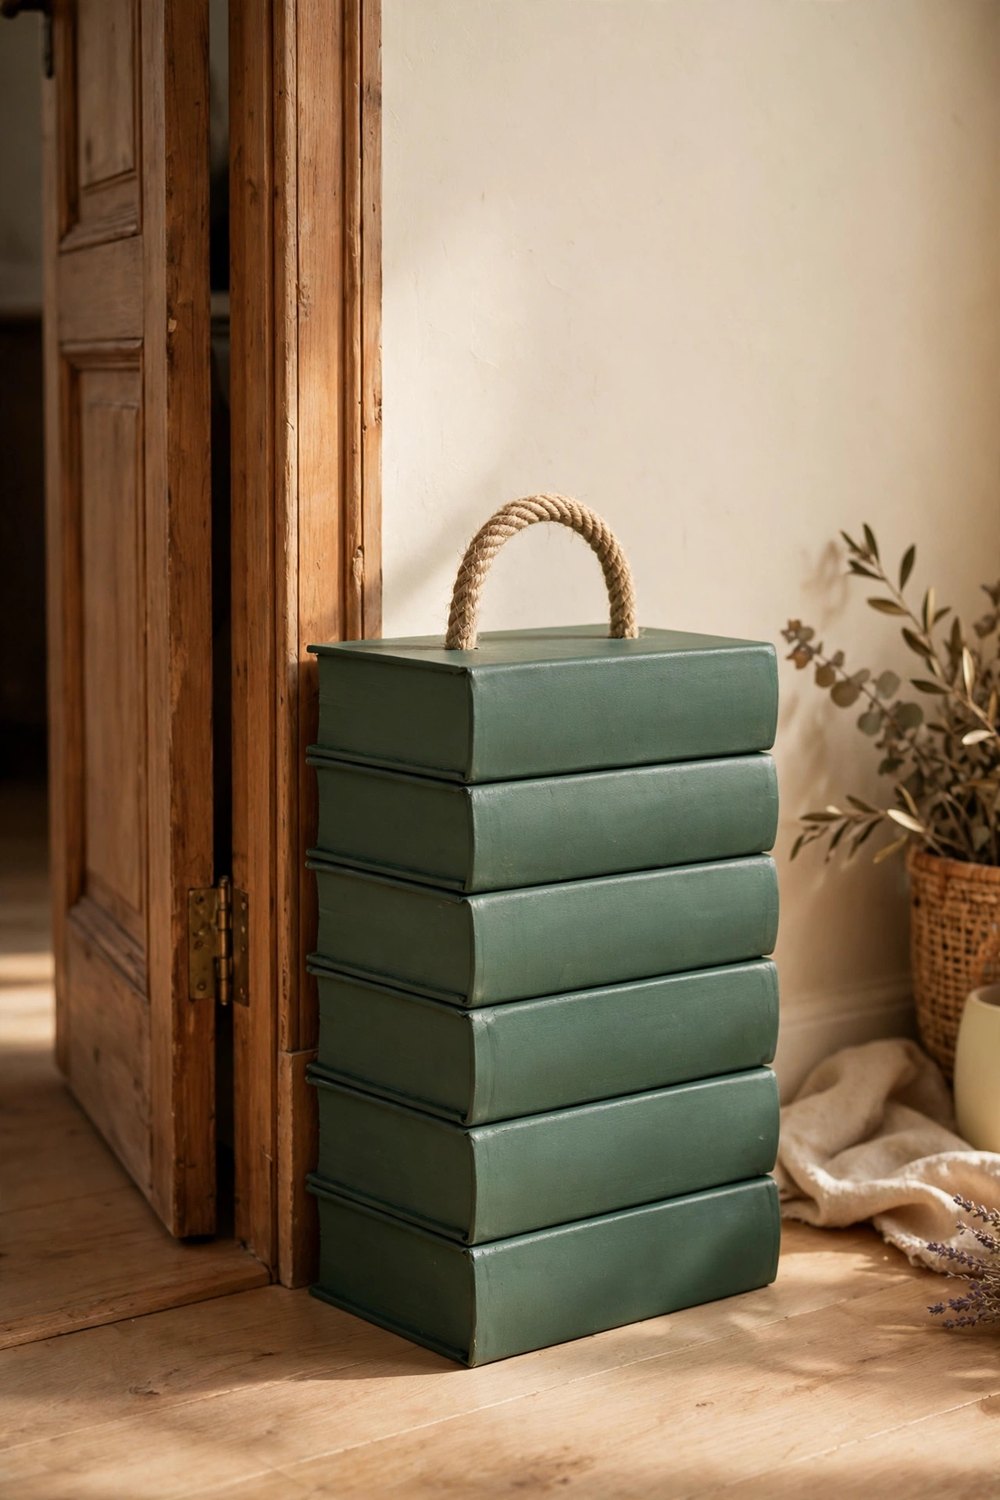
A heavy stack of books, painted and glued into one solid unit, makes a doorstop with far more charm than a rubber wedge. Use five or six dense hardcovers, glue the covers together as you stack, paint the whole thing in a color that suits the room, and add a loop of thick rope or a leather strap on top as a handle for moving it. The weight of real books holds even a determined door, and the painted finish turns a purely practical object into a small piece of decor standing guard at the doorway. Felt pads underneath keep it kind to floors.
A painted book stack is the kind of project that asks for almost nothing — a few forgotten hardcovers, leftover paint, one quiet afternoon — and pays you back in every room of the house. Start with one neutral stack for the shelf that never looks finished, and let the table stacks, plant risers, and seasonal sets follow as the thrift stores provide. Save this list to your Pinterest board so it is handy before your next craft afternoon — and follow DecorNesti for a new cozy project list every week.


Leave a Reply