
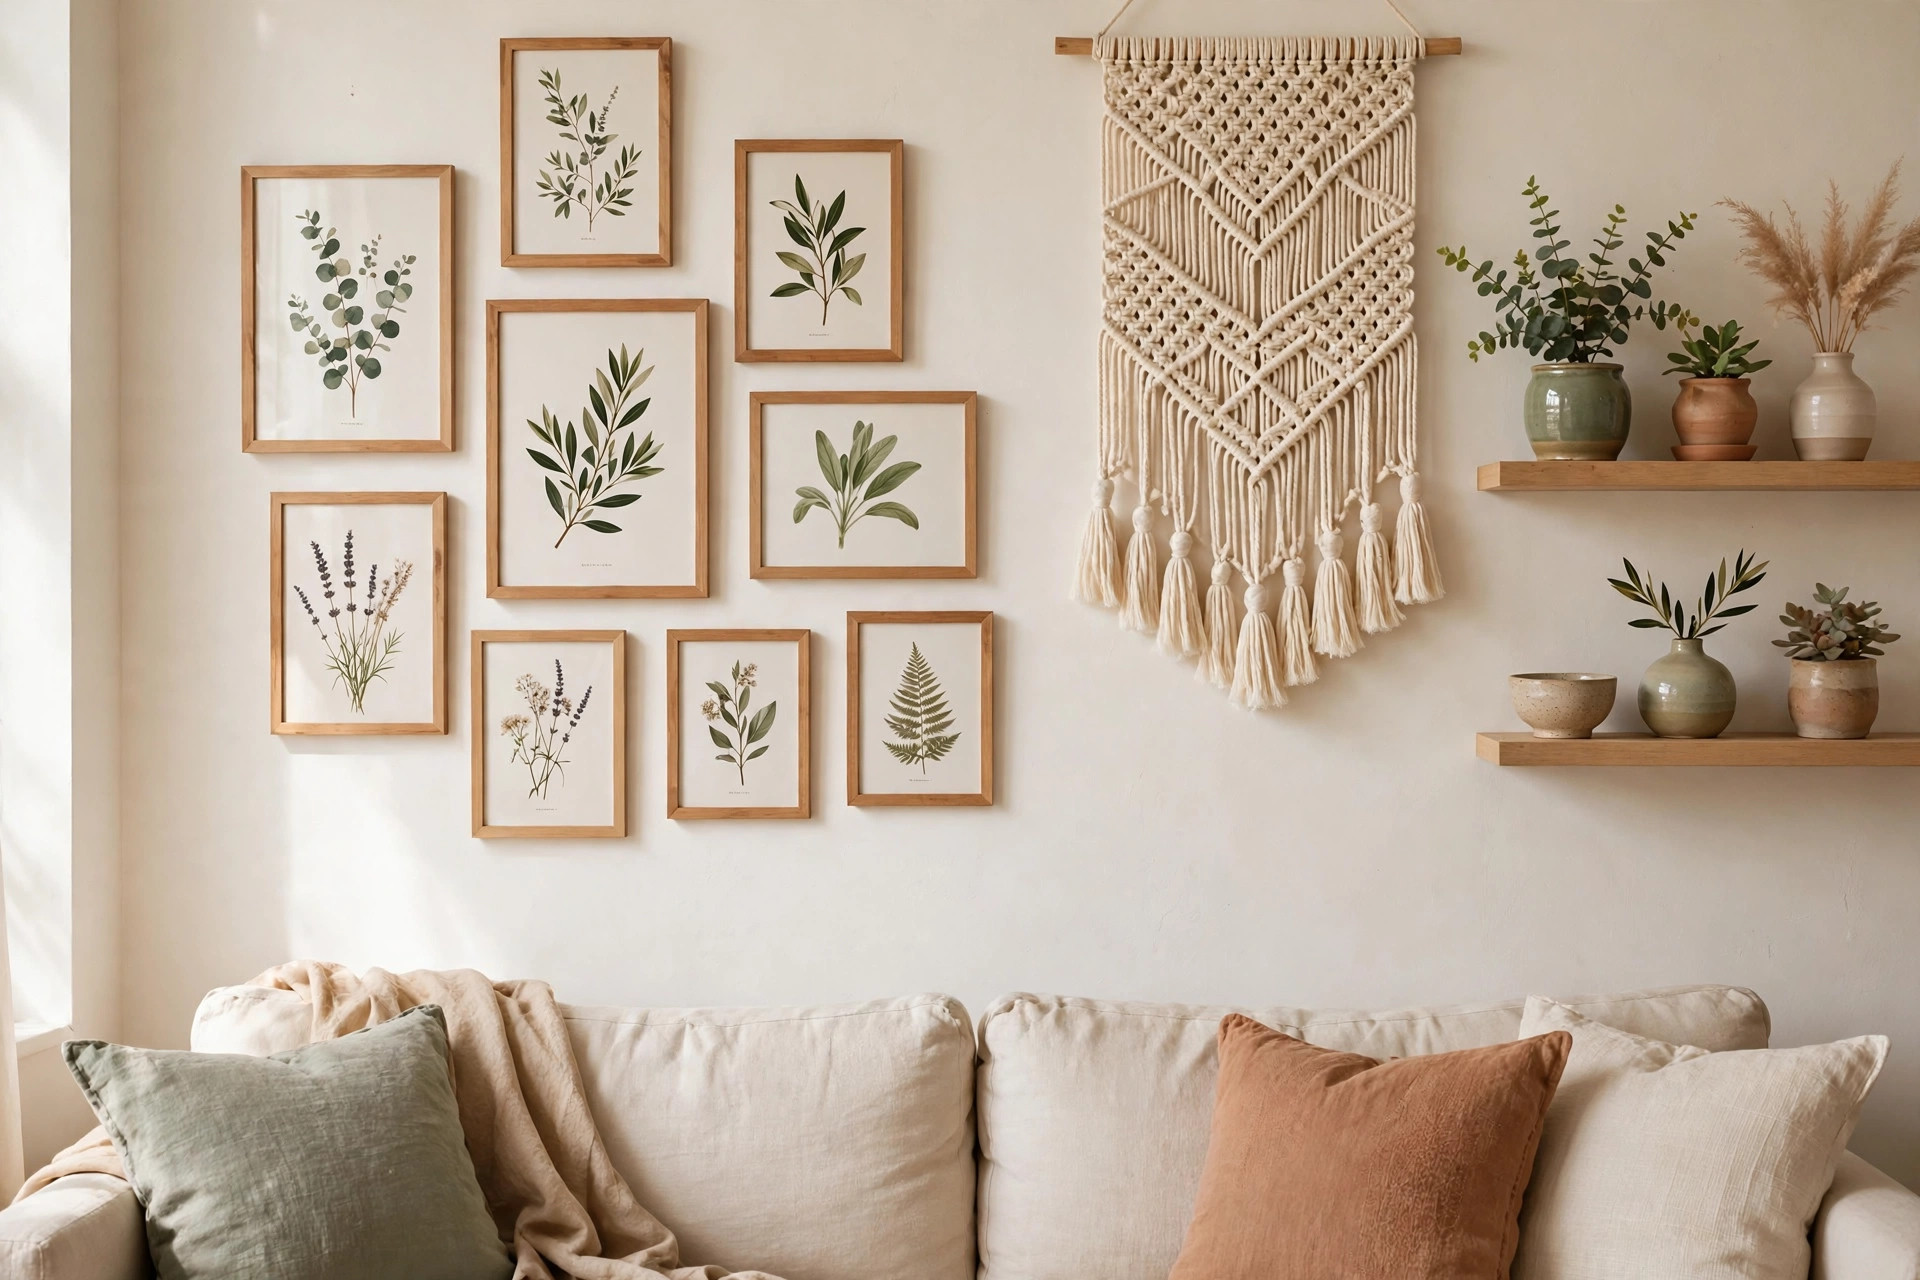
Bare walls have a way of making even a lovely room feel unfinished, don’t they? The furniture can be perfect, the rug can be just right, and still the space feels like it is waiting for something. The good news is that the missing layer is usually the easiest one to add yourself.
You do not need power tools, a big budget or a free week. Most of these DIY wall decor ideas use paper, frames, fabric, wood and paint, and each one can realistically be finished between Saturday morning and Sunday evening. A few honestly take less than an hour once your supplies are gathered.
Below are 20 ideas grouped by material, starting with simple paper and frame projects, moving into textiles and natural pieces, and ending with paint, which is where the biggest transformations usually hide. Pick one wall, pick one project, and let the rest of the room catch up later.
Paper, Print and Frame Projects
Paper is the friendliest place to start because mistakes cost almost nothing and nothing is permanent. If you can use scissors and a level, you can do every project in this section.
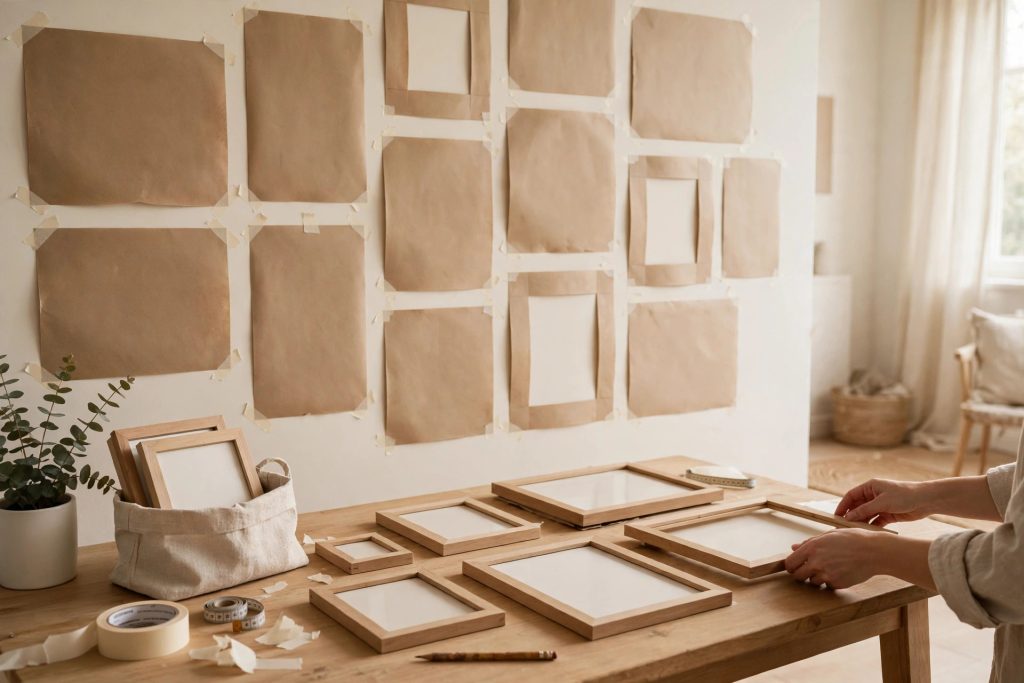
Build a gallery wall with paper templates first. Trace each frame onto kraft paper or newspaper and tape the templates to the wall with painter’s tape, then live with the layout for a few hours before drilling anything. Adjust until the spacing feels even, with gaps of roughly two to three inches between frames. Mark each nail spot through the paper, remove the templates, and hang with confidence.
Frame wrapping paper or gift wrap as instant art. A beautiful sheet of wrapping paper, the kind with botanical prints or soft block patterns, looks surprisingly expensive behind glass. Cut it to size with a craft knife, smooth it flat inside the frame, and hang two or three in a row for a collected feel. It is typically the cheapest large scale art you will ever own.
Make a set of simple line drawings. You do not need to be an artist for this one, because single line faces, leaves and arches are forgiving by nature. Practice on scrap paper with a fine black marker, keep the lines loose, and frame your favorites on plain white card. A set of three small ones usually looks calmer than one big attempt.
Press leaves and flowers between glass frames. Gather leaves or flat flowers, press them inside a heavy book between sheets of parchment for a few days, then arrange them in a glass floating frame. Ferns and eucalyptus style leaves tend to keep their shape and color best. Group several frames together and the wall starts to feel like a quiet little botanical study.
Create a washi tape frame gallery. If you are renting or simply not ready to commit, washi tape frames are your friend. Print or cut out your favorite photos and postcards, then tape a neat border directly around each one on the wall. The tape usually peels away cleanly later, and the slightly handmade edges are part of the charm.
Turn calendar pages into a matching art set. A pretty calendar you loved too much to throw away can become a whole coordinated gallery, since the images already share a style and palette. Trim the pages to the same size, use identical frames, and hang them in a tidy grid. Grids are forgiving because the straight lines do most of the design work for you.
Frame fabric scraps and leftover wallpaper. That small piece of linen, block print cotton or wallpaper you could not bear to bin deserves a second life. Stretch it smooth over the backing board of a frame and secure the edges with tape. Textile art adds softness that paper prints cannot, and it usually photographs beautifully too.
Textile and Natural Material Projects
Walls full of flat frames can start to feel a little one note, which is where texture comes in. Woven pieces, wood and branches add depth and shadow, and they soften a room in a way prints simply cannot.
Woven and macrame
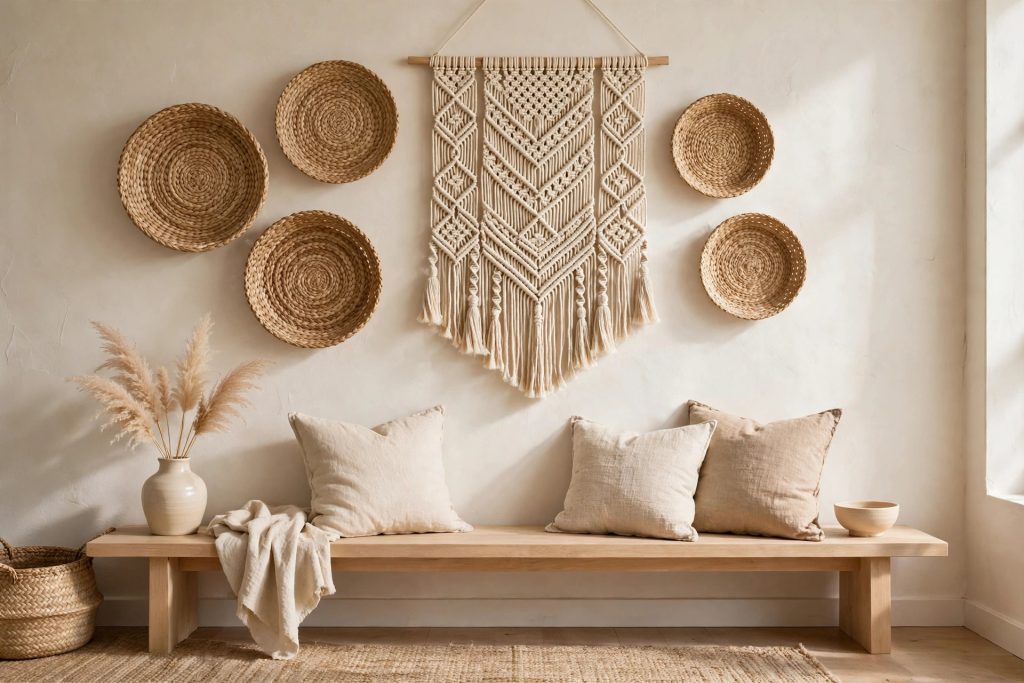
Knot a simple macrame wall hanging. A beginner hanging needs only cotton cord, a wooden dowel and a handful of basic knots, usually square knots and simple twists. Cut your cords longer than you think, because knots eat length fast. There are plenty of slow, friendly tutorials to follow along with, and small imperfections honestly make it look handmade rather than wrong.
Hang a cluster of woven baskets. Flat woven baskets in mixed sizes make a warm, sculptural arrangement above a sofa or bench. Lay the layout out on the floor first, take a photo of it, then hang from the largest basket outward. Most baskets hang happily on a single small nail through the weave, so this is typically a thirty minute project.
Weave a small wall tapestry on a cardboard loom. Cut notches along the top and bottom of a sturdy piece of cardboard, string it with cotton thread, and weave yarn through in stripes or simple blocks. Chunky yarn works up fast and hides uneven tension, which beginners tend to have. Leave the bottom yarn ends loose as a fringe and hang the finished piece from a thin branch or dowel.
Stretch embroidery hoops with pretty fabric. Wooden embroidery hoops plus fabric offcuts make the easiest wall decor on this whole list. Place the fabric in the hoop, tighten the screw, trim the excess at the back, and hang hoops in a loose cluster of different sizes. Linen, ticking stripe and soft checks all sit happily together if the colors stay in one calm family.
Wood and branches
Make floating shelves from simple wood planks. Two or three sanded planks on basic brackets give you a changing display ledge for plants, frames and ceramics. Sand the edges well and finish with a clear matte coat or a light wax so the wood keeps its natural feel. Keep the styling loose and leave some breathing room, because shelves usually look best when they are not packed tight.
Create a branch hanging rail for textiles. Find a straight, fallen branch, clean it, let it dry fully, and hang it from two cords tied to small ceiling hooks or wall hooks. Drape a woven throw, a macrame piece or a few scarves over it and the wall gains a soft, layered focal point. It is a lovely trick above a bench or in a reading corner.
Build a simple wood slat accent panel. Thin wood strips fixed vertically over one small section of wall add rhythm and warmth without a full renovation. Paint the wall behind in the same tone as the room first, then space the slats evenly using a spare strip as your measuring guide. Start with a narrow area, like the wall behind a console, until you see how much you enjoy the look.
Paint Based Wall Projects
Paint is where a weekend project can genuinely change how a room feels. You do not have to repaint everything, because one wall, one shape or one soft band of color usually does the job.
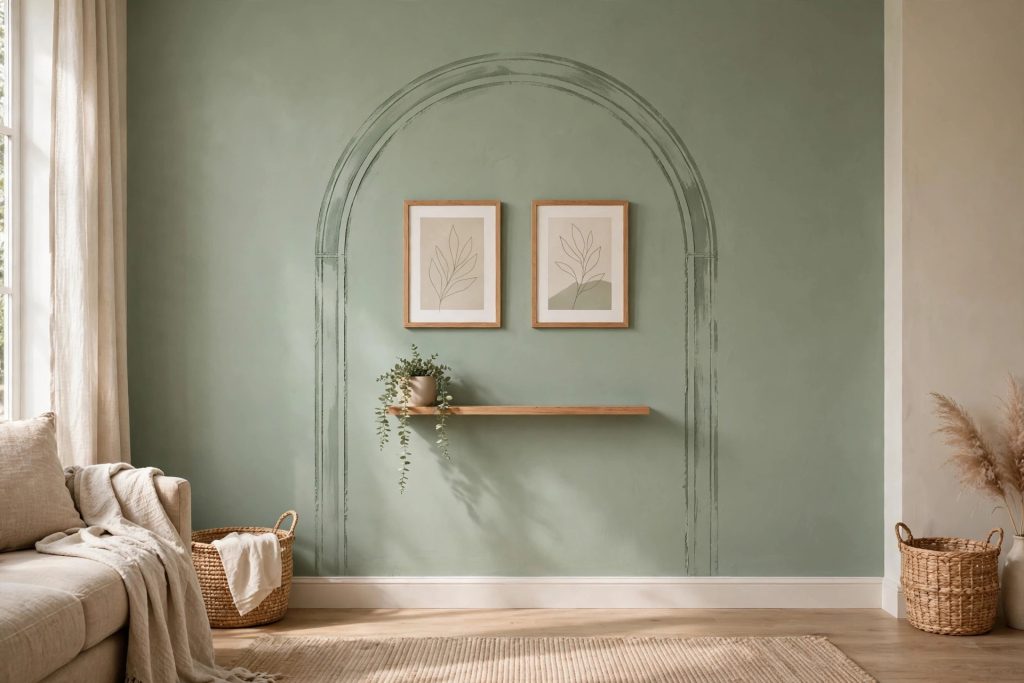
Paint a soft arch behind a shelf or chair. An arch of color behind a reading chair, a plant shelf or a desk creates a focal point out of thin air. Draw the shape lightly in pencil using a string and a pin as a compass for the curve, then edge carefully with a small brush before filling in. Sage, clay and warm sand tones tend to feel calm rather than loud.
Try a two tone wall with a level line. Painting the lower third of a wall in a deeper shade, with warm white above, gives you the coziness of color without darkening the whole room. Mark the line with a level and painter’s tape, and paint the tape edge with the top color first to seal it, which usually prevents bleed. The line lands nicely behind sofas and headboards.
Stencil a subtle pattern over a plain wall. A large stencil and a slightly deeper shade of your wall color create pattern that whispers instead of shouting. Use a stencil brush with most of the paint wiped off, because dry brushing is what keeps the edges crisp. Work in a loose grid and do not stress about tiny variations, since they usually disappear once furniture is back in place.
Paint your frames to tie a gallery together. Mismatched thrifted frames look instantly more intentional when they share one color. Give them a light sand, wipe them clean, and paint them all in the same warm white, soft black or clay tone. This tiny project typically makes a gallery wall look planned rather than collected by accident.
Add a painted border or picture rail line. A slim painted band running around a room at picture height, or a simple rectangle outlined behind a gallery, adds architecture to plain walls. Measure carefully, tape both edges, and keep the color only one or two shades deeper than the wall. It is a quiet detail, but guests tend to notice the room feels more finished without knowing why.
Refresh one wall in a warm neutral. Sometimes the bravest project is also the simplest, one wall repainted in a warm white, soft greige or pale sage while the rest stay as they are. Test a generous patch first and watch it through a full day of light, because colors shift more than most of us expect. One calm wall gives old decor a new backdrop and often makes everything you own look a little better.
Your walls do not need to be filled all at once, and honestly they look better when they are not. Start with the project that made you pause while reading, gather the supplies on Saturday morning, and let yourself enjoy the making as much as the result. One handmade wall has a way of making the whole home feel more yours.

Leave a Reply