
Fall is the season that begs to be made by hand — the colors are forgiving, the materials are practically free, and half the supplies are already waiting in your craft drawer, your yard, or the dollar store down the road. A few painted pumpkins, a garland of real leaves, a basket of pinecones by the fire: none of it takes a weekend, and all of it makes a home feel gathered-in rather than decorated from a shelf. These ten ideas are beginner-friendly, budget-kind, and easy to store when the season turns, so you can build your fall collection one small project at a time. Save your favorites, put the kettle on, and let the making be part of the cozy.
In This Article
- 1. Paint a Stack of Mini Pumpkins in Soft Cream Tones
- 2. Tie a Plaid Ribbon Wreath on a Grapevine Base
- 3. Dress Up Mason Jar Candles with Cinnamon Sticks
- 4. String a Garland of Real Dried Leaves for the Mantel
- 5. Stencil Autumn Leaves Down a Burlap Table Runner
- 6. Fill a Basket with Pinecone Fire Starters for the Hearth
- 7. Paint a Simple Fall Sign on Scrap Wood
- 8. Glue Acorns and Twigs Around a Plain Picture Frame
- 9. Turn an Old Sweater Sleeve into a Chunky Knit Pumpkin
- 10. Hang a Corn Husk Harvest Swag Over the Front Door
1. Paint a Stack of Mini Pumpkins in Soft Cream Tones
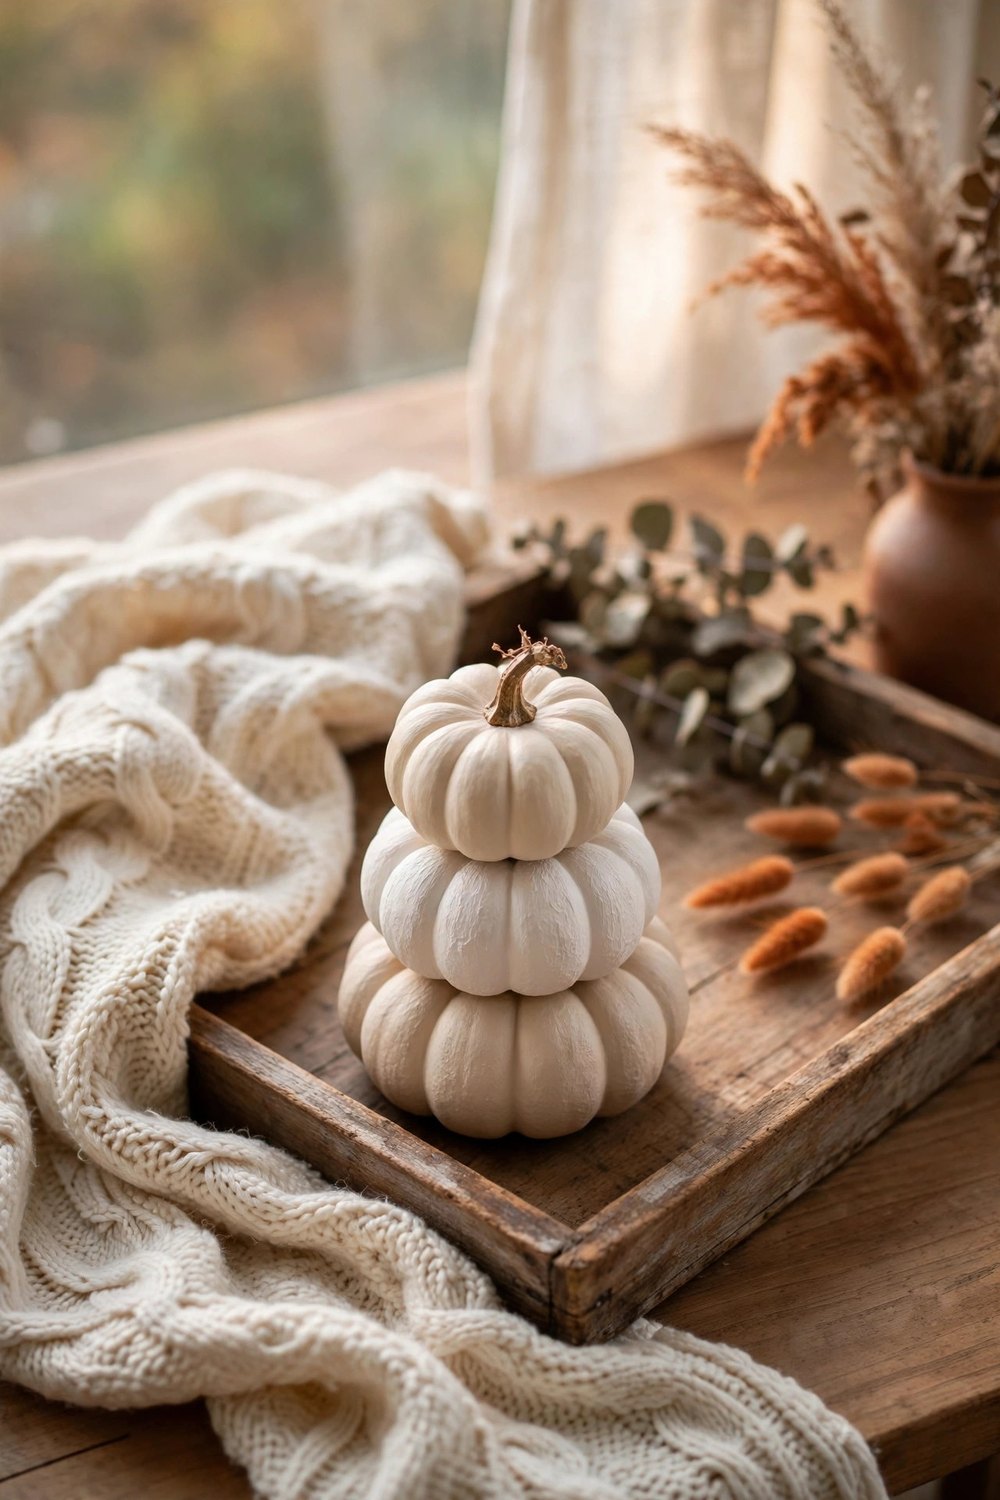
If bright orange is not your palette, paint is your best friend. Pick up a handful of mini pumpkins — real ones from the market or foam ones from the dollar store — and coat them in matte chalk paint in cream, warm white, pale beige, and the softest clay. Leave the natural stems unpainted or wrap them in a scrap of twine, then stack two or three on a tray, a cake stand, or inside a shallow bowl so they read as one styled piece. The neutral pumpkins suit calm rooms beautifully, last the whole season without wilting when they are foam, and cost less than a single store-bought arrangement.
2. Tie a Plaid Ribbon Wreath on a Grapevine Base
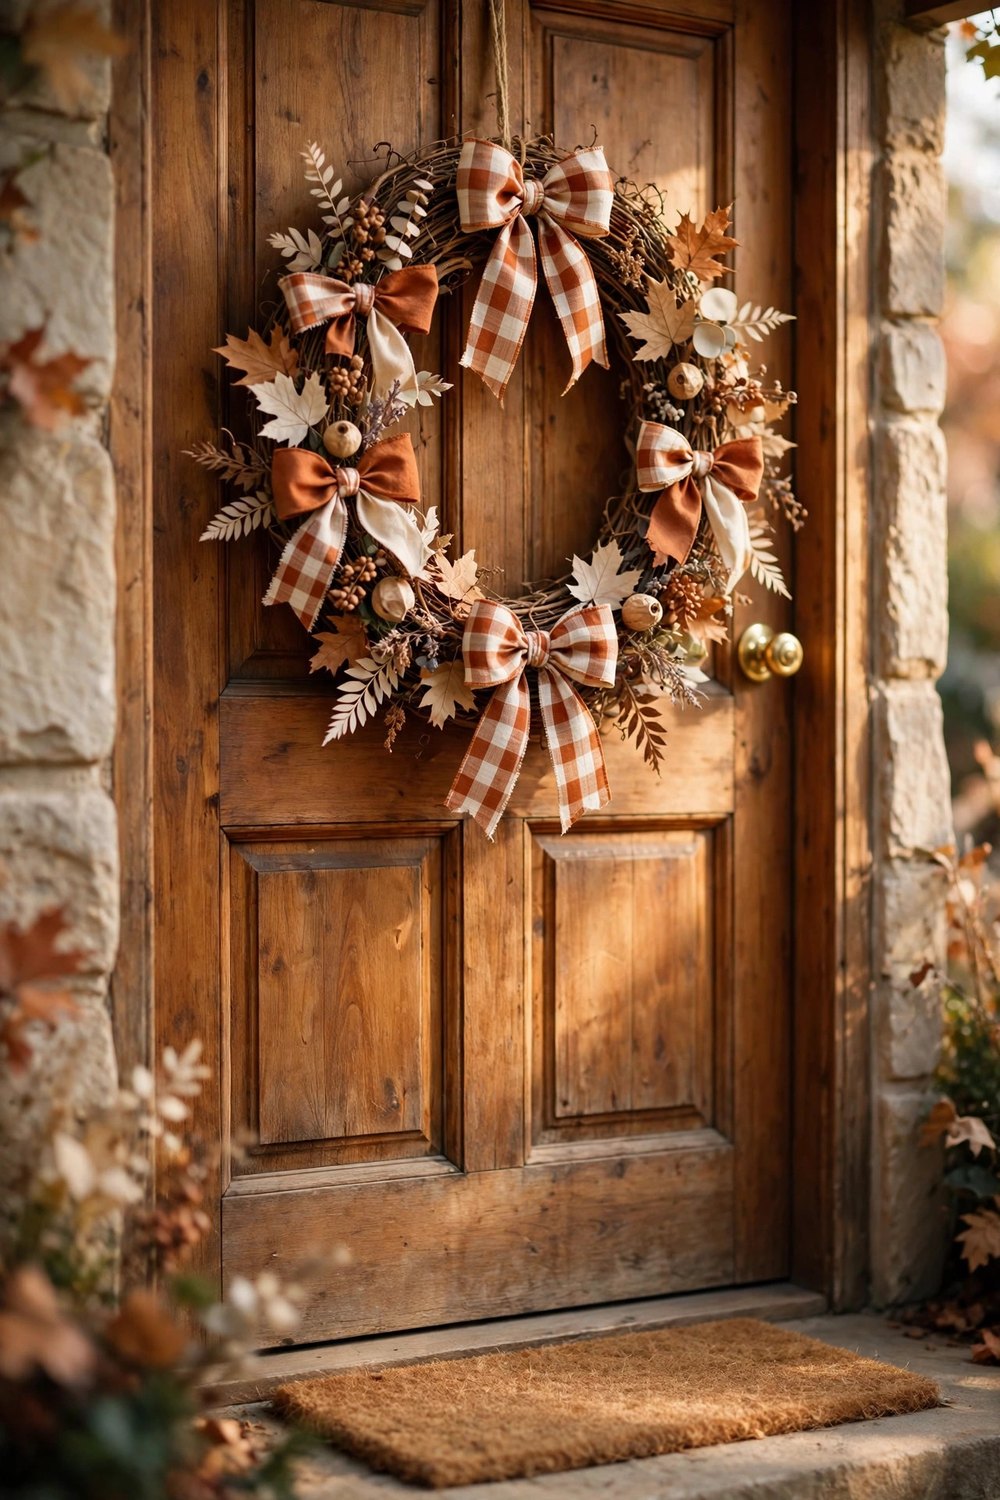
A grapevine wreath base costs a couple of dollars and does all the structural work for you — your only job is the dressing. Weave one wide plaid ribbon in rust, cream, and warm brown loosely through the vines, letting it loop and dip rather than wrapping it tight, then finish with one generous bow at the bottom or side. Tuck in a few dried leaves, a small pinecone, or a sprig of faux berries where the ribbon passes, and the wreath is done in under twenty minutes. Hang it on the front door, over the mantel, or on a kitchen window; it stores flat and comes back out every fall for years.
3. Dress Up Mason Jar Candles with Cinnamon Sticks
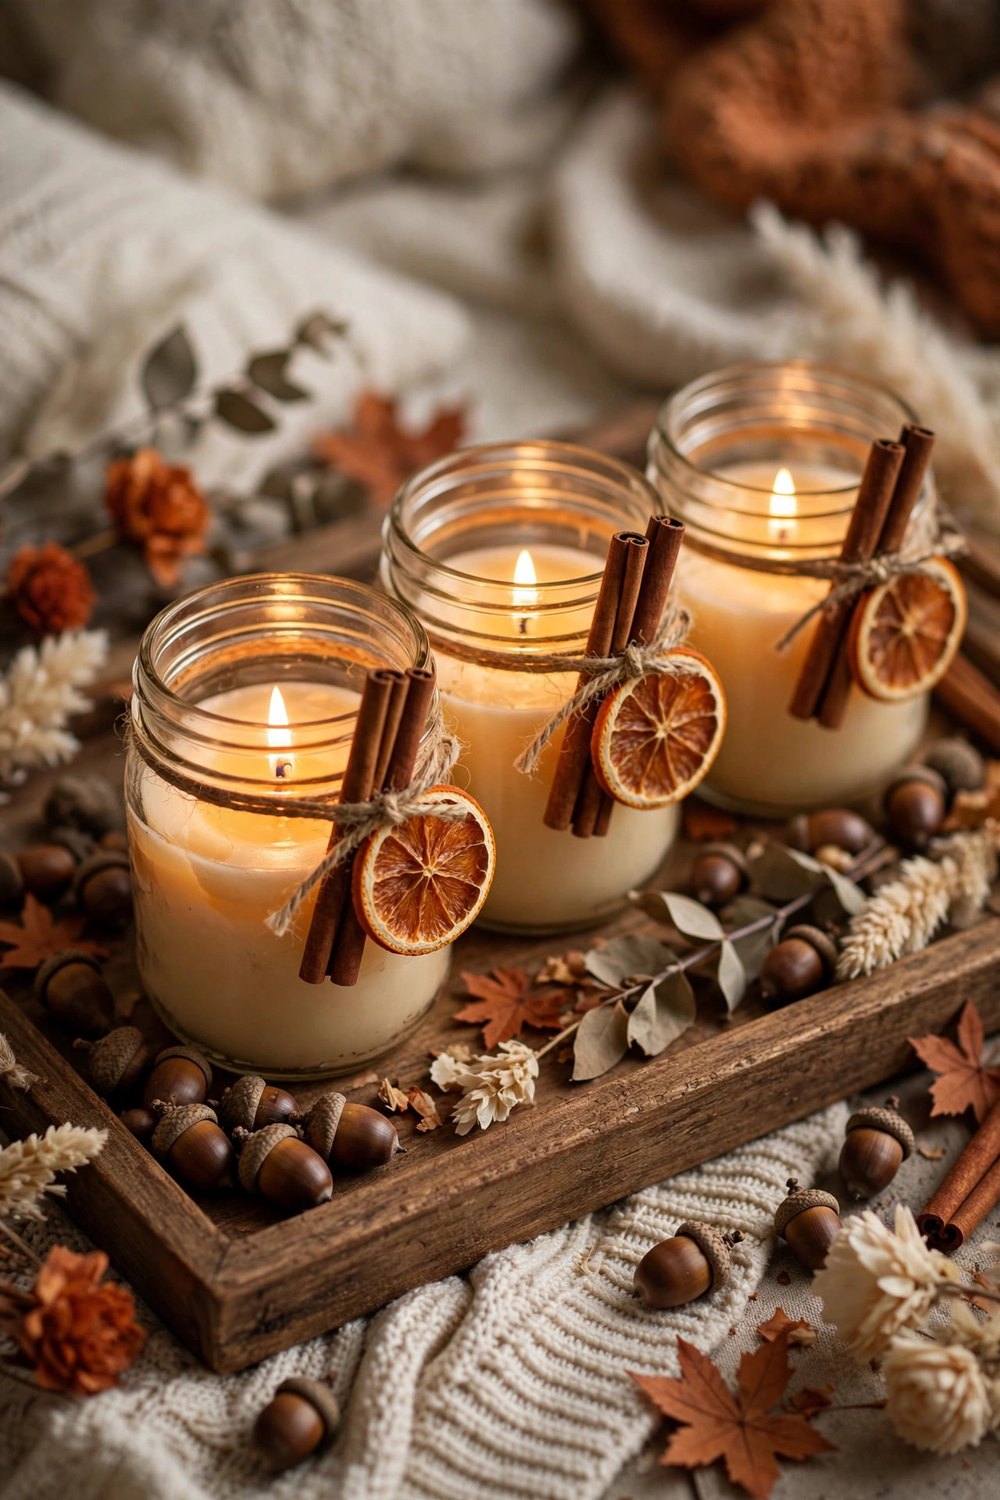
Three plain mason jars, three candles, and a bundle of cinnamon sticks become the warmest centerpiece on this list. Stand the cinnamon sticks upright around the outside of each jar and tie them in place with jute twine, or simply slip a few sticks and a dried orange slice inside beside a flameless candle if you prefer the glow without the fuss. Group the jars in a row of three on a wooden tray or down the middle of the table, and the scent does half the decorating before the candles are even lit. Everything here is a dollar-store or pantry supply, and the jars return to ordinary candle duty all winter.
4. String a Garland of Real Dried Leaves for the Mantel
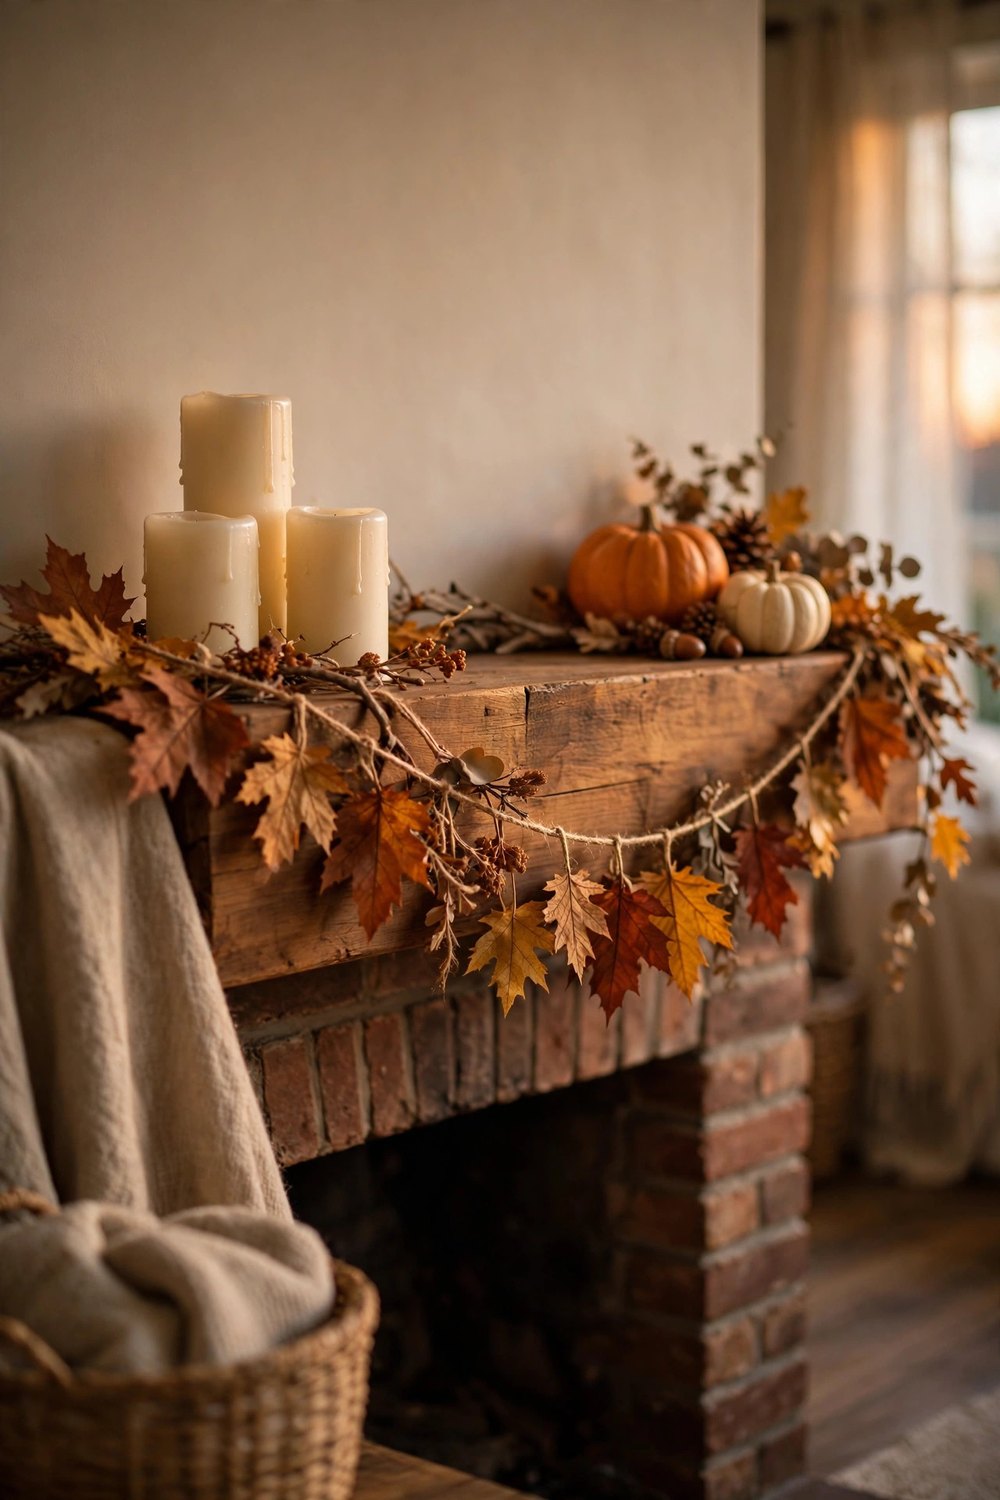
The prettiest fall garland costs nothing but a walk. Collect fallen leaves in rust, amber, and gold while they are still pliable, press them flat in a heavy book for a day or two, then thread a needle with twine and sew through each stem — or clip them on with tiny wooden pegs — spacing them a few inches apart. Drape the strand across the mantel, a shelf edge, or a window frame and let it fall in gentle swags. Real leaves are delicate, so make it fresh each year and enjoy the ritual; if you want one that lasts, the same method works with felt or paper leaves in the same tones.
5. Stencil Autumn Leaves Down a Burlap Table Runner
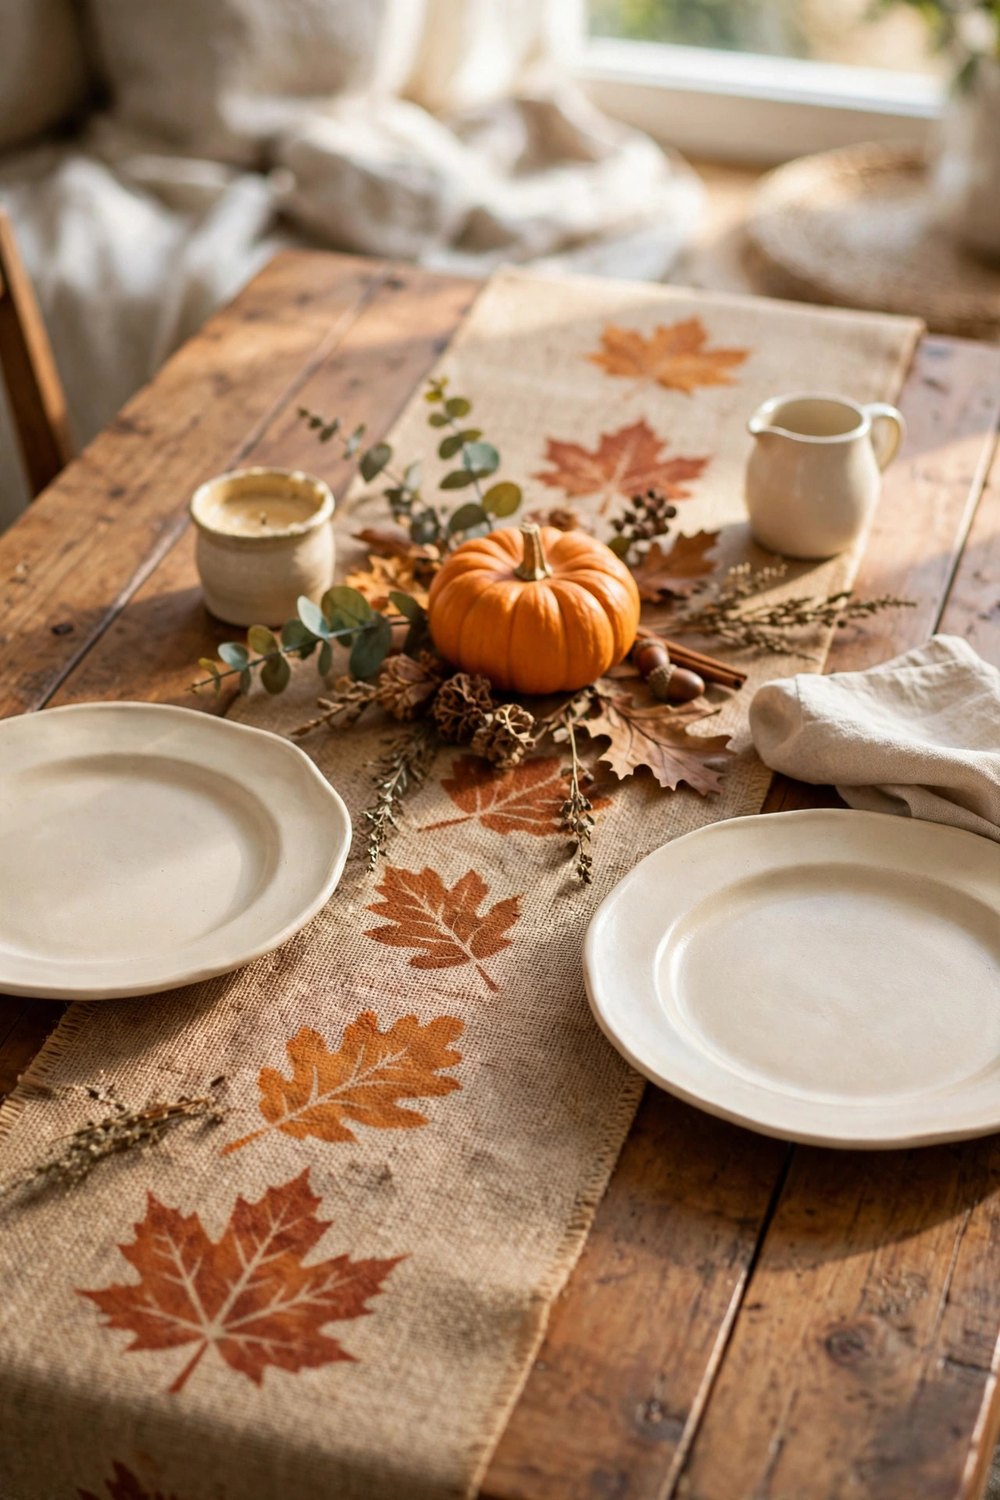
A plain burlap runner is a blank canvas that costs almost nothing, and a leaf stencil turns it into the table’s whole fall story. Lay the runner flat, tape a leaf stencil — bought, or cut from cardstock — at intervals down the center, and dab on fabric or chalk paint in rust, mustard, and warm brown with a nearly dry brush so the edges stay soft. Alternate two or three leaf shapes and let the spacing feel gathered rather than measured. Burlap forgives wobbly stamping beautifully, the runner folds away in a drawer, and it makes even a weeknight dinner table look set for the season.
6. Fill a Basket with Pinecone Fire Starters for the Hearth
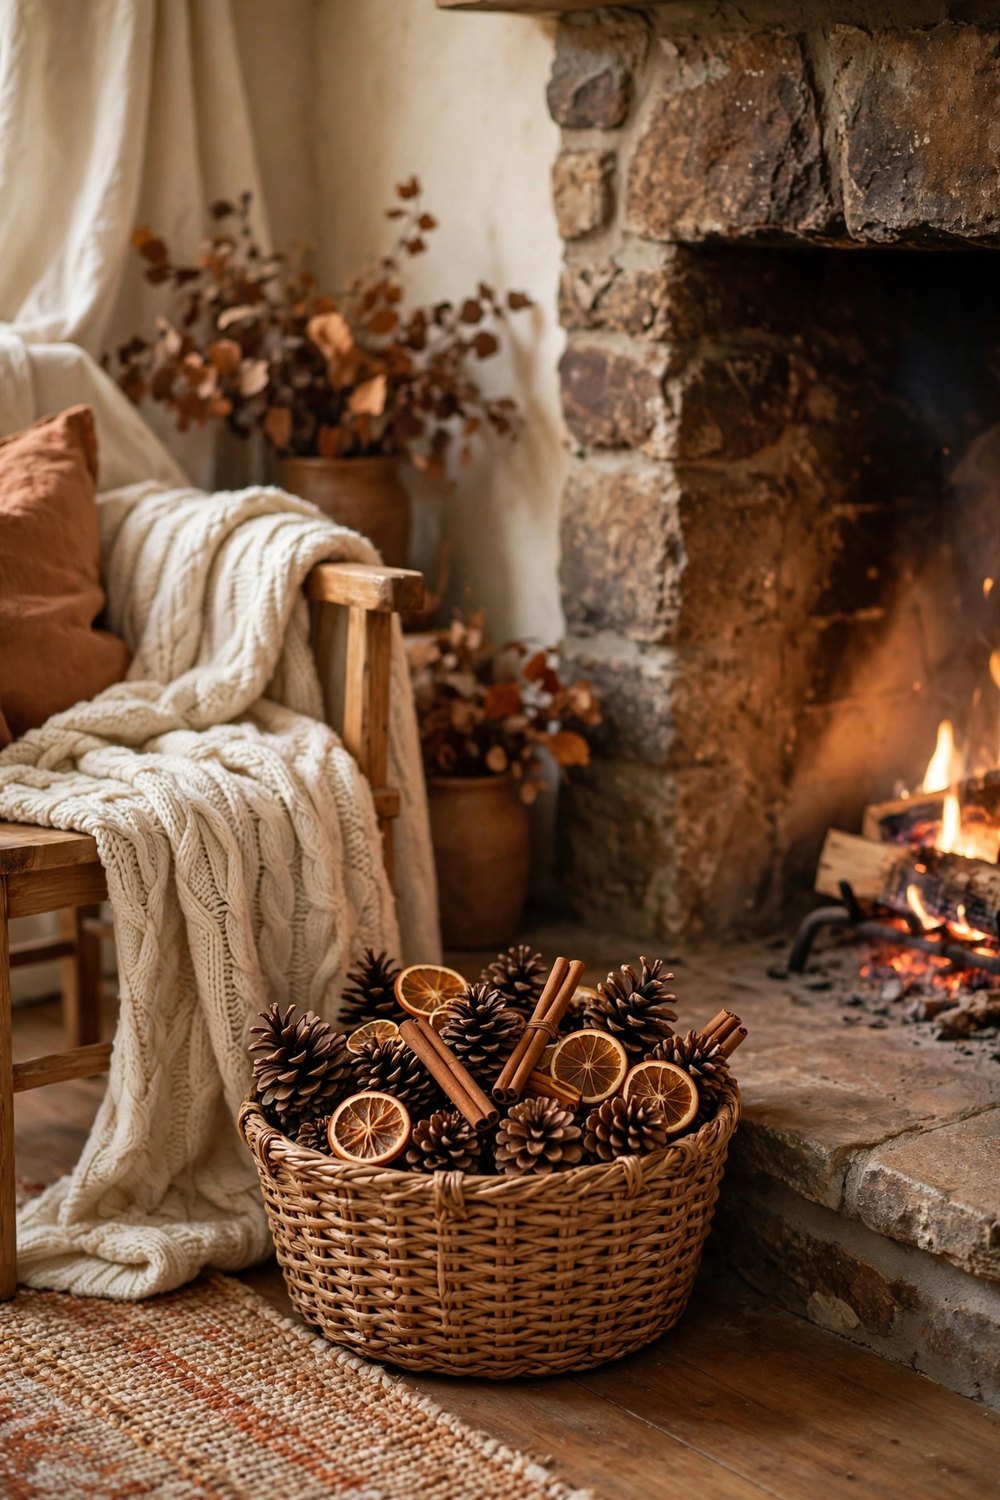
Pinecones are natural fire starters — dry, resinous, and quick to catch — and a basket of them beside the hearth is as practical as it is pretty. Gather cones on a walk or buy a bag, let them dry fully indoors for a few days, and pile them into a woven basket with a few cinnamon sticks and dried orange slices tucked through for scent. Set the basket where the fires get lit, on the hearth or just beside the wood pile, and it earns its place every single evening. If you do not have a fireplace, the same basket styles a mantel or doorstep and simply smells wonderful.
7. Paint a Simple Fall Sign on Scrap Wood
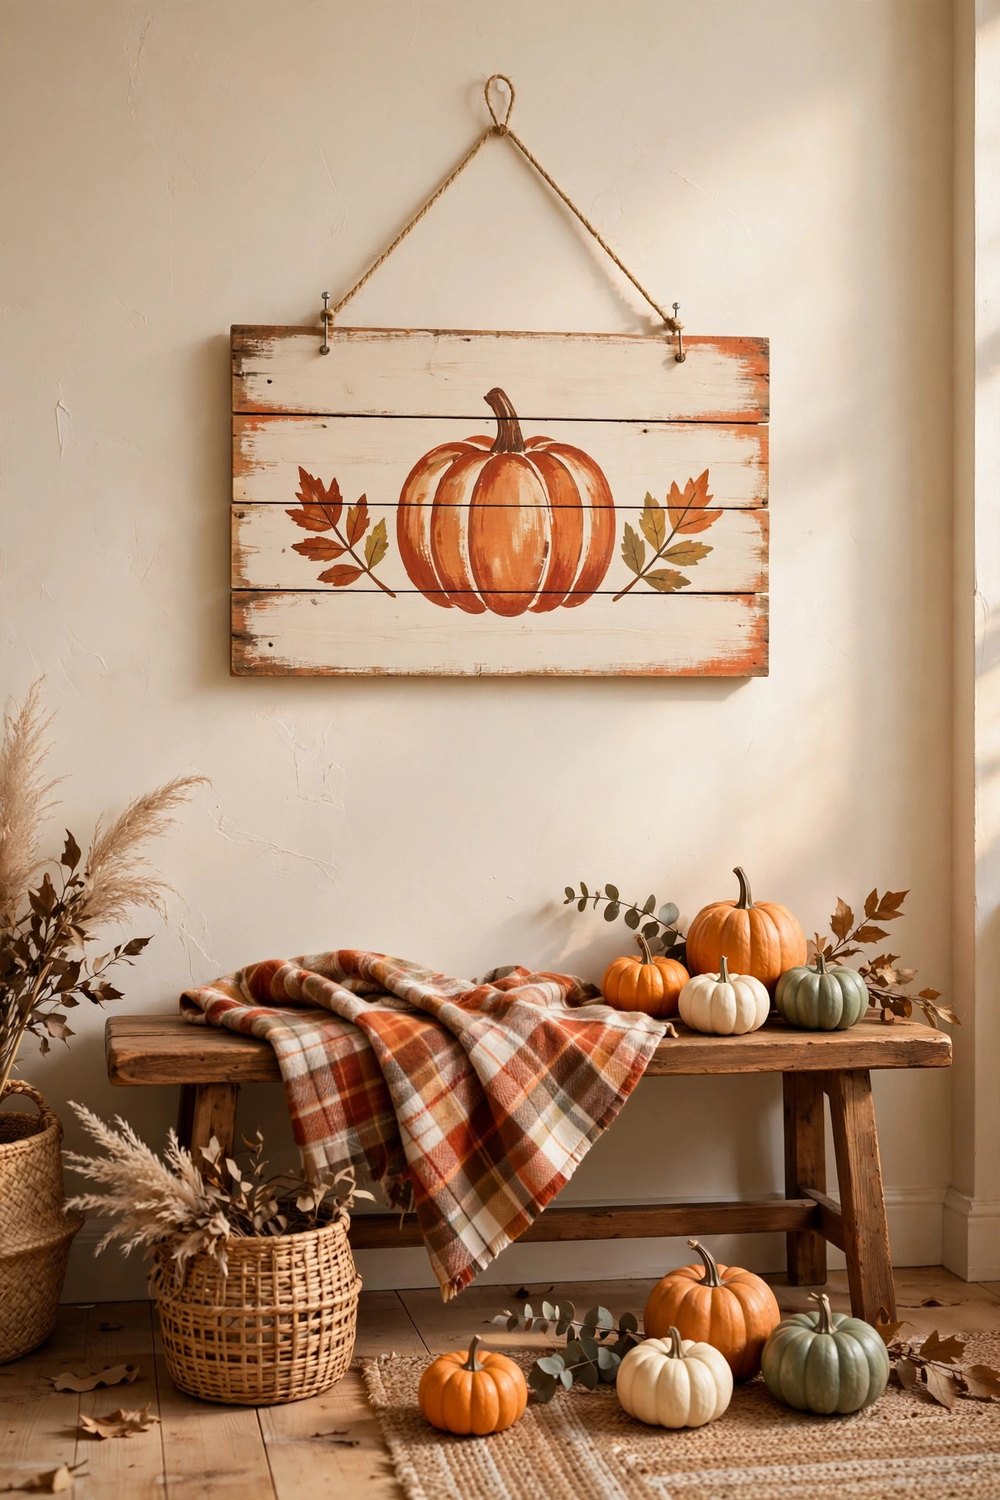
Every workshop and garage hides a plank that wants to be a sign. Sand a piece of scrap wood smooth, give it a coat of cream or warm white paint, and let it dry; then stencil, freehand, or transfer one simple fall shape — a pumpkin, a leaf, a small cluster of wheat — in rust or warm brown, keeping the design bold and uncluttered rather than detailed. A light sanding over the dried paint ages it instantly and hides every wobble in your brushwork. Lean it on the mantel, hang it in the entryway, or prop it on the porch steps; it costs one plank and a little leftover paint, and it is the project beginners finish proudest.
8. Glue Acorns and Twigs Around a Plain Picture Frame
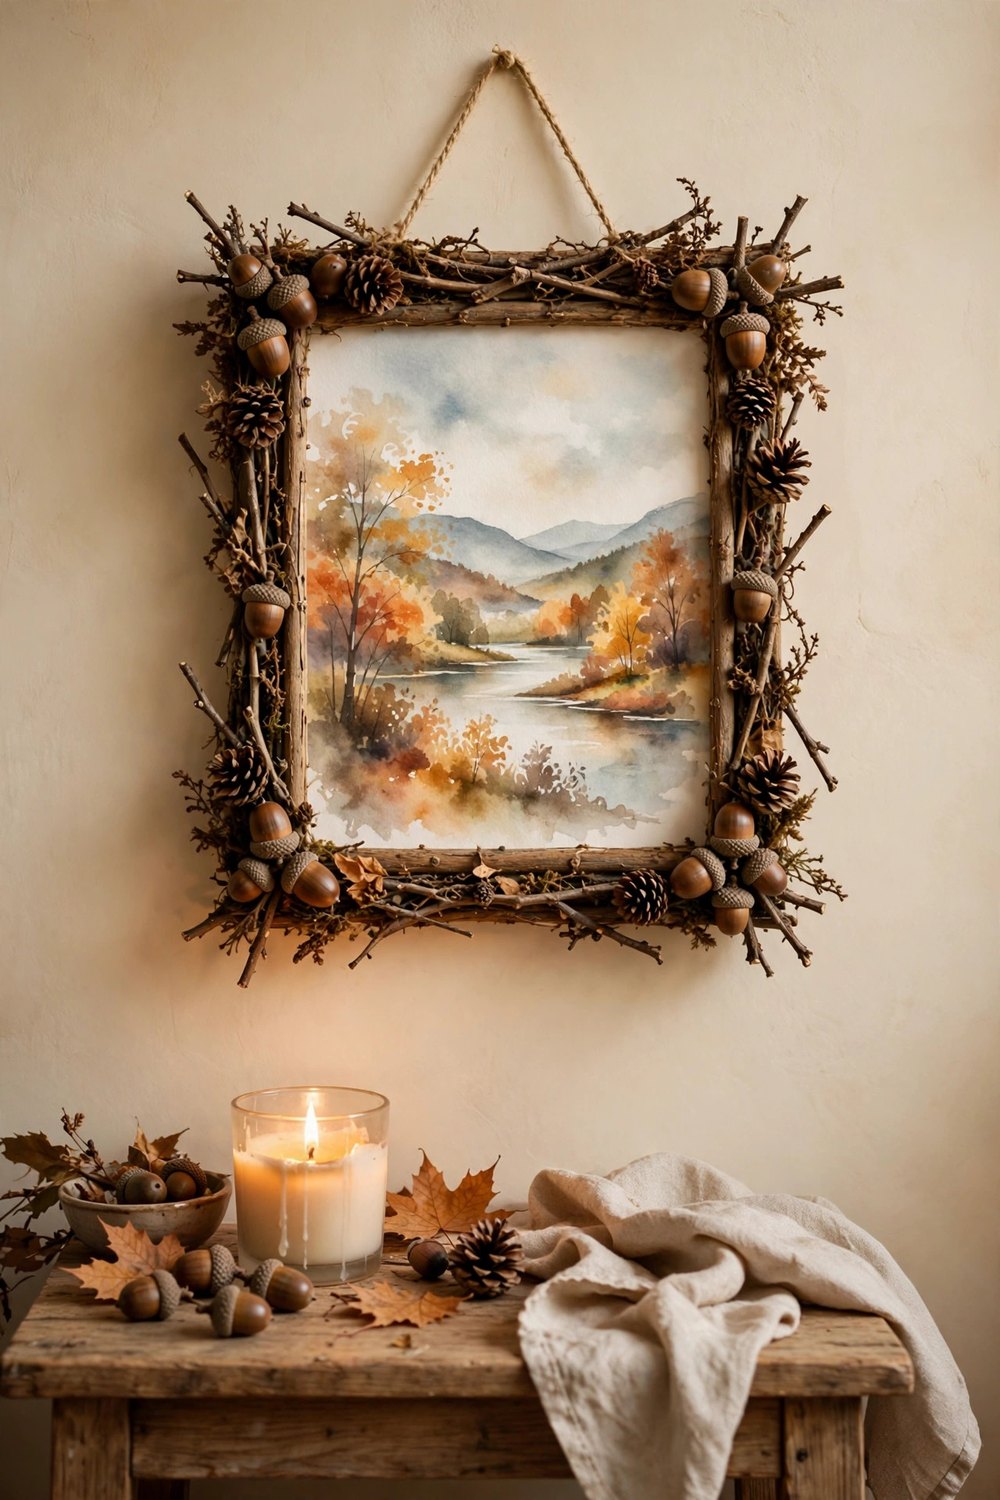
A plain dollar-store frame becomes a piece of woodland art with a glue gun and a pocketful of finds. Collect acorns with their caps on, short straight twigs, and a few tiny pinecones, then glue them in a close, even border around the frame’s edge — twigs laid lengthwise along the sides, acorns clustered at the corners. Fill the frame with a fall photograph, a pressed leaf, or a simple watercolor and hang it where the texture can catch the light. The materials are free, the project takes one relaxed half hour, and no two frames ever come out alike.
9. Turn an Old Sweater Sleeve into a Chunky Knit Pumpkin
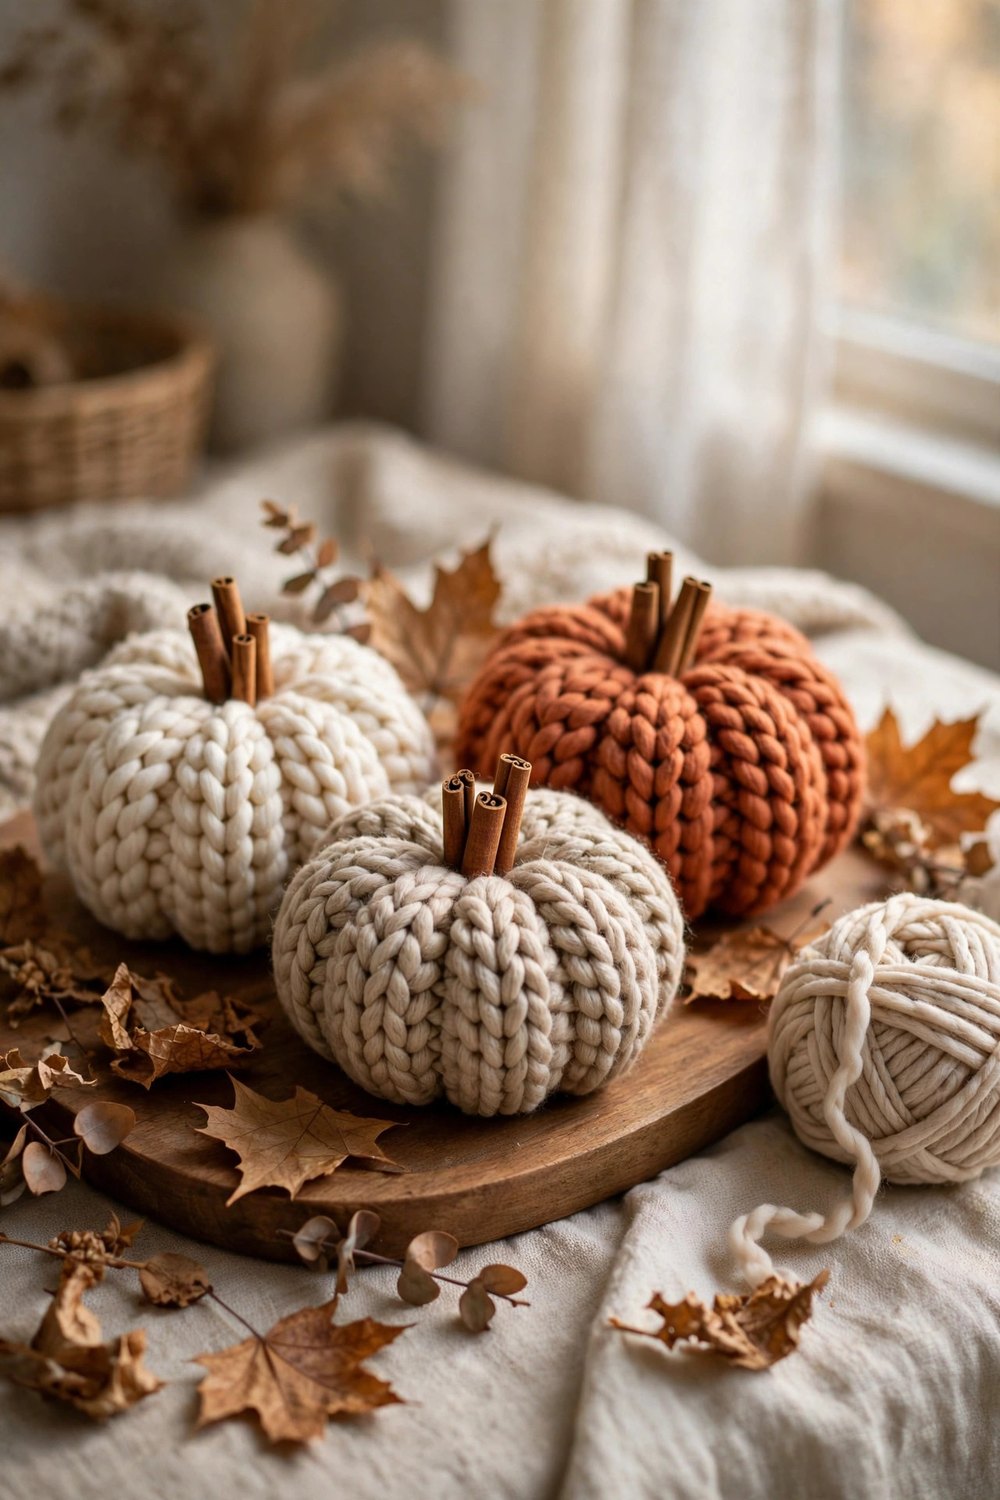
The sweater pumpkin is the fall craft everyone should try once, because the knitting is already done for you. Cut the sleeve or a section from a worn-out chunky sweater, sew or glue one end closed, stuff it firmly with pillow filling or fabric scraps, and gather the top closed with strong thread pulled tight. Wrap twine down the sides a few times to pull in the pumpkin’s ridges, then glue a short cinnamon stick or a piece of twig into the center as the stem. Cream and oatmeal sweaters make the calmest pumpkins; a rust or mustard one becomes the single pop of color on the shelf. One old sweater yields a whole patch.
10. Hang a Corn Husk Harvest Swag Over the Front Door
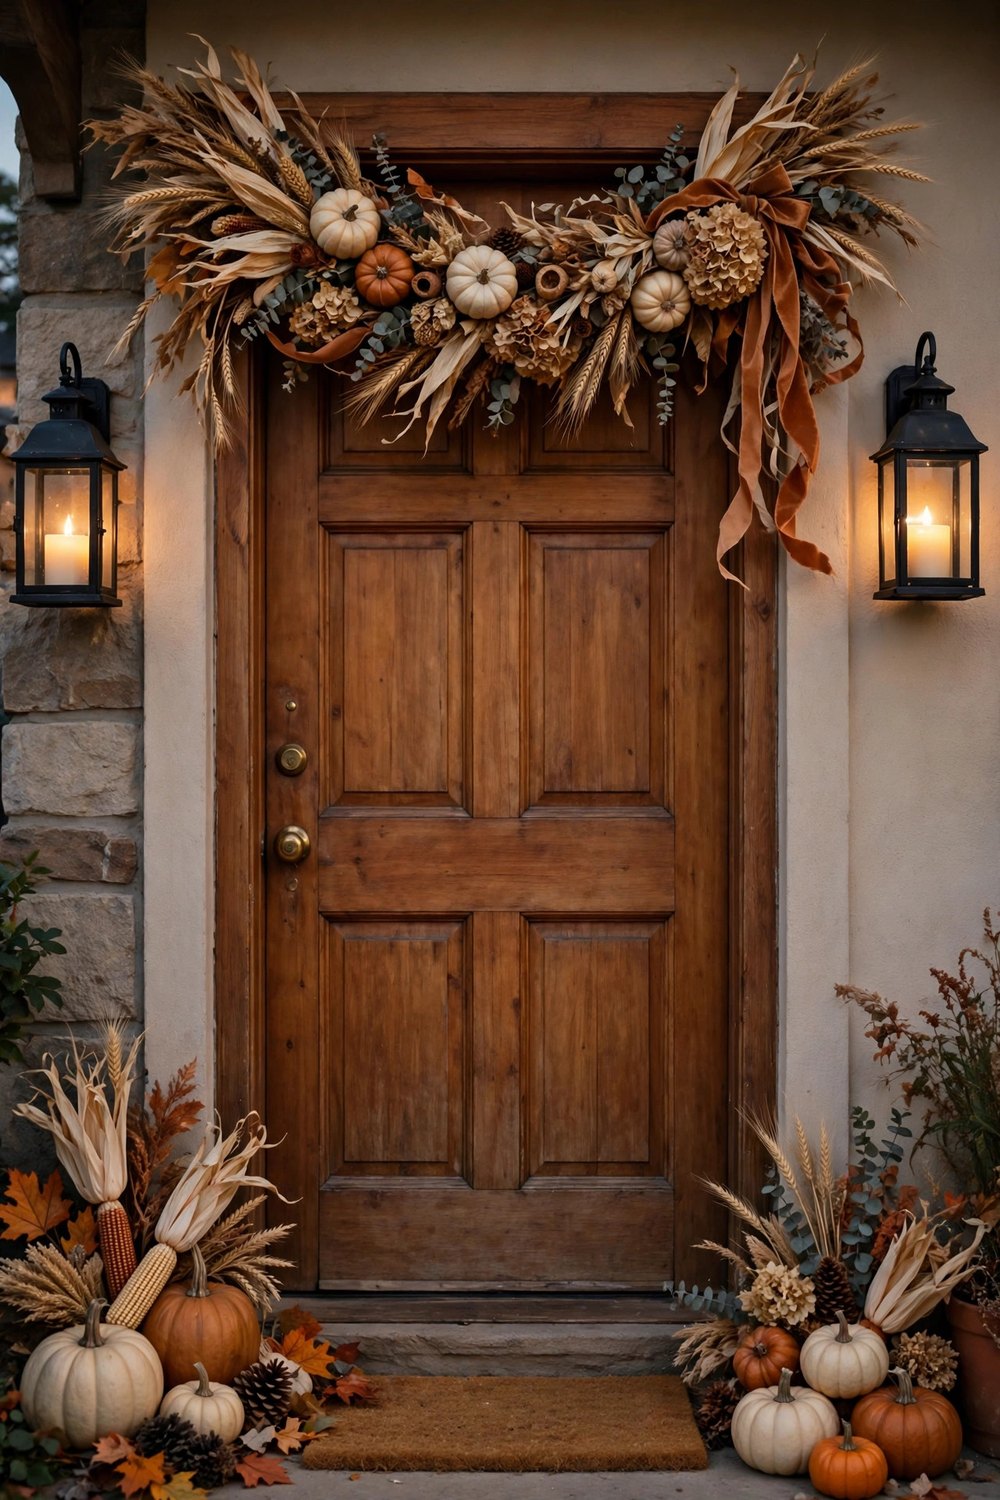
For a front door that announces the harvest without a single plastic leaf, build a swag from dried corn husks. Gather a bunch of dried husks — sold in craft and dollar stores in fall, or saved from fresh corn and dried flat — fan them into a teardrop bundle with the silky ends pointing down, and bind the top tightly with wire and twine. Tuck in two or three mini pumpkins, a few wheat stems, and a rust ribbon bow at the binding, then hang the swag above the door or down its center like a wreath’s rustic cousin. The pale gold husks glow in afternoon light, the whole piece weighs almost nothing, and it stores in a bag until next harvest.
Fall DIY is not about filling the house with projects — it is about a handful of handmade pieces with real materials in them: leaves you gathered, a sweater you rescued, pinecones that actually light the fire. Start with the painted pumpkins or the jar candles, let one finished piece talk you into the next, and keep a small box for the keepsakes so each autumn begins with old friends. Save this list to your Pinterest board so it is there before your next craft afternoon — and follow DecorNesti for a new cozy project list every week.






Leave a Reply